


Physical description
Set of 20 digital images of Bendigo Tramways, 1972 at or before closure while on a tram tour by Stuart Lodington.
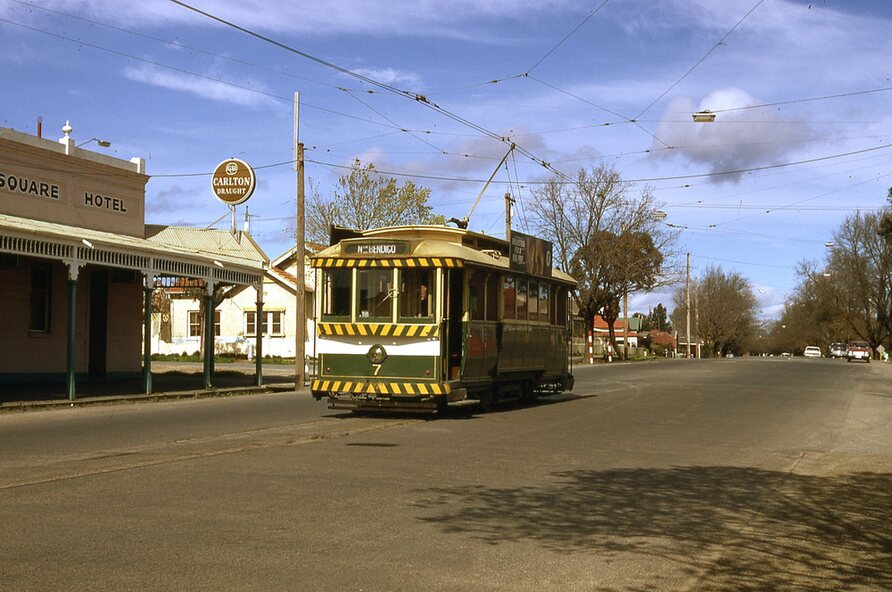
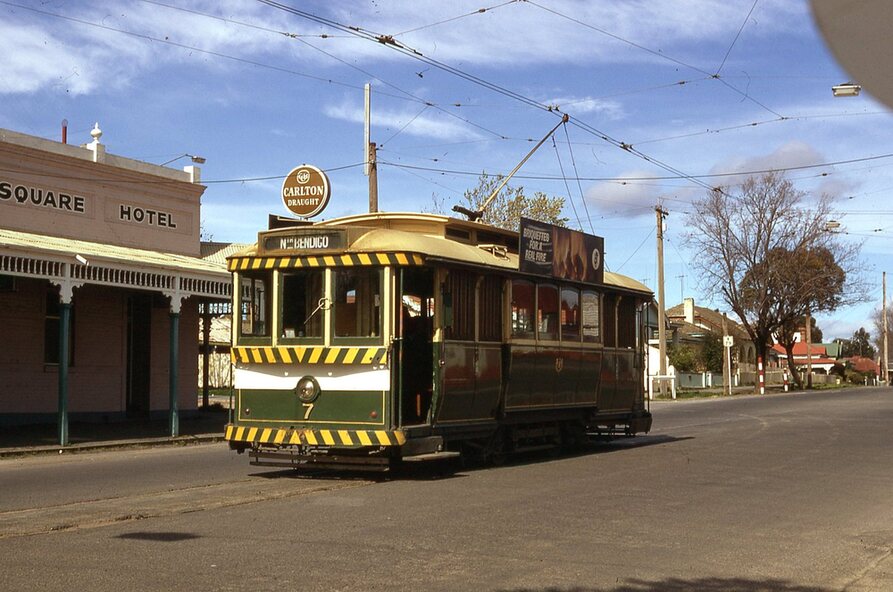
.1 - No. 7 at Golden Square terminus
.2 - ditto
.3 - No. 26 in bound on the Eaglehawk line with a crossing loop behind.
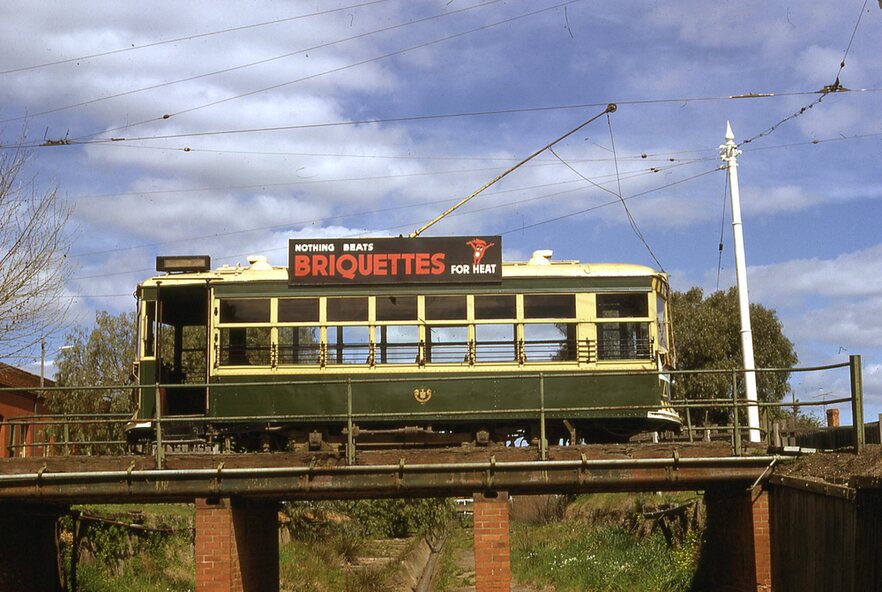
.4 - Birney crossing the bridge by the tram depot.
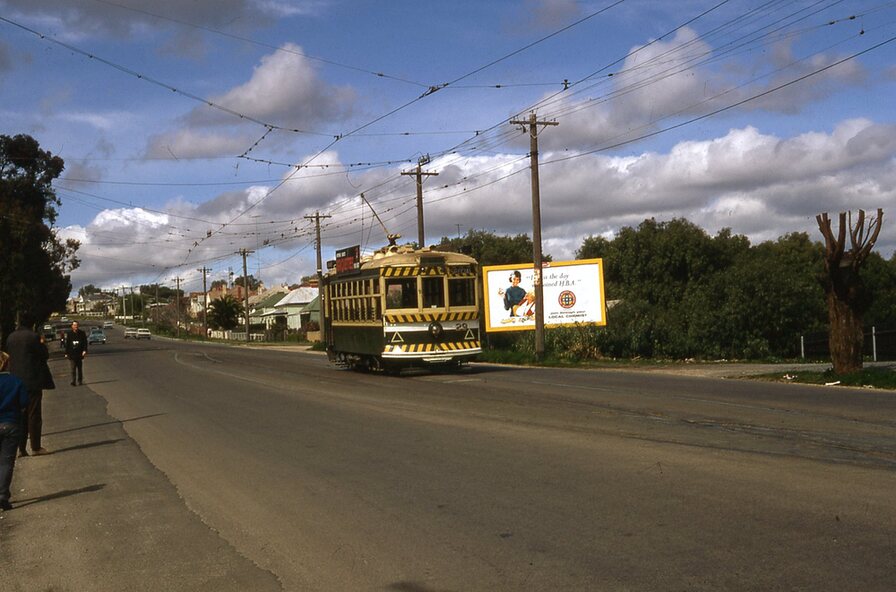
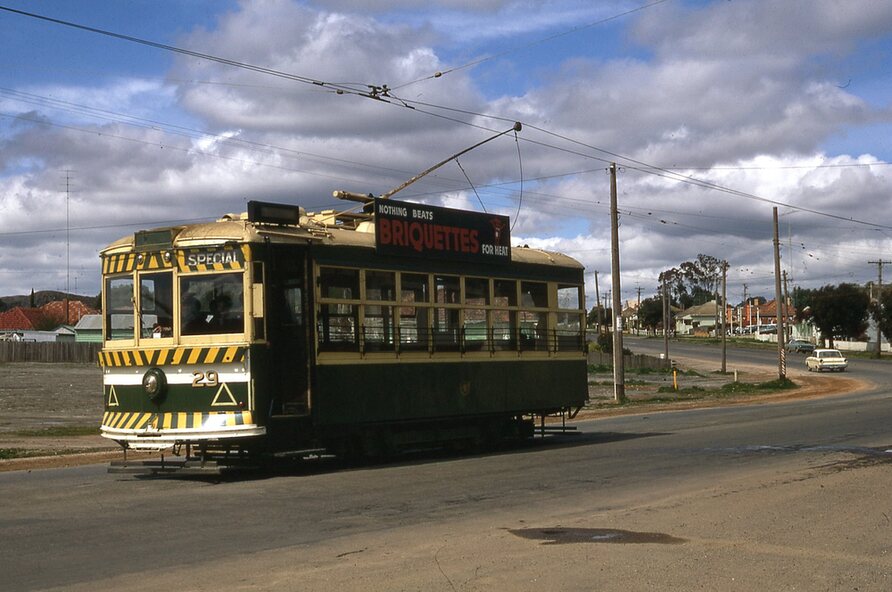
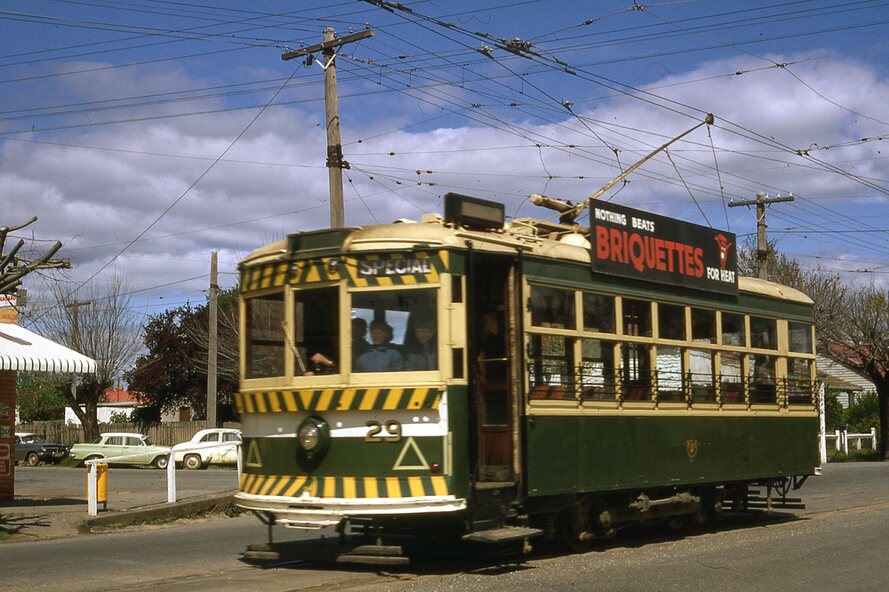
.5 - No. 29 running a special on the Eaglehawk line with a HBA billboard in the background.
.6 - No. 29 with a driver walking in front of the tram at the above location.
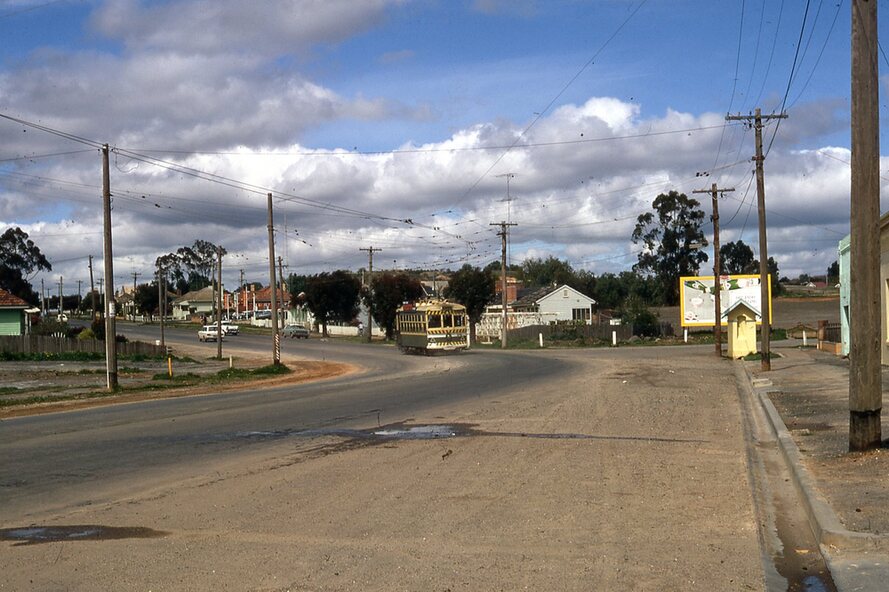
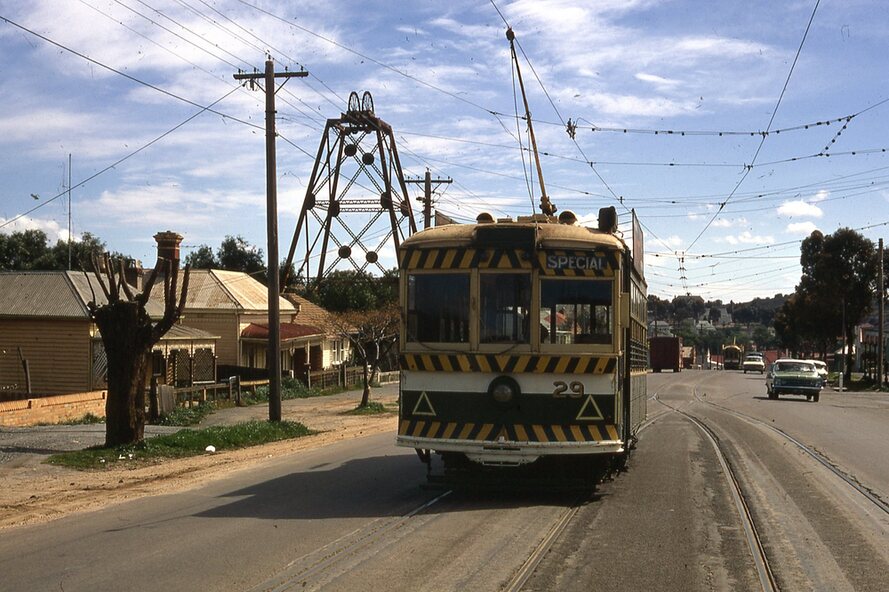
.7 - No. 29 on the Eaglehawk line
.8 - ditto waiting for a tram at Manchester Loop with poppet head in the background.
.9 - No. 29 on the Eaglehawk line
.10 - Eaglehawk Town Hall at night.
.11 - No. 7 at the depot junction in McCrae St, with Golden Square destination.
.12 - No. 29 with the Camp Hotel Eaglehawk in the background. Also a Newsagent with The Sun, The Bendigo Advertiser and The Age signs on the building, High St
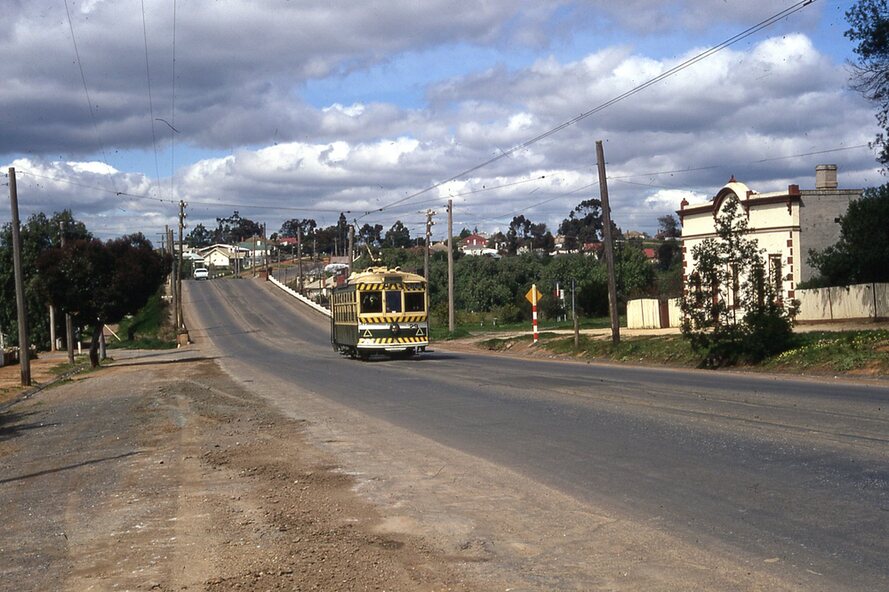
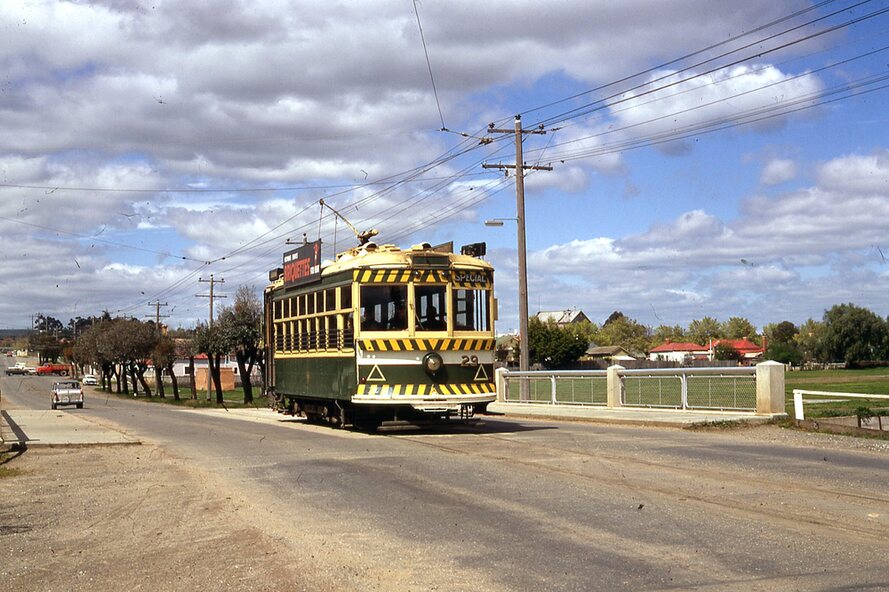
.13 - No. 29 Mt Korong Rd, with the railway overbridge in the background.
.14 - interior photo of Birney tram roof
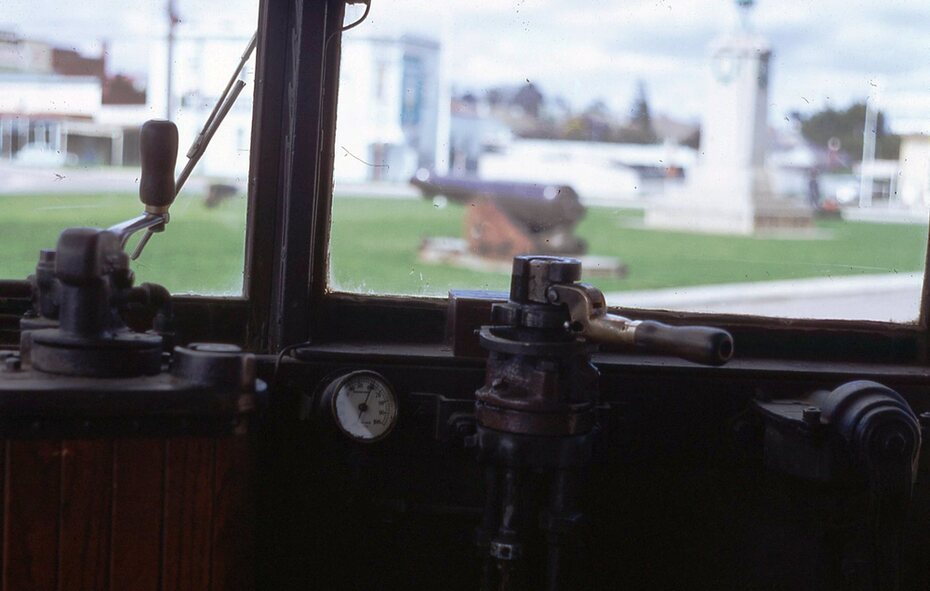
.15 - interior view of controls of Birney at Eaglehawk
.16 - No. 29 outbound at the Depot Junction McCrae St.
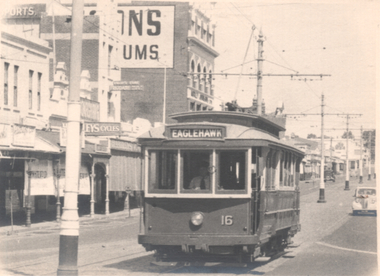
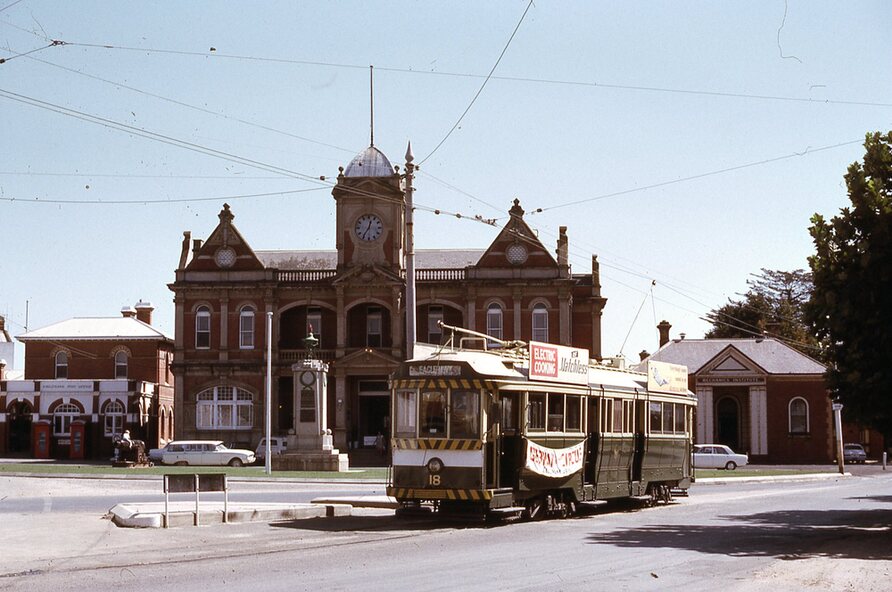
.17 - No. 18 at the Eaglehawk terminus
.18 - close up view of No. 29 front.
.19 - No. 29 in Nolan St, crossing the bridge, outbound.
.20 - No. 18 at the Eaglehawk terminus with the Eaglehawk Town Hall, Post Office in the background. Has a circus banner on the side.