Showing 2377 items matching "golden bendigo"
-
 Bendigo Historical Society Inc.
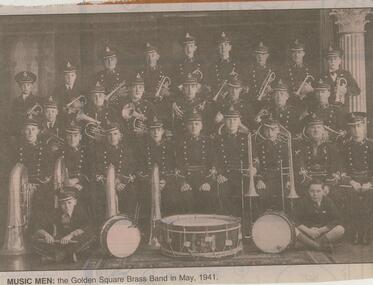
Newspaper - JENNY FOLEY COLLECTION: MUSIC MEN
Bendigo Advertiser ''The way we were'' from 2001. Music men: the Golden Square brass band in May, 1941. The clip is in a folder.newspaper, bendigo advertiser, the way we were -
 Bendigo Historical Society Inc.
Book - BENDIGO SALEYARDS COLLECTION: CITY OF BENDIGO PURCHASE REQUISITION
Blue duplicate Purchase Requisition Book dated 21/1/92 to 29/7/92.Cover has crocodile pattern and blue cloth tape on the spine. Tape on inside front cover. Items in the book include electrical work/repairs, stationary and office supplies and equipment, branding fluid, hardware, welding, dog food, screenings and spreading and checking scale. Blue duplicate pages and white originals. Last pages have This book is cancelled S? written across it. Back cover is missing. Two loose pages in the book. One is a duplicate For All Bull Cattle Colour, dated 3/2/92 for silver and yellow branding fluid. The other is a V/Line Freight Consignment Note dated 5/2/92. Purchase Requisition book with a red and cream patterned book with a red tape spine and blue pages. Saleyards is written in balck texta on the front of the red spine. Book is dated from 24/8/90 to 8/1/92. Requisitions signed by J M Crimmins and J Richmond. Requisitions were for electrical work, plumbing supplies, office materials, branding fluid, dog food, sheep dip, weed killer, repairs to yards, tools, printing, hay, and repairs to truck wash.bendigo, council, cattle markets, bendigo saleyards collection - city of bendigo purchase requisition, hume & iser, brb electrical, boltons bros, d walker pty otd, all bull albury, bearing & industrial supplies, midland irrigation, watson & crane, ray t thompson, golden triangle communications, blue line office supplies, allweld construction, toledo scales, david bolton, dalgety farmers, j m crimmins, rodger wrigley, dookie college, b p bury, ron dixon, beaurepaires tyers, steven hyde, bendigo scale co, d g walker pty ltd, reece, midland ir, bendigo engineering -
 Bendigo Historical Society Inc.
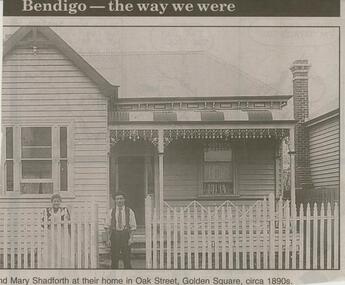
Newspaper - JENNY FOLEY COLLECTION: MARY SHADFORTH
Bendigo Advertiser ''The way we were'' from Monday, May 14, 2001. Mary Shadforth at the home in Oak Street, Golden Square, circa 1890s. The clip is in a foldernewspaper, bendigo advertiser, the way we were -
 Bendigo Historical Society Inc.
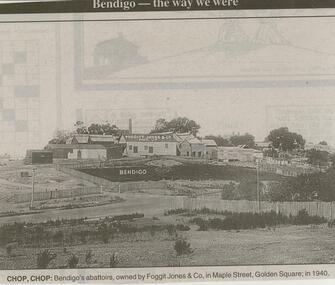
Newspaper - JENNY FOLEY COLLECTION: CHOP CHOP
Bendigo Advertiser ''The way we were'' from February 2001. Chop,chop: Bendigo's abattoirs, owned by Foggit Jones & co, in Maple Street, Golden Square; in 1940. The clip is in a folder.newspaper, bendigo advertiser, the way we were -
 Bendigo Historical Society Inc.
Magazine - GOLDEN SQUARE SECONDARY COLLEGE COLLECTION: YEAR BOOK 1972, 1972
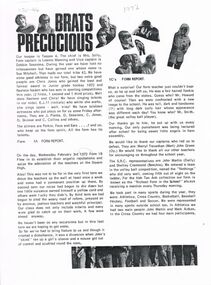
... BENDIGO Education golden square secondary history 258 Y86 Golden ...Golden Square High School Indicator Magazine 1972. 31 pages.bendigo, education, golden square secondary history, 258, y86 -
 Bendigo Historical Society Inc.
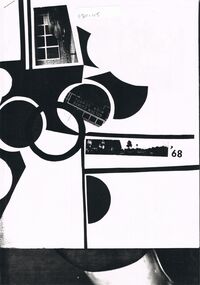
Magazine - GOLDEN SQUARE SECONDARY COLLEGE COLLECTION: YEAR BOOK 1968, 1968
... BENDIGO Education golden square secondary history 258 Y86 Golden ...Golden Square High School Indicator Magazine 1968bendigo, education, golden square secondary history, 258, y86 -
 Bendigo Historical Society Inc.
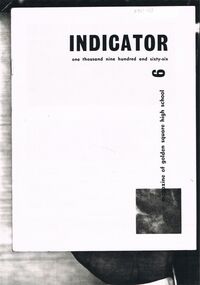
Magazine - GOLDEN SQUARE SECONDARY COLLEGE COLLECTION: YEAR BOOK 1966, 1966
... BENDIGO Education golden square secondary history 258 Y86 Golden ...Golden Square High School Indicator Magazine 1966.bendigo, education, golden square secondary history, 258, y86 -
 Bendigo Historical Society Inc.
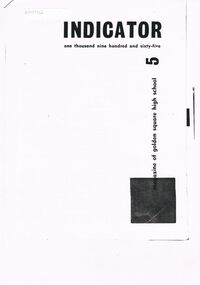
Magazine - GOLDEN SQUARE SECONDARY COLLEGE COLLECTION: YEAR BOOK 1965, 1965
... BENDIGO Education golden square secondary history 258 Y86 Golden ...Golden Square High School Indicator Magazine 1965.bendigo, education, golden square secondary history, 258, y86 -
 Bendigo Historical Society Inc.
Magazine - GOLDEN SQUARE SECONDARY COLLEGE COLLECTION: YEAR BOOK 1963, 1963
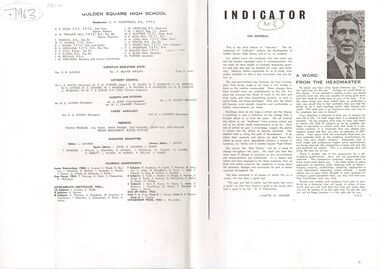
... BENDIGO Education golden square secondary history 258 Y86 Golden ...Golden Square High School ''Indicator'' magazine No. 3, 1963bendigo, education, golden square secondary history, 258, y86 -
 Bendigo Historical Society Inc.
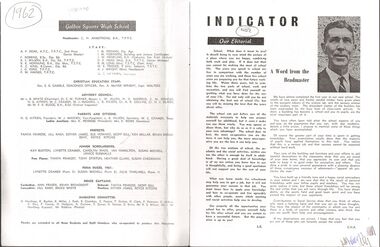
Magazine - GOLDEN SQUARE SECONDARY COLLEGE COLLECTION: YEAR BOOK 1962, 1962
... BENDIGO Education golden square secondary history 258 Y86 Golden ...Golden Square High School Magazine No.2 1962.bendigo, education, golden square secondary history, 258, y86 -
 Bendigo Historical Society Inc.
Magazine - GOLDEN SQUARE SECONDARY COLLEGE COLLECTION: YEAR BOOK 1961, 1961
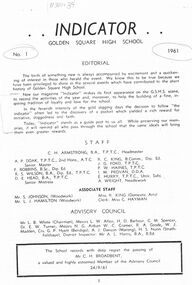
... BENDIGO Education golden square secondary history 258 Y86 Golden ...Golden Square High School ''Indicator'' No.1 1961.bendigo, education, golden square secondary history, 258, y86 -
 Bendigo Historical Society Inc.
Document - GOLDEN SQUARE SECONDARY COLLEGE COLLECTION: CELEBRATION 1968, 2008
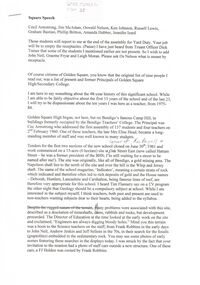
... BENDIGO Education golden square secondary history 258 Y86 Golden ...Golden Square Secondary College History Celebration 1968 - 2008 Speech.bendigo, education, golden square secondary history, 258, y86 -
 Bendigo Historical Society Inc.
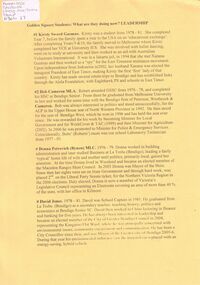
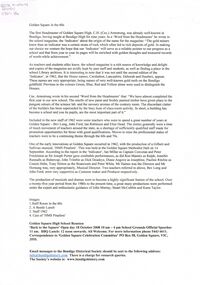
Document - GOLDEN SQUARE SECONDARY COLLEGE COLLECTION: STUDENTS LEADERSHIP, 2008
... BENDIGO Education golden square secondary history 258 Y86 Former ...Former Golden Square Secondary College Students Leadership - Where Are They Now?. Kirsty Sword Gusmao, Bob Cameron, Donna Petrovich(Bynon), David Jones, Fiona Mason, Lorinda Grant, Scott Cameron, Greg Goodall, Glen Ashby, Rod Ashman, Peter Rhode, Peter McConville, Nathan Chapman, Stephen Goodall, Kristy Cameron, Jessica Boutard, Terri Douglas, Nicole Phillips, Andrea Phillips, Jayde Phillips, Brooke Phillips, matisse Rockes, Claire Gibbs, Ricky nixon, Wayne Campbell. Dean chiron, Christian Lister, Alistair Carr. 5 Sheets.bendigo, education, golden square secondary history, 258, y86 -
 Bendigo Historical Society Inc.
Document - GOLDEN SQUARE SECONDARY COLLEGE COLLECTION: REVIEW PRESENTION 1960-2008, 1960-2008
... BENDIGO Education golden square secondary history 258 Y86 Golden ...Golden Square Secondary College History Review Presentation. 1960-2008. 5 pages.bendigo, education, golden square secondary history, 258, y86 -
 Bendigo Historical Society Inc.
Document - GOLDEN SQUARE SECONDARY COLLEGE COLLECTION: INVITATION 2008, 2008
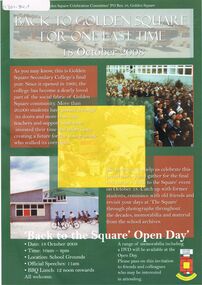
... BENDIGO Education golden square secondary history 258 Y86 Back ...Back To Golden Square For One Last Time Celebration Invitation 18 October 2008bendigo, education, golden square secondary history, 258, y86 -
 Bendigo Historical Society Inc.
Document - GOLDEN SQUARE SECONDARY COLLEGE COLLECTION: BACK TO 2008, 2008
... BENDIGO Education golden square secondary history 258 Y86 Back ...Back To Golden Square For One Last Time 18 October 2008 Coloured Paper Flyers x 2 Historical Open Day Celebration.bendigo, education, golden square secondary history, 258, y86 -
 Bendigo Historical Society Inc.
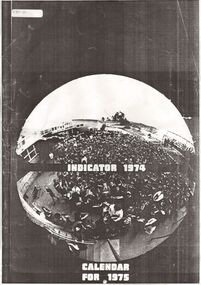
Magazine - GOLDEN SQUARE SECONDARY COLLEGE COLLECTION: CALENDAR 1975, 1974-1975
... BENDIGO Education golden square secondary history 258 Y86 Golden ...Golden Square Secondary College Black and White Photocopy, Cover of Indicator 1974 Calendar For 1975.bendigo, education, golden square secondary history, 258, y86 -
 Bendigo Historical Society Inc.
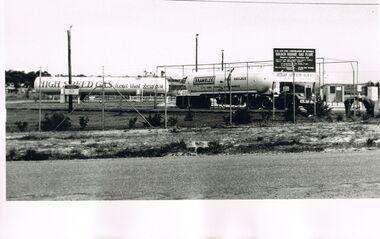
Photograph - CASTLEMAINE GAS COMPANY COLLECTION: PHOTO GOLDEN SQUARE DEPOT
L.P.G. Plan Gas and fuel Corporation of Victoria '' Golden Square Gas Plant'' Tank of ''High Speed Gas heat that obeys you '' at centre left side and a brambles baulk haulage truck at centre right.. Date Unknownorganisation, industry, gas and fuel -
 Bendigo Historical Society Inc.
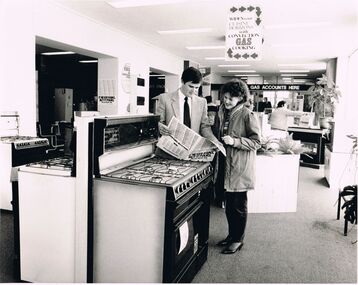
Photograph - CASTLEMAINE GAS COMPANY COLLECTION: PHOTO PEOPLE
Date and Location Unknown - A Couple in a Gas Appliances Showroom Checking a Specials Catalogue in Front of a Gas Kitchen. On the Back Aulsebrook & Martin Pty Ltd Photographers 6 Ruth St. Golden Square 3555, Phone 054 437665.business, retail, gas and fuel showroom -
 Bendigo Historical Society Inc.
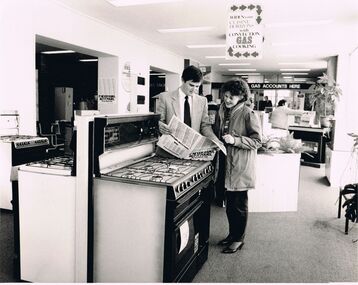
Photograph - CASTLEMAINE GAS COMPANY COLLECTION: PHOTO PEOPLE
Date and Location Unknown - A Couple in a Gas Appliances Showroom Checking a Specials Catalogue in Front of a Gas Kitchen. On the Back Aulsebrook & Martin Pty Ltd Photographers 6 Ruth St. Golden Square 3555, Phone 054 437665.business, retail, gas and fuel showroom -
 Bendigo Historical Society Inc.
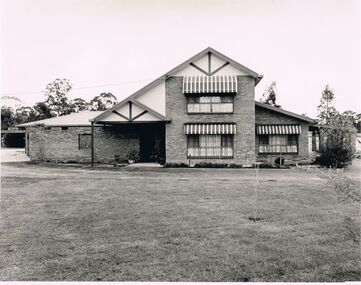
Photograph - CASTLEMAINE GAS COMPANY COLLECTION: PHOTO HOUSE
Date and Location Unknown - Photo of a Suburban House. On the Back Stamp of Aulsebrook & Martin Pty Ltd Photographers, 6 Ruth St. Golden Square 3555. phone 054 437565house, private, unknown -
 Bendigo Historical Society Inc.
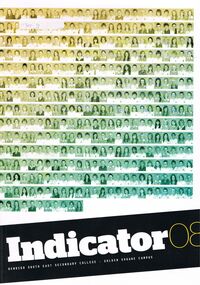
Magazine - GOLDEN SQUARE SECONDARY COLLEGE COLLECTION: YEAR BOOK 2008, 2008
... BENDIGO Education golden square secondary history 258 Y86 Bendigo ...Bendigo South East Secondary College - Golden Square Campus ''Indicator'' Year Book 2008. Black, White and Yellow Cover With Green Student Photographs. Legacy of Golden Square Themebendigo, education, golden square secondary history, 258, y86 -
 Bendigo Historical Society Inc.
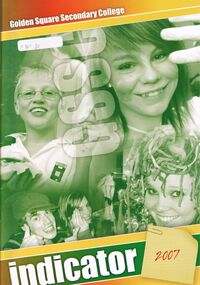
Magazine - GOLDEN SQUARE SECONDARY COLLEGE COLLECTION: YEAR BOOK 2007, 2007
... BENDIGO Education golden square secondary history 258 Y86 Golden ...Golden Square Secondary College ''Indicator'' Year Book 2007 Orange Yellow Green & White Cover Student Activities Mental Health Promotion and Change Theme.bendigo, education, golden square secondary history, 258, y86 -
 Bendigo Historical Society Inc.
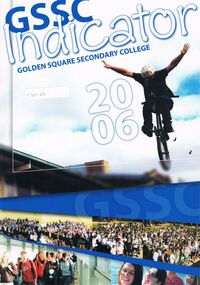
Magazine - GOLDEN SQUARE SECONDARY COLLEGE COLLECTION: YEAR BOOK 2006, 2006
... BENDIGO Education golden square secondary history 258 Y86 Golden ...Golden Square Secondary College ''Indicator'' Year Book 2006 Sports Day Cover Theme Student Learning and Well Beingbendigo, education, golden square secondary history, 258, y86 -
 Bendigo Historical Society Inc.
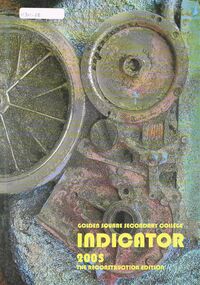
Magazine - GOLDEN SQUARE SECONDARY COLLEGE COLLECTION: YEAR BOOK 2005, 2005
... BENDIGO Education golden square secondary history 258 Y86 Golden ...Golden Square Secondary College ''Indicator'' Year Book 2005 The Reconstruction Edition Leading Schools Theme Mechanical Engineering Cover.bendigo, education, golden square secondary history, 258, y86 -
 Bendigo Historical Society Inc.
Magazine - GOLDEN SQUARE SECONDARY COLLEGE COLLECTION: YEAR BOOK 2004, 2004
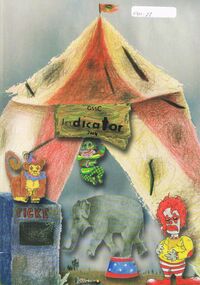
... BENDIGO Education golden square secondary history 258 Y86 Golden ...Golden Square Secondary College '''Indicator'' Year Book 2004 Circus Cover Theme Creative Learning.bendigo, education, golden square secondary history, 258, y86 -
 Bendigo Historical Society Inc.
Photograph - GOLDEN SQUARE PRIMARY SCHOOL COLLECTION: LAUREL ST. YEAR 3-4/W. 1998
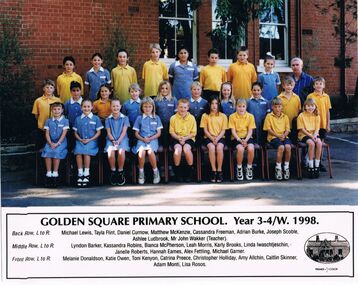
... Bendigo Historical Society Inc. Bendigo Historical Society ...Golden Sqaure Primary School. Year 3-4/W.1998. Back row. L to R. Michael Lewis, tayla Flint, Daniel Curnow, Matthew McKenzie, Cassandrfa Freeman, Adrian Burke, Joseph Scoble, Ashlee Ludbrook, Mr John Wakker (Teacher).Middle row, L to R. Lybdon Barker, Kassandra Robins, Bianca McPherson, Leah Morris, karly Brooks, Linda Iwaschtjeschin, Janelle Roberts, Hannah Eames, Alex Fettling, Michael Garner. Front row: Melanie Donaldson, Katie Owen, Toni Kenyon, CatrinaPreece, Christopher Holliday, Amy Allchin, Caitlin Skinner, Adam Monti, Lisa Rosos.golden square primary school, laurel street -
 Bendigo Historical Society Inc.
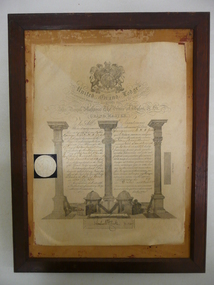
Document - STRAUCH COLLECTION: MASONIC CERTIFICATE OF ACCEPTANCE, 1880
Framed certificate of acceptance into United Grand Lodge Masons for George. Carl. H.A.Jess 17th September 1878 admitted to the Golden Corinthian Lodge No 641 Sandhurst Vic. Brown timber frame, no glass. Deframed 2022document, certificate, masons -
 Bendigo Historical Society Inc.
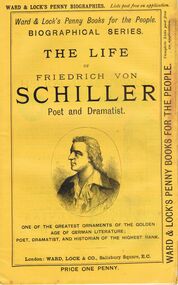
Book - LYDIA CHANCELLOR COLLECTION: THE LIFE OF FRIEDRICH VON SCHILLER
A yellow book titled 'The Life of Friedrich von Schiller Poet and Dramatist. One of the greatest ornaments of the golden age of German literature; poet, dramatist and historian of the highest rank.' London : Ward, Lock & Co., Salisbury Square, E.C. 49 - 64 pgs. This booklet is one of a series of 53 ' Ward & Lock's Penny Books for the People.' 'Biographical Series.' Price one penny. Advertisements are of note.books, biography, friedrich von schiller, lydia chancellor, collection, friedrich von schiller, poetry, poet, drama, dramatist, entertainment, famous people, individual, person, male, german literature, literature, ward & lock's penny biographies, biographies, ward & lock's penny books for the people, book, biographical series, advertisements, penny books -
 Bendigo Historical Society Inc.
Archive - MINING RECORDS. MONUMENT HILL, GOLDEN CARSHARLTON, NAPOLEANS REEF, EAST CLARENCE, DEBORAH UNITED
Mining Records All contained in a metal Box with separate cataloging leaves. Shareholder details of various mines such as Monument Hill, Golden Carsharlton, Napoleans Reef, East Clarence, Deborah United, Central Napolean.cottage, miners