Showing 1757 items
matching 36 in melbourne
-
 Heidelberg Theatre Company Inc..
Program Photos Review Articles, Trial and error by Kenneth Horne directed by Holly Langford
... Heidelberg Theatre Company Inc.. 36 Turnham Ave Rosanna ...1957, 34, city of heidelberg repertory group, heidelberg theatre company inc, directed by holly langford -
 Heidelberg Theatre Company Inc..
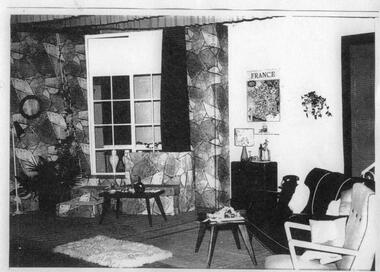
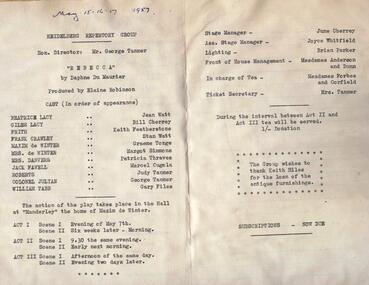
program articles, Rebecca by Daphne DuMaurier directed by Elaine Robinson
... Heidelberg Theatre Company Inc.. 36 Turnham Ave Rosanna ...1957, 35, city of heidelberg repertory group, heidelberg theatre company inc, directed by elaine robinson -
 Heidelberg Theatre Company Inc..
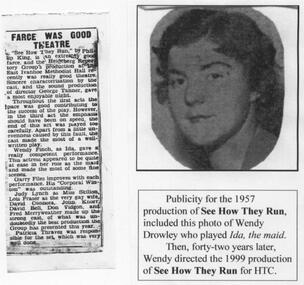
Program Articles, See how they run by Philip King direcrted by George Tanner
... melbourne 1957 36 city of heidelberg repertory group heidelberg ...1957, 36, city of heidelberg repertory group, heidelberg theatre company inc, directed by george tanner -
 Heidelberg Theatre Company Inc..
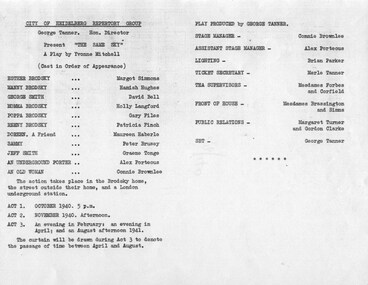
Program newsletter articles special events, The same sky by Yvonne Mitchell directed by George Tanner
... Heidelberg Theatre Company Inc.. 36 Turnham Ave Rosanna ...1957, 37, city of heidelberg repertory group, heidelberg theatre company inc, directed by george tanner, ballarat south street competition -
 Heidelberg Theatre Company Inc..
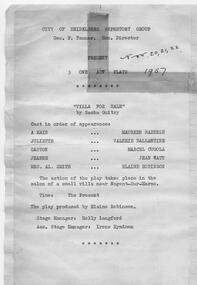
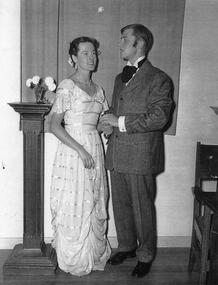
Program newsletter articles special events, Villa for sale by Sacha Guitry directed by Elaine Robinson
... Heidelberg Theatre Company Inc.. 36 Turnham Ave Rosanna ...1957, 38, city of heidelberg repertory group, heidelberg theatre company inc, directed by elaine robinson, 3 one-act plays -
 Heidelberg Theatre Company Inc..
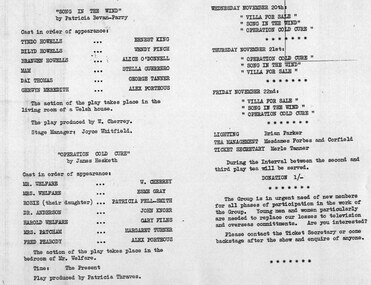
Program newsletter articles special events, Song in the wind by Patricia Bevan-Parry directed by William Cherrey
... Heidelberg Theatre Company Inc.. 36 Turnham Ave Rosanna ...1957, 39, city of heidelberg repertory group, heidelberg theatre company inc, directed by william (bill) cherrey, 3 one-act plays, vdl victorian drama league -
 Heidelberg Theatre Company Inc..
Program newsletter articles special events, Operation Cold Cure by James Hesketh directed by Patricia Thraves
... Heidelberg Theatre Company Inc.. 36 Turnham Ave Rosanna ...1957, 40, city of heidelberg repertory group, heidelberg theatre company inc, directed by patricia thraves, 3 one-act plays -
 Heidelberg Theatre Company Inc..
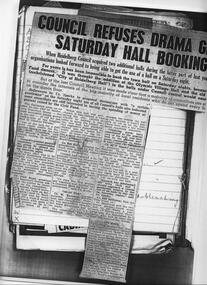
Articles memorabilia, 1957 General Memorabilia
... Heidelberg Theatre Company Inc.. 36 Turnham Ave Rosanna ...1957, general memorabilia, city of heidelberg repertory group, heidelberg theatre company inc -
 Heidelberg Theatre Company Inc..
Program Photos Review Articles, Day break by Catherine Shepherd directed by Tony Doogood
... Heidelberg Theatre Company Inc.. 36 Turnham Ave Rosanna ...1956, 27, city of heidelberg repertory group, heidelberg theatre company inc, directed by tony doogood -
 Heidelberg Theatre Company Inc..
Article, World without men byPhilip Johnson directed by Reg Rudd
... Heidelberg Theatre Company Inc.. 36 Turnham Ave Rosanna ...1956, 28, vdl junior festival, youth, city of heidelberg repertory group, heidelberg theatre company inc, directed by reg rudd -
 Heidelberg Theatre Company Inc..
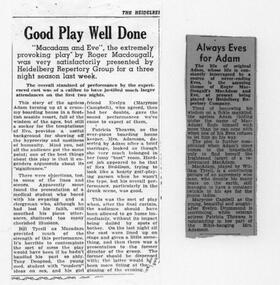
program articles, MacAdam and Eve by Roger Macdougall directed by Geofrey Dean
... Heidelberg Theatre Company Inc.. 36 Turnham Ave Rosanna ...1956, 29, city of heidelberg repertory group, heidelberg theatre company inc, directed by geofrey dean -
 Heidelberg Theatre Company Inc..
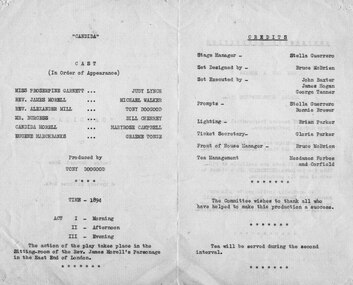
Program Photos, Candida by George Bernard Shaw directed by Tony Doogood
... Heidelberg Theatre Company Inc.. 36 Turnham Ave Rosanna ...1956, 30, city of heidelberg repertory group, heidelberg theatre company inc -
 Heidelberg Theatre Company Inc..
Program Articles, The man by Mel Dinelli directed by George Tanner
... Heidelberg Theatre Company Inc.. 36 Turnham Ave Rosanna ...1956, 30a, city of heidelberg repertory group, heidelberg theatre company inc, directed by george tanner -
 Heidelberg Theatre Company Inc..
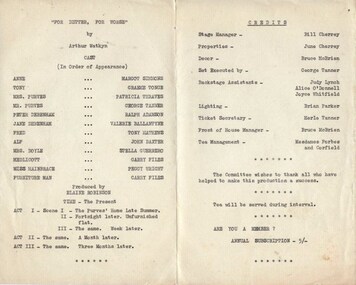
Program articles, For better or worse by Arthur Watkyn directed by Elaine Robinson
... Heidelberg Theatre Company Inc.. 36 Turnham Ave Rosanna ...1956, 31, city of heidelberg repertory group, heidelberg theatre company inc, directed by elaine robinson -
 Heidelberg Theatre Company Inc..
EMPTY, On the frontier by William H Auden and Christopher Isherwood directed by EMPTY
... Heidelberg Theatre Company Inc.. 36 Turnham Ave Rosanna ...1956, 32, city of heidelberg repertory group, heidelberg theatre company inc, empty -
 Heidelberg Theatre Company Inc..
Program Articles, The willow pattern by Eric Willings directed by Patrick Phillips
... Heidelberg Theatre Company Inc.. 36 Turnham Ave Rosanna ...1956, 33, city of heidelberg repertory group, heidelberg theatre company inc, directed by patrick phillips, vdl victorian drama league one-act play festival -
 Heidelberg Theatre Company Inc..
Program Memorabilia, 1956 General Memorabilia
... Heidelberg Theatre Company Inc.. 36 Turnham Ave Rosanna ...1956, general memorabilia, city of heidelberg repertory group, heidelberg theatre company inc -
 Heidelberg Theatre Company Inc..
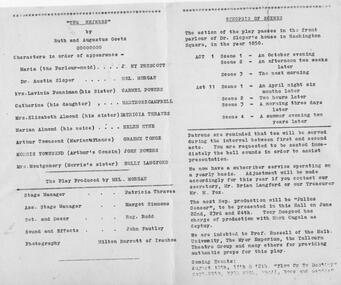
Program Review Articles, The heiress by Ruth and Augustus Goetz directed by Mel Morgan
... Heidelberg Theatre Company Inc.. 36 Turnham Ave Rosanna ...1955, 22, city of heidelberg repertory group, heidelberg theatre company inc, directed by mel morgan -
 Heidelberg Theatre Company Inc..
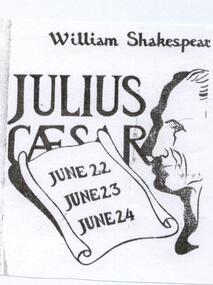
Program, Julius Ceasar by William Shakespeare directed by Tony Doogood
... Heidelberg Theatre Company Inc.. 36 Turnham Ave Rosanna ...1955, 23, city of heidelberg repertory group, heidelberg theatre company inc, directed by tony doogood -
 Heidelberg Theatre Company Inc..
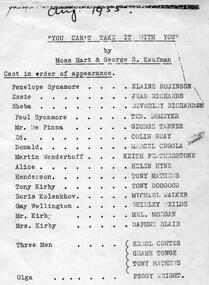
Program Articles, You cant take it with you by Moss Hart and Georde S. Kaufman directed by Mel Morgan
... Heidelberg Theatre Company Inc.. 36 Turnham Ave Rosanna ...1955, 24, city of heidelberg repertory group, heidelberg theatre company inc, directed by mel norgan -
 Heidelberg Theatre Company Inc..
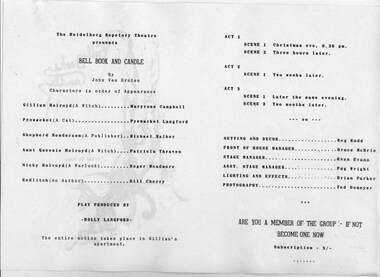
Program Reviews, Bell book and candle by John van Druten directed by Holly Langford
... Heidelberg Theatre Company Inc.. 36 Turnham Ave Rosanna ...1955, 25, city of heidelberg repertory group, heidelberg theatre company inc, directed by holly langford -
 Heidelberg Theatre Company Inc..
Program Review Articles Special Events, Gentle like a dove by A. Mackie directed by Mel Morgan
... Heidelberg Theatre Company Inc.. 36 Turnham Ave Rosanna ...1955, 26, city of heidelberg repertory group, heidelberg theatre company inc, directed by mel morgan, vdl victorian drama league one-act play festival -
 Heidelberg Theatre Company Inc..
Program Photos Newsletter Articles, An Ideal Husband by Oscar Wilde directed by Alice O'Donnell, n/a
... Heidelberg Theatre Company Inc.. 36 Turnham Ave Rosanna ...Production Number 66 by the Heidelberg Repertory Group - currently known as the Heidelberg Theatre Company Inc. The program lists names of actors and roles,, backstage, technical crew, creative and administration positions. Special mention of Lois Connor for 'general assistance with costumes and designing and making Mrs. Cheveley's ball gown.'All in Good Condition. The Program is rather fragile.None1961, 66, city of heidelberg repertory group, heidelberg theatre company inc, directed by alice o'donnell -
 Heidelberg Theatre Company Inc..
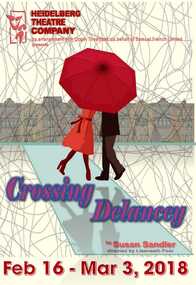
Memorabilia - Program Photos Newsletter Poster Articles, Crossing Delancey by Susan Sandler directed by Llaaneath Poor
... Heidelberg Theatre Company Inc.. 36 Turnham Ave Rosanna ...Program Photos Review Newsletter Poster Articlesheidelberg theatre company inc, htc, 2018, directed by llaaneath poor, 423 -
 Heidelberg Theatre Company Inc..
Memorabilia - Program Photos Review Newsletter Article Memorabilia, The house of Bernarda alba by Frederico Garcia Lorca directed by Joan Moriarty
... Heidelberg Theatre Company Inc.. 36 Turnham Ave Rosanna ...Program Photos Review Newsletter Poster Memorabilia2018, directed by joan moriarty, heidelberg theatre company inc, 424 -
 Heidelberg Theatre Company Inc..
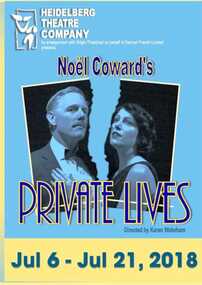
Memorabilia - Program Photos Review Newsletter Poster Articles, Private lives by Noel Coward directed by Karen Wakeham
... Heidelberg Theatre Company Inc.. 36 Turnham Ave Rosanna ...Program Photos Review Newsletter Poster Articles2018, heidelberg theatre company inc, directed by karen wakeham, 425 -
 Heidelberg Theatre Company Inc..
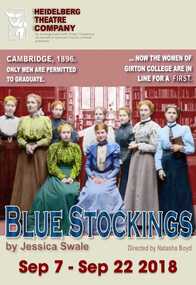
Memorabilia - Program Photos Review Newsletter Poster Articles Memorabilia, Blue stockings by Jessica Swale directed by Natasha Boyd
... Heidelberg Theatre Company Inc.. 36 Turnham Ave Rosanna ...Program Photos Review Newsletter Poster2018, heidelberg theatre company inc, directed by natasha boyd, 426 -
 Heidelberg Theatre Company Inc..
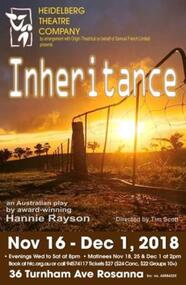
Memorabilia - Program Photos Review Newsletter Poster, Inheritance by Hannie Rayson directed by Tim Scott
... Heidelberg Theatre Company Inc.. 36 Turnham Ave Rosanna ...Program Photos Review Newsletter Poster2018, heidelberg theatre company inc, directed by tim scott, 427 -
 Heidelberg Theatre Company Inc..
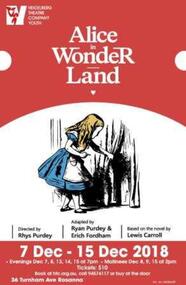
Memorabilia - Program Photos Review Newsletter Poster Articles, Alice in Wonderland adapted by Ryan Purdy and Erich Fordham from the novel by Lewis Carroll directed by Rhys Purdy
... Heidelberg Theatre Company Inc.. 36 Turnham Ave Rosanna ...Program Photos Review Newsletter Poster Articles2018, heidelberg theatre company inc, directed by rhys purdy, 428, youth production -
 Heidelberg Theatre Company Inc..
Memorabilia - Photos Memorabila Playbill, 2018 HTC General Memorabilia, 2018
... Heidelberg Theatre Company Inc.. 36 Turnham Ave Rosanna ...photos memorabilia playbill: 2018 HTC General Memorabilia2018, heidelberg theatre company inc, general memorabilia, htc