Physical description
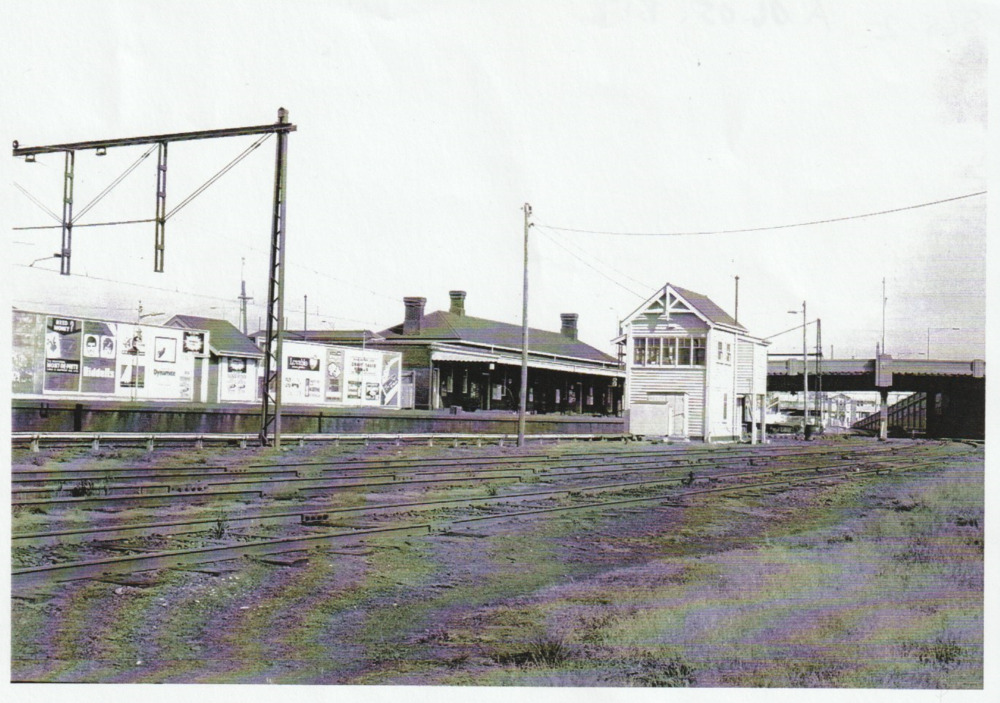
One of four B&W photographs showing views of the Port Melbourne railway yards: Railway Station from yard with signal box (Pier showing under bridge)
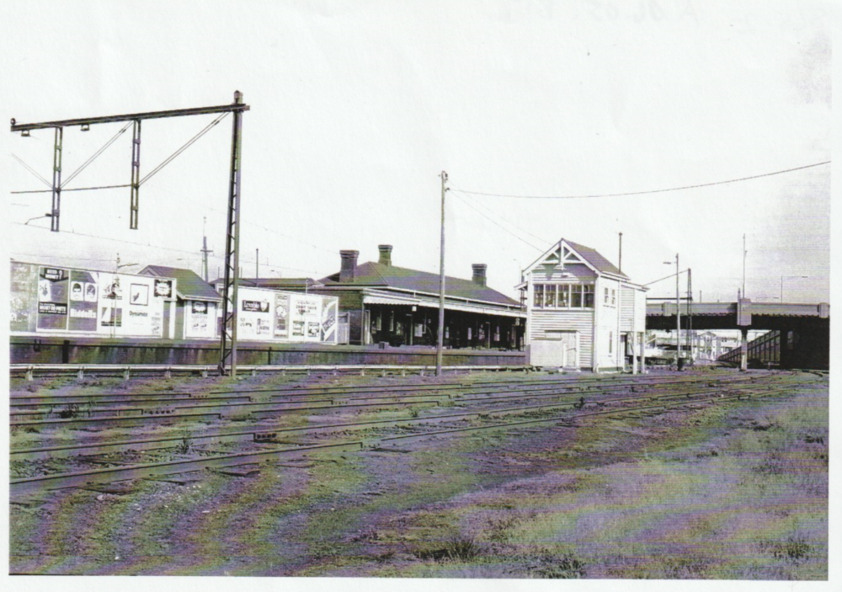
856.02 Port Melbourne Station from railway yards
Can you reuse this media without permission? Yes
Attribution-NonCommercial-NoDerivatives 4.0 International (CC BY-NC-ND 4.0)
This media item is licensed under Attribution-NonCommercial-NoDerivatives 4.0 International (CC BY-NC-ND 4.0). You may share (i.e. copy, distribute, transmit) this item provided that you attribute the content source and copyright holder; do not use the content for commercial purposes; and do not rework (i.e. alter, transform, build upon) the material.
Please acknowledge the item’s source, creator and title (where known)
Port Melbourne Historical & Preservation Society Collection
Have a question? Contact Port Melbourne Historical & Preservation Society
One of four B&W photographs showing views of the Port Melbourne railway yards: Railway Station from yard with signal box (Pier showing under bridge)