


Historical information
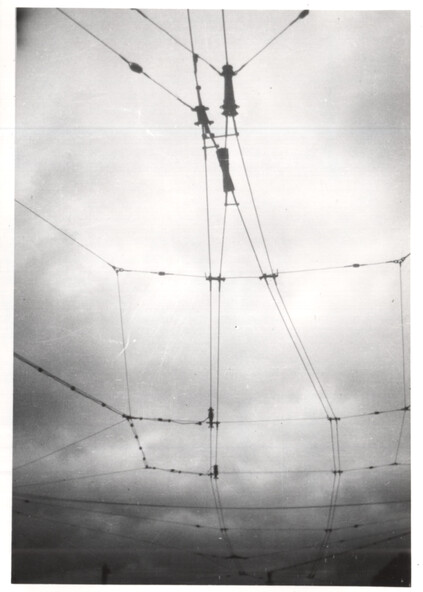
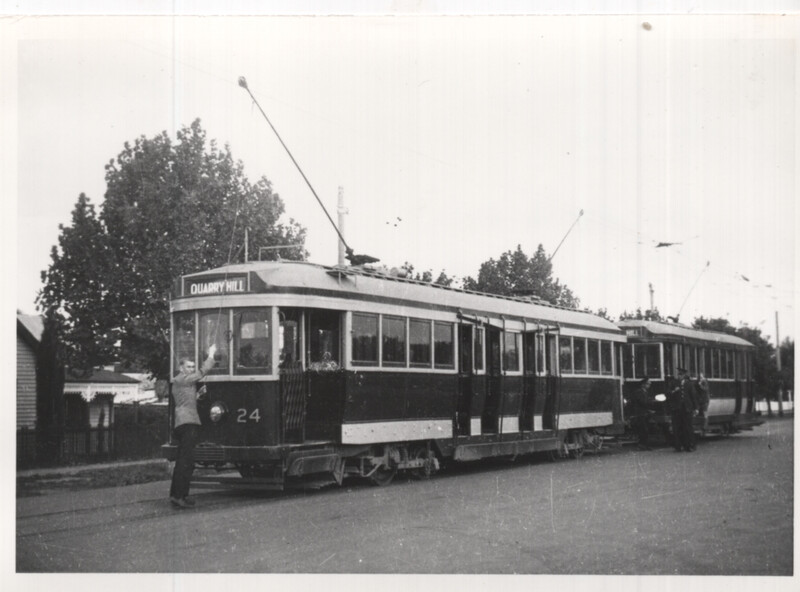
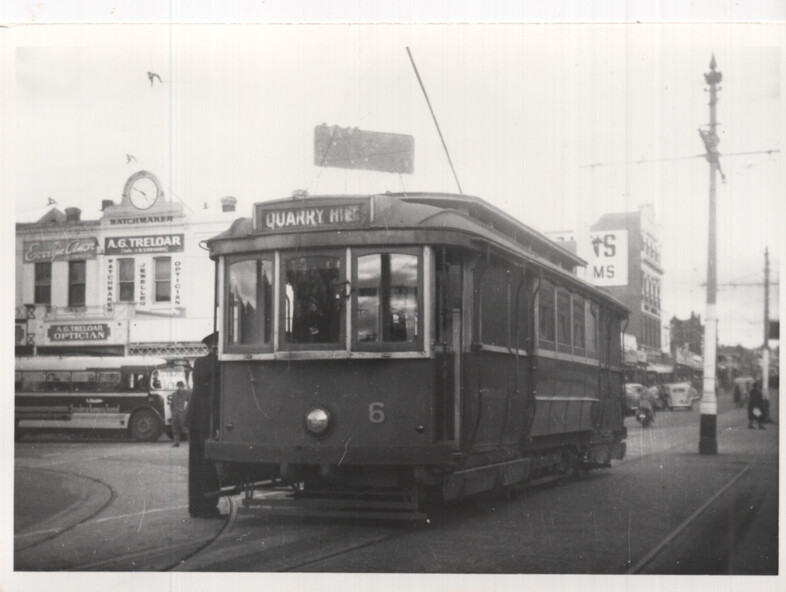
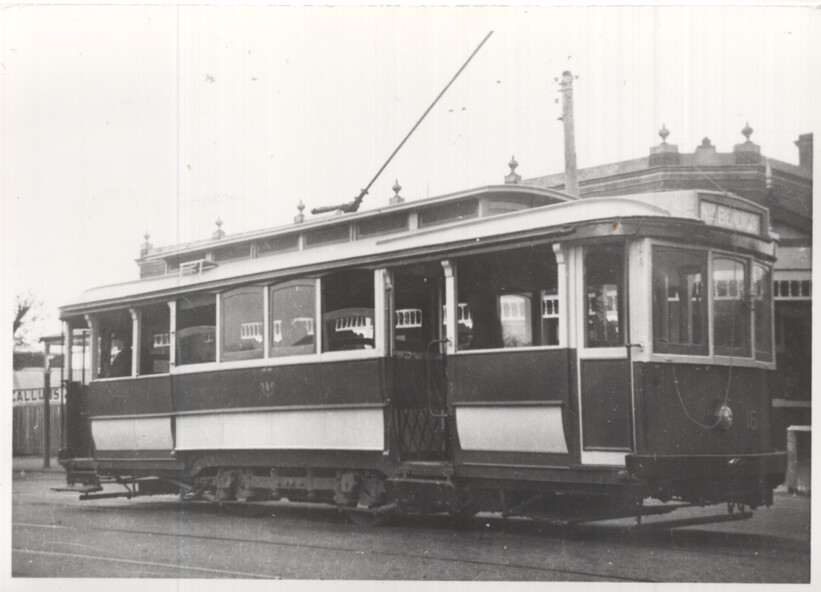
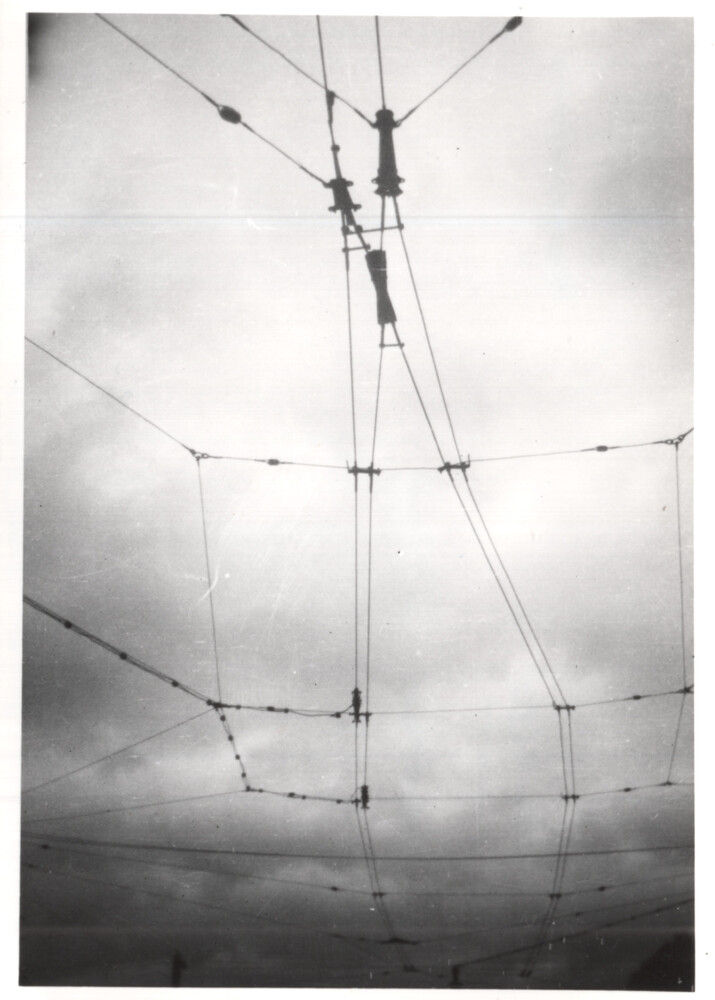
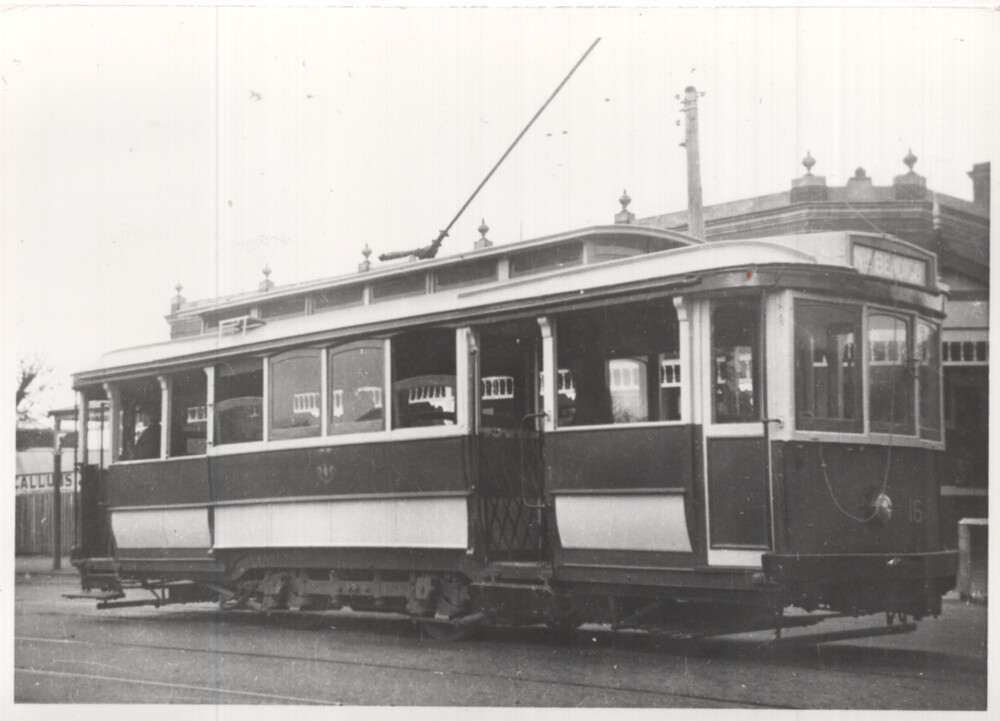
Set of four photographs of Bendigo trams and infrastructure photographed by Peter Duckett, late 1940s
1 - double trolley wire at a "Y" terminus showing the details of dual trolley wire - Could be either Quarry Hill or Golden Square.
2 - Bendigo trams 24 and 22 at Quarry Hill terminus - note the cream rocker panels.
3 - Bendigo 6 at Charing Cross.
4 - Bendigo 16 - after conversion to one man tram.
Significance
Yields information about Bendigo trams late 1940s
Physical description
Set of four black and white photographs by Peter Duckett.
Inscriptions & markings
Details the image on the rear of the print in ink.