Historical information
Photo - see pdf file for further information.
Number Brief Description
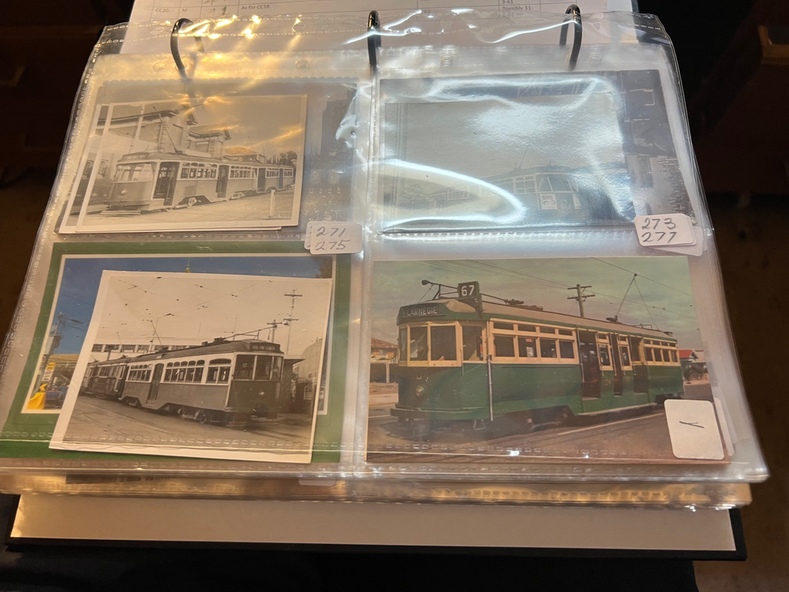
CC271 Y1 610 and another at Camberwell depot
CC272 Ditto
CC273 Y1 613 at Batman Ave
CC274 Y1 611 Peel St North Melbourne
CC275 Y 469 Camberwell depot
CC276 Ditto
CC277 Postcard – L104 – MMTB
CC278 L103, Hawthorn Road
CC279 L103, Hawthorn Road
CC280 L103 Dandenong Road
CC281 L103 and w5 847 Dandenong Road
CC282 L104 on Preston Workshops traverser
CC283 Flinders St station with Ws
CC284 Flinders St looking south along St Kilda Road to Shrine
CC285 Postcard – Nu Color vue – Flinders St
CC286 Postcard – Valentines – Flinders St No. 13
CC287 Postcard – Rose Series – 13595 – has been trimmed
CC288 Postcard – Rose Series – 10660 – Princes Bridge and Flinders St yard
CC289 Postcard – Rose but has been trimmed of Flinders St
CC290 Postcard – same as CC285
CC291 SW6 914 and another car in Swanston St by Flinders St
CC292 SW6 903 and bus 436 with Flinders St Station in background
CC293 W5 776 at Flinders St Station
CC294 W2 596 at Flinders St Station
CC295 L101 and W2 Swanston St by Ian Brady
CC296 Postcard - Biscay BG 250 – A 281 -
CC297 W5 779 Maribyrnong River
CC298 SW5 787 Queensbridge St
CC299A Duplicate copy
CC299 Ditto
CC300 W5 812 St Kilda Junction
CC301 W5 721 Carnegie? -
CC302 W5 817 Elliot Ave – see also CC150
CC303 CW5 682
CC304 CW5 682 Dandenong Road
CC305 SW6 855 Power St Hawthorn
CC306 Argus photo same as CC8A
CC307 Freight car 19 leaving South Melbourne depot
CC308 Freight car 19 at South Melbourne depot
CC309 Cleaner 7
CC310 W2 295 and 8 at South Melbourne Depot
CC311 Cleaners 5, 8 and 7 and S or T at South Melbourne depot
CC312 Freight car 17 with crew member
CC313 Cleaners 5, 8 and 7 along with a tower truck and another road motor
CC314 Wheel Transport car 16 at Preston
CC315 Cleaner 7
CC316 Cleaner 6 Brunswick Depot R Hudson and Bob Prentice
CC317 SW6 867 in Swanston at Flinders
CC318 SW6 850 at Chapel and Brighton Road
CC319 SW6 914 at Batman Ave
CC320 SW6 963 and W5 826 in Collins St near Spencer St
CC321 Sw6 923 RAAF tram
CC322 Same image at 318, but better has initials T McC (Tom McCaw)
CC323 Sw6 963 In Collins at Spencer St
CC324 SW6 947 in Collins at Spencer St
CC325 Ditto with crew
CC326 SW6 850 at Preston Workshop – Argus photo
CC327 SW5 843 at Swan and church, severely derailed – Herald photo
CC328 SW6 886 in Victoria Parade near La Trobe
CC329 SW6 948 turning from Union St into Maribyrnong Road – single curve
CC330 W5 731
CC331 SW5 on a 4D – Herald WT photo
CC332 Sw6 867 Swanston St with driver carrying handles etc
CC333 SW6 954 – Truganini Cres
CC334 SW6 915 illuminated for Christmas, the CDA father Xmas special
CC335 SW6 850 on route 77 side on view
CC336 Sydney R class 1845 on trailer in a busy road
CC337 Sydney R class 1845 on trailer
CC338 Ditto
CC339 Ditto – on trailer turning from a local street
CC340 MMTB Emergency van
CC341 Ditto
CC342 Welding truck – Hopkins and Leeds
CC343 Welding truck – Hopkins and Leeds
CC344 Welding truck in Hopkins St Footscray
CC345 Negative – Hobart tram 103
CC346 Launceston tram
CC347 Trackwork – East Kew
CC348 Trackwork and a W2 East Kews
CC349 SW6 892 and trackwork – East Kew
CC350 W4 670 – FRONT ON
CC351 W3 654 – Brunswick Depot
CC352 W3 666 – St Kilda Road and High St
Significance
Demonstrates the work of Charles Craig in photography and collection of prints.
Physical description
Assembled album in a black presentation folder of 80 photographs from the Charles Craig Collection - 31 sleeves - part 2 of 2.
All photographs have been scanned and placed on the Museum's G drive.
A list of all photographs with details where possible has been compiled.
Victorian Provincial, Launceston, Hobart and Sydney tram photos have been transferred to other Museums, image files retained.