Historical information
Colour print of BTM W3 661 on tour at Carlisle St terminus of route 96/16 route - 9-12-1989 by David Frost.
Significance
Demonstrates the work of BTM and its tours.
Physical description
Colour photograph print
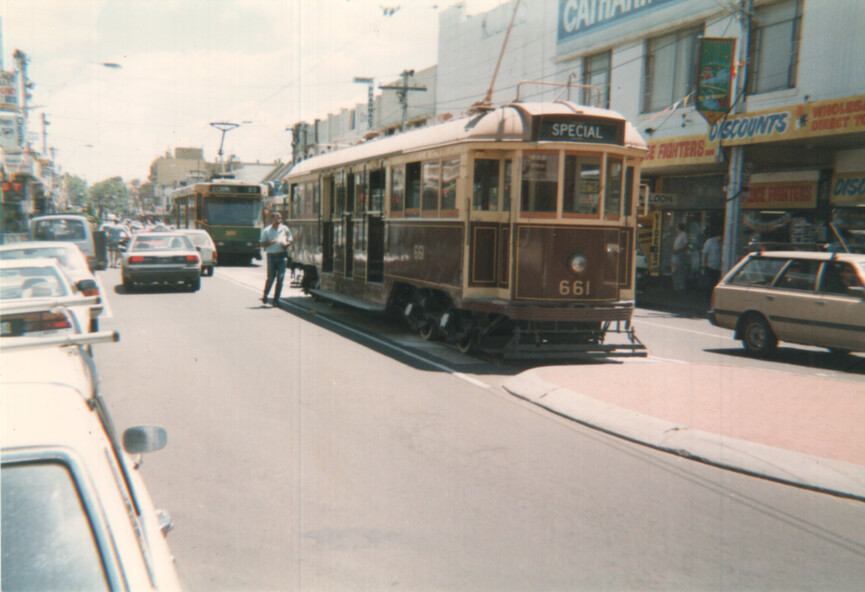
W3 661 at Carlisle St terminus of route 96/16 route.
Can you reuse this media without permission? No (with exceptions, see below)
All rights reserved
This media item is licensed under "All rights reserved". You cannot share (i.e. copy, distribute, transmit) or rework (i.e. alter, transform, build upon) this item, or use it for commercial purposes without the permission of the copyright owner. However, an exception can be made if your intended use meets the "fair dealing" criteria. Uses that meet this criteria include research or study; criticism or review; parody or satire; reporting news; enabling a person with a disability to access material; or professional advice by a lawyer, patent attorney, or trademark attorney.
Please acknowledge the item’s source, creator and title (where known)
Have a question? Contact Ballarat Tramway Museum
Colour print of BTM W3 661 on tour at Carlisle St terminus of route 96/16 route - 9-12-1989 by David Frost.
Demonstrates the work of BTM and its tours.
Colour photograph print