


Physical description
Set of 31 transparencies taken on 25/2/1972 on Kodak mounts.
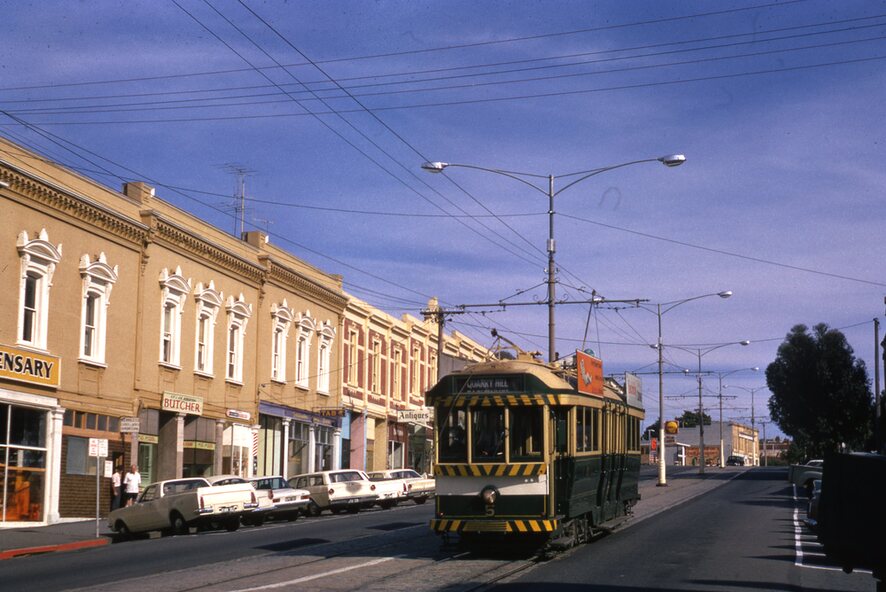
1201.1 - Bendigo No. 26 in Bond St. just after leaving Long Gully en route for Quarry Hill. Has Norris Supermarket in background. Has two SEC roof ads.
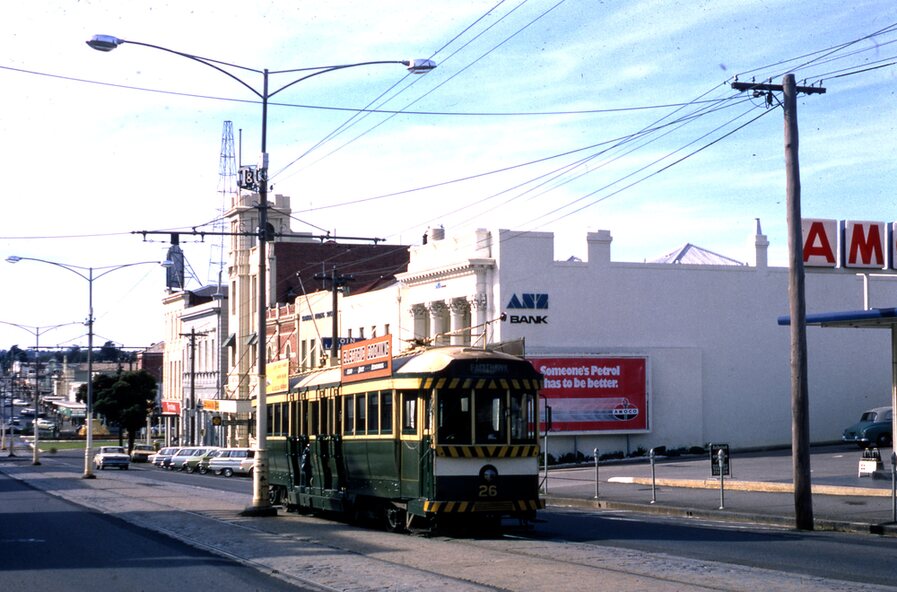
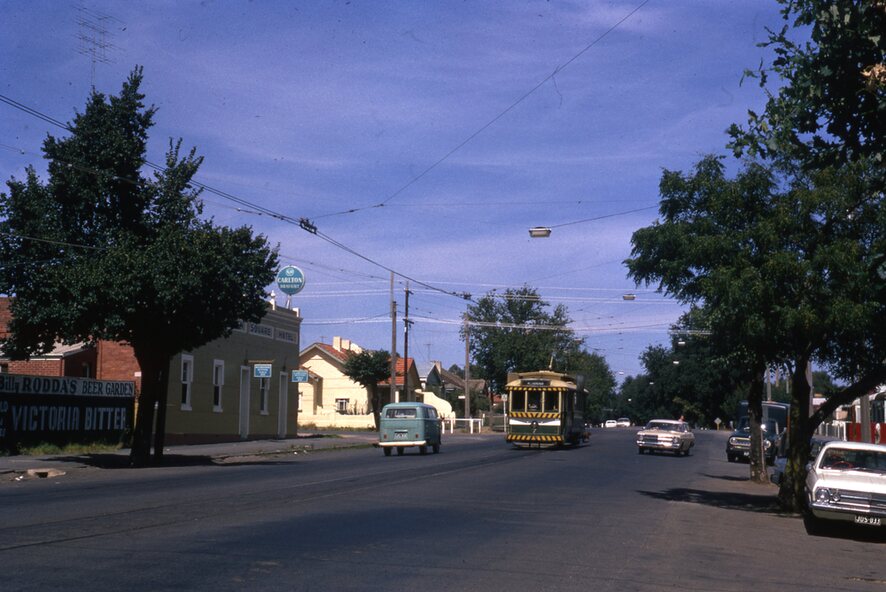
1201.2 - No. 26 climbing View St. from Charing Cross en route to Eaglehawk. Has ANZ bank and AMOCO service station in background.
1201.3 - as for 1201.3, but after tram has passed photographer. Has buildings west of Mackenzie St. in photograph.
1201.4 - Tram stop and centre of the road pole with two "CARS STOP BY REQUEST" signs mounted on pole at the corner of Mackenzie St.
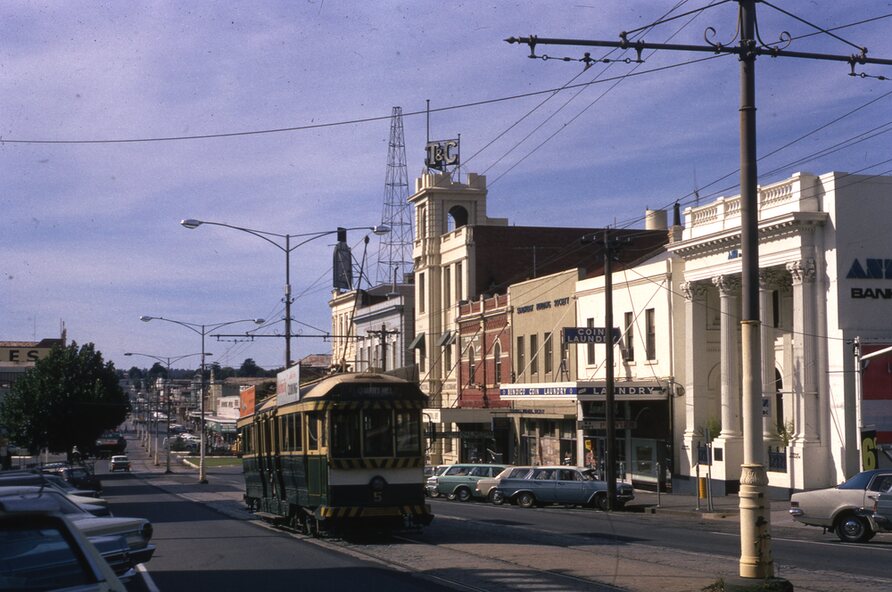
1201.5 - same position as for 1201.3, but with No. 5 descending the street.
1201.6 - same position as for 1201.2, but with No. 5 descending the street. Photo taken after tram has passed photographer.
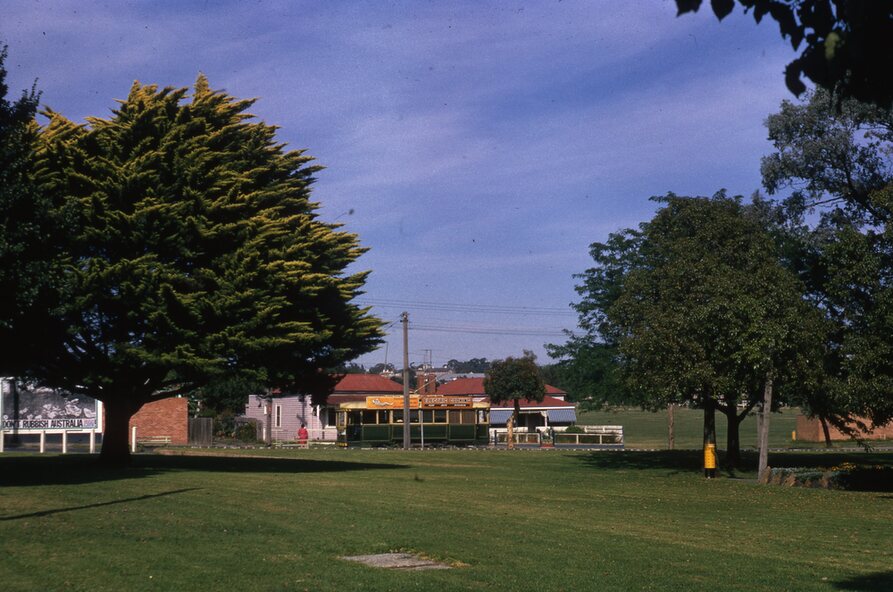
1201.7 - No. 7 in Nolan St. from across the park at Lake Weeroona.
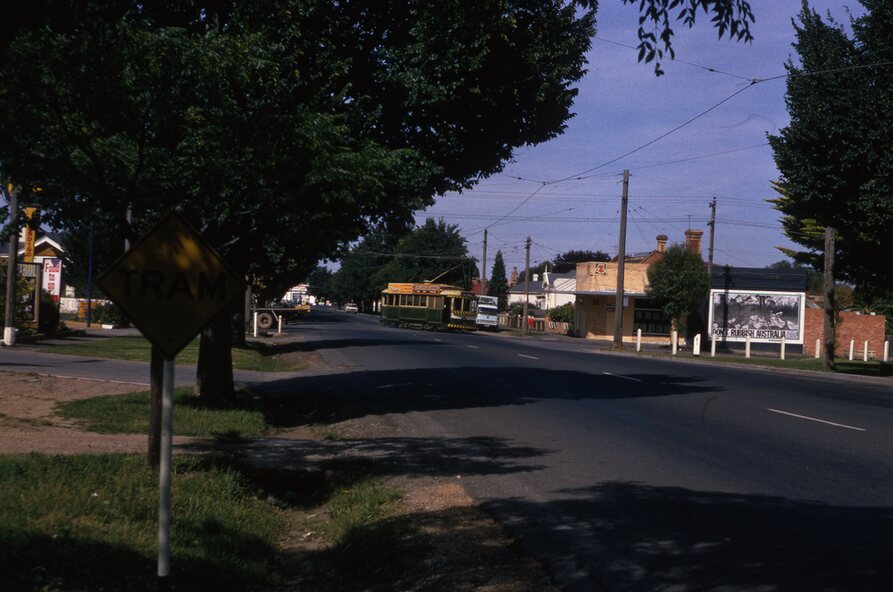
1201.8 - No. 7 entering McCrae St from Nolan St. - distant view. Note "TRAM "sign on left hand side under tree and overhead in McCrae St. from former track that once was in this street.
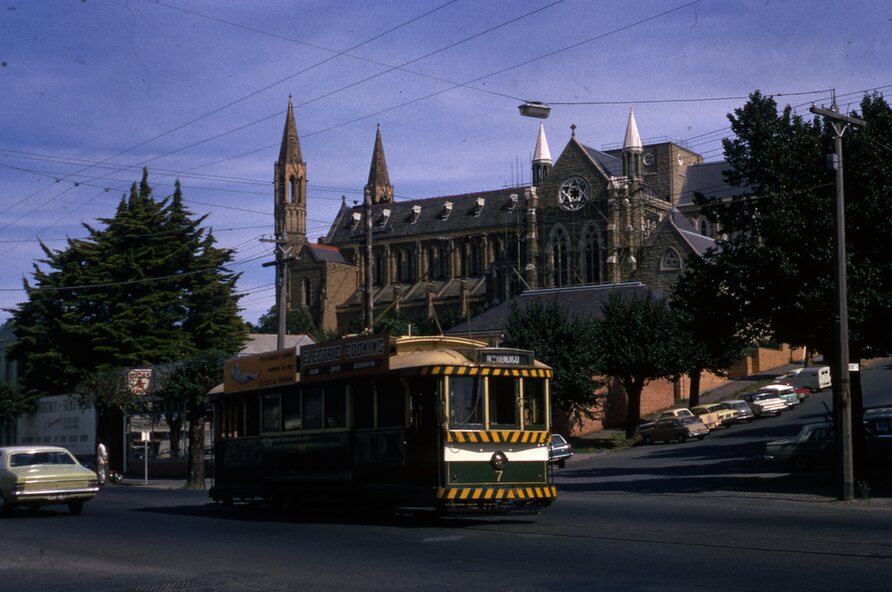
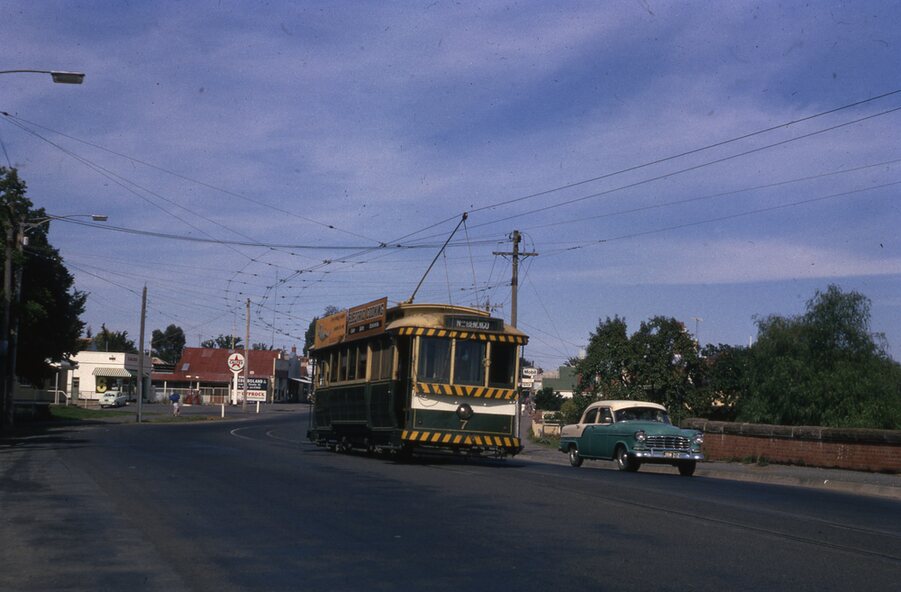
1201.9 - No. 7 in High St. with Cathedral in background. Tram en route to North Bendigo. Note scaffolding around Cathedral main spire area.
1201.10 - No. 7 crossing Bendigo Creek bridge in High St. near Golden Square. Has a Caltex Service station in the background.
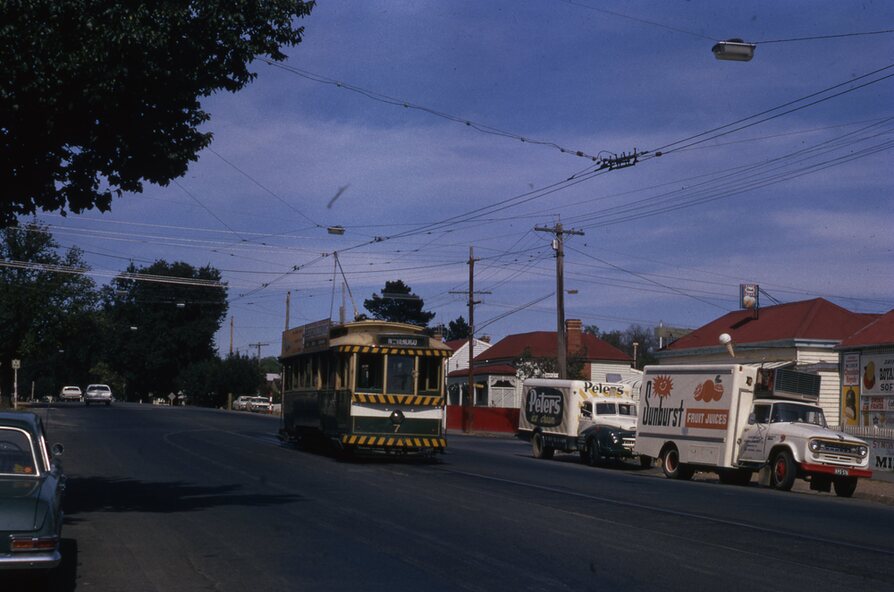
1201.11 - No. 7 at Golden Square terminus with Sunburst Fruit Juices and a Peters Ice cream delivery vans alongside.
1201.12 - as for 1201.11 but photo taken from behind tram, with the end of the rails in the photograph.
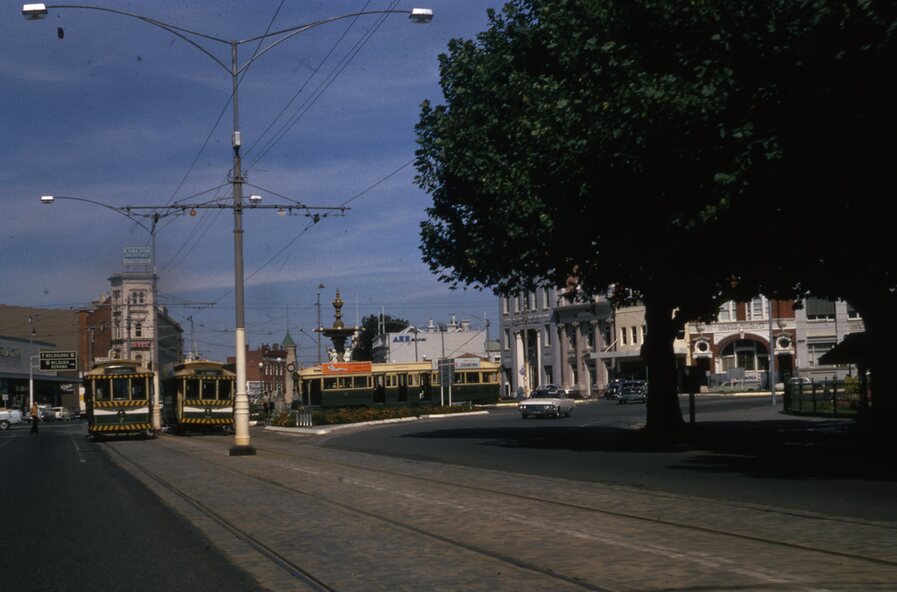
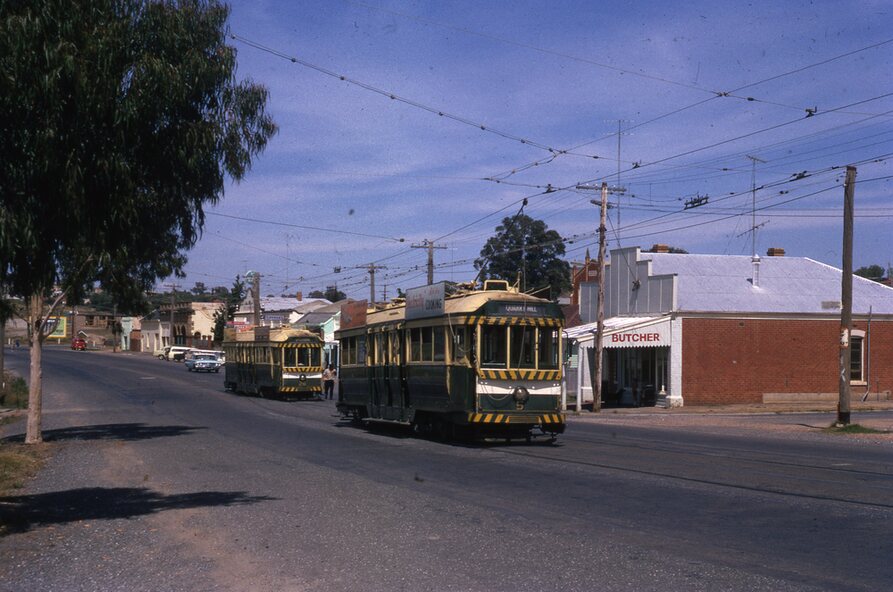
1201.13 - No. 7 and 21 in Pall Mall at Charing Cross with No. 5 in the background. Taken some distance away from the location.
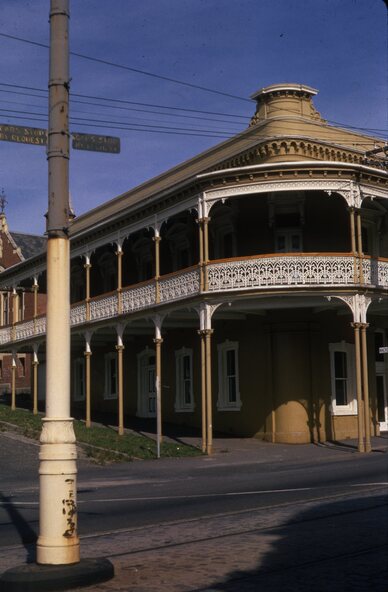
1201.14 - No. 7 at Golden Square terminus, taken a short distance from the tram terminus. Shows Milk Bar on right hand side and the hotel on the left hand side. Taken from the south side of the roadway.
1201.15 - as from 1201.14 but taken from the north side of the roadway.
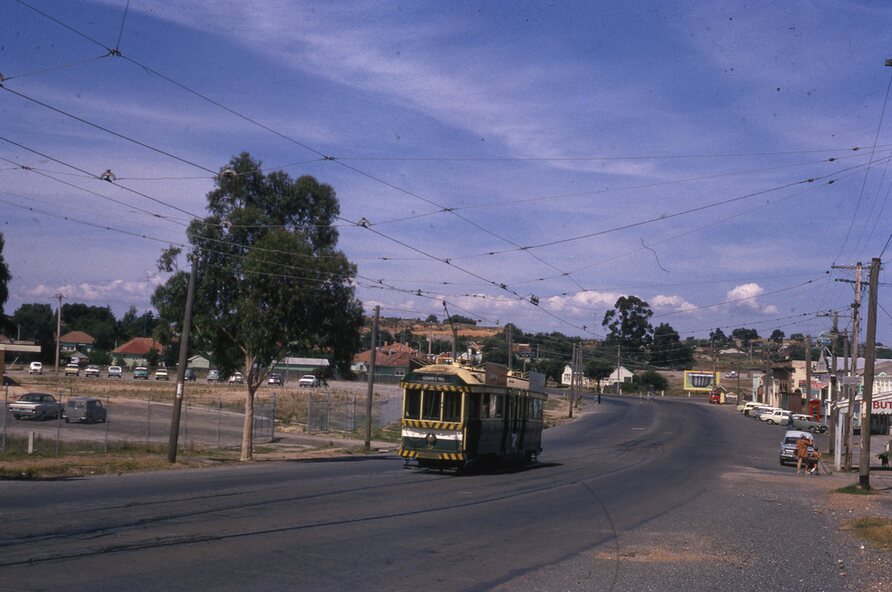
1201.16 - No 5 waiting at California Gully loop. Distant photo showing surrounds
1201.17 - No. 5 en route for Quarry Hill crossing No. 26 at California Gully.
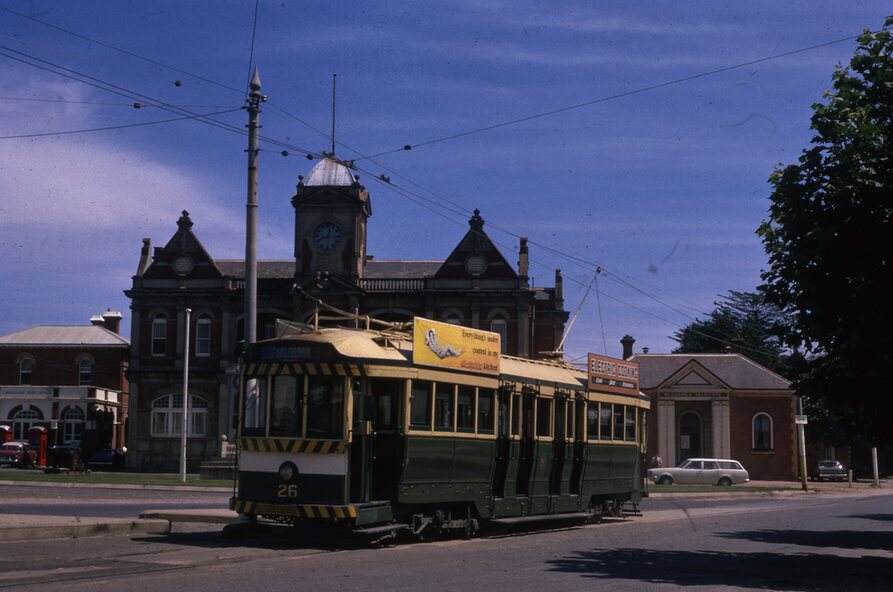
1201.18 - No. 26 at Eaglehawk terminus with Eaglehawk Town Hall and Post Office in background.
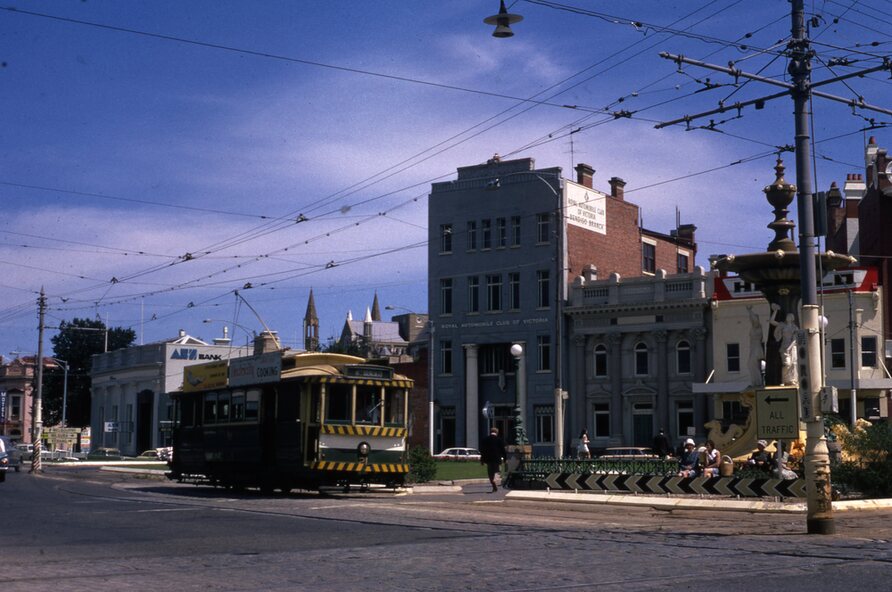
1201.19 - No. 21 arriving at Charing Cross en route to North Bendigo. Has Alexandra Fountain in the background, ANZ bank RACV building, and other buildings on the north side of Pall Mall or Nolan St.
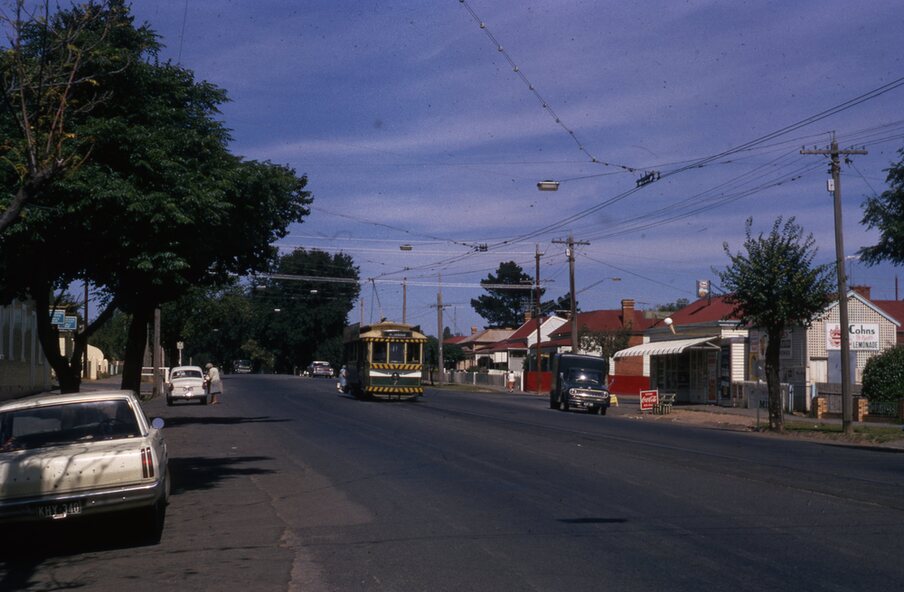
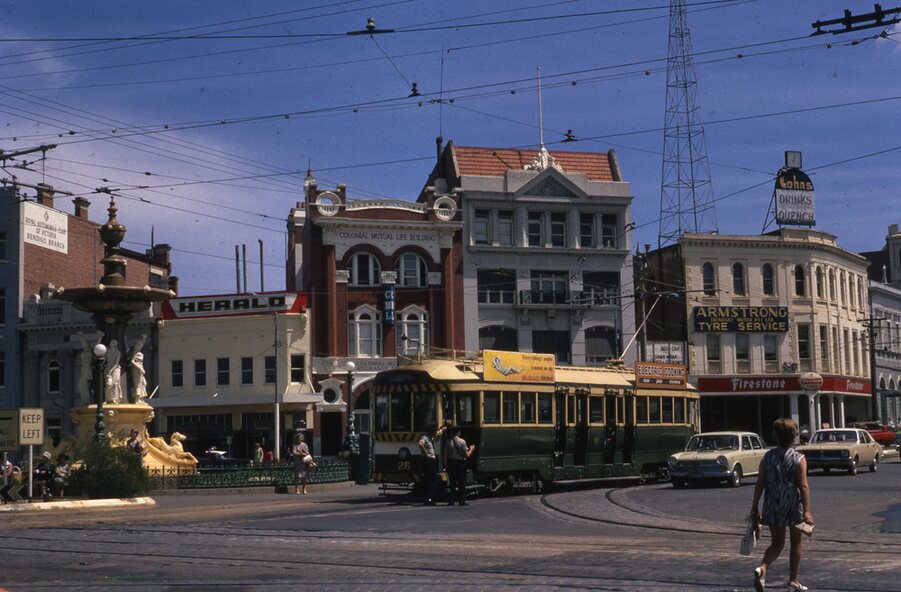
1201.20 - No. 26 en route for Quarry Hill at Charing Cross, with crew standing by front door. Has Colonial Mutual life building, Armstrong Tyre Service (Firestone) and a sign for Cohns Drinks in the background.
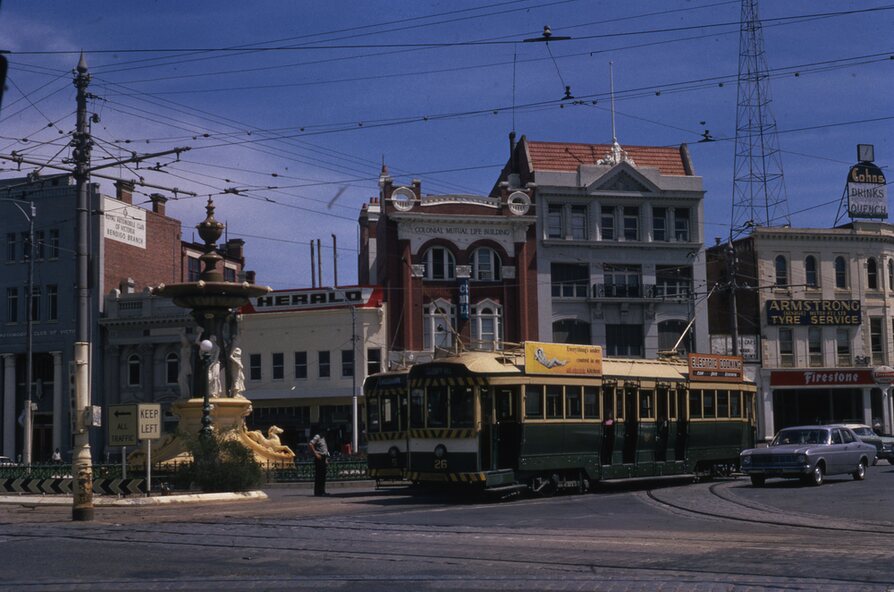
1201.21 - as for 1201.20 but with No. 5 en route to Eaglehawk now in photograph.
1201.22 - No. 26 at Quarry Hill terminus.
1201.23 - No. 26 at Quarry Hill terminus, view of front portion of tram only from a gate at the Bendigo cemetery.
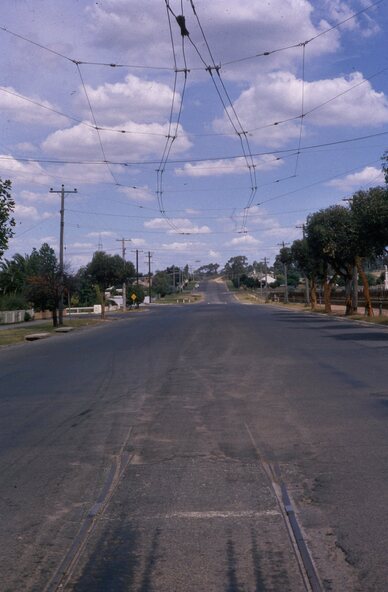
1201.24 - Track at the end of the Quarry Hill line showing the point blades of the former "Y" terminus and the overhead for this.
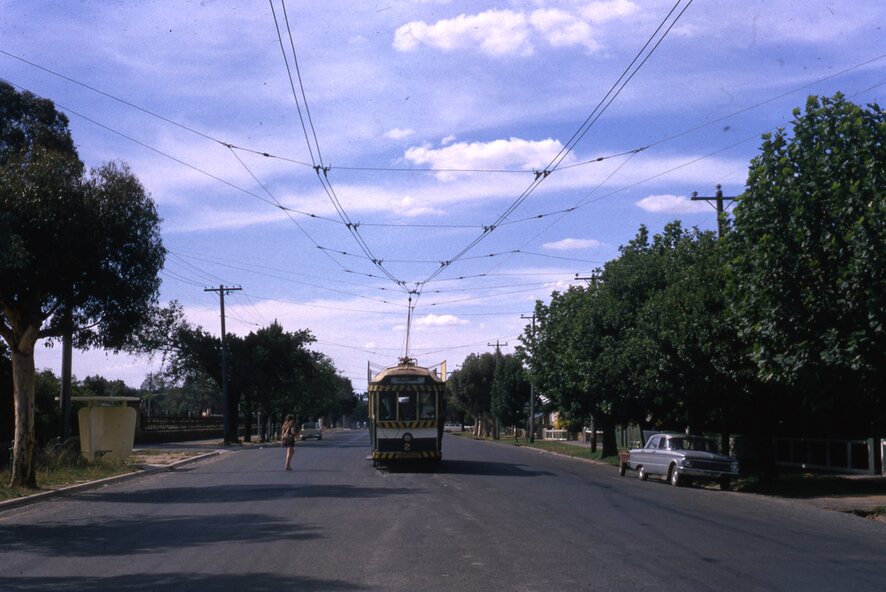
1201.25 - No. 2 at the Quarry Hill terminus, looking along the former Trackwork.
1201.26 - as for 1201.25
1201.27 - number not used.
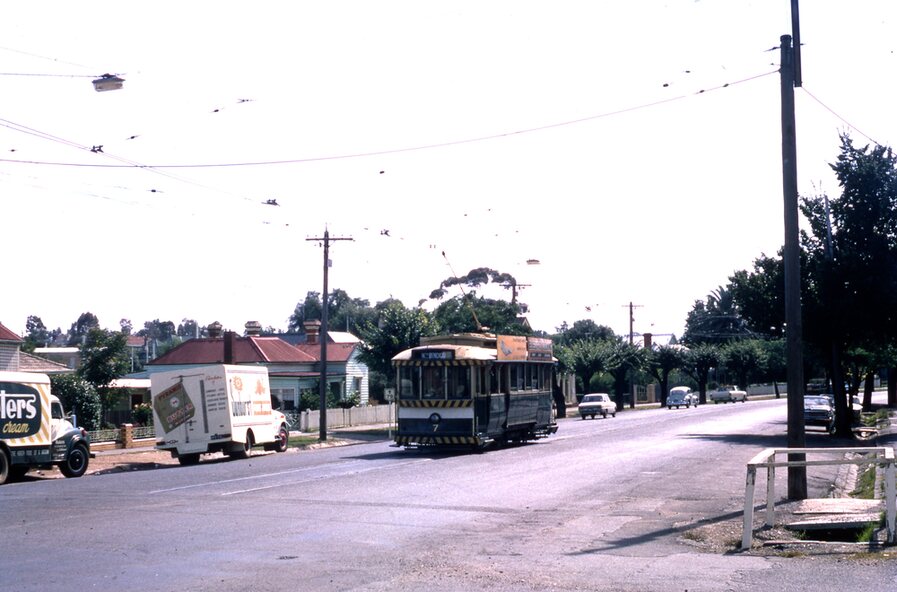
1201.28 - Golden Square terminus from some distance from the actual terminus, showing the Warning sign "TRAM" for motorists from the south. No. 7 at the terminus.
1201.29 - No. 7 passing through the Golden Square shopping centre. Numerous cars and pedestrians. Tram en route for North Bendigo.
1201.30 - No. 7 in High St. Golden Square, en route for North Bendigo. Photo taken after tram has passed photographer.
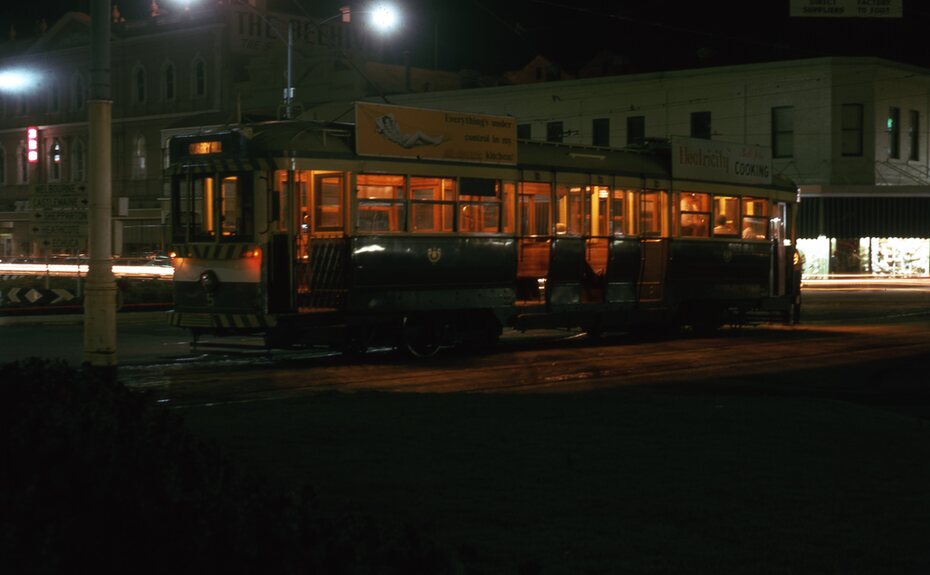
1201.31 - No. 7 in High St. just past Wattle St. with the Cathedral in the background. Tram has two SEC roof ads good side on photo, 'Everything's fine in my all electric kitchen' and 'Electrical cooking - clean, quick, economical'.
1201.32 - No. 7 in High St. nearing Wattle St. Has Cathedral in the background. Photo taken after tram has passed photographer.
Inscriptions & markings
Information written on in black ink and date stamped on purple ink.
1201.1 - "No. 26 in Bond St just after leaving Long Gully"
1201.2 - "No. 26 climbing View St. from Charing Cross"
1201.3 - "No. 26 ascending View St. from Charing Cross (At Mackenzie St.)"
1201.4 - "View St. & Mackenzie St."
1201.5 - "No. 5 in View St. near Mackenzie St."
1201.6 - "No. 5 in View St. nearing Charing Cross."
1201.7 - "No. 7 in Nolan St. seen from Lake Weeroona Park."
1201.8 - "No. 7 entering McRae St. from Nolan St. Note "TRAM" warning sign on left.
1201.9 - "No. 7 in High St. passing Short St."
1201.10 - "No. 7 crossing Bendigo Creek bridge in High St. near Golden Square."
1201.11 - "No. 7 at Golden Square terminus"
1201.12 - "No. 7 at Golden Square terminus"
1201.13 - "No 7, 21 and 5 at Charing Cross"
1201.14 - "No. 7 at Golden Square terminus"
1201.15 - "No. 7 at Golden Square terminus"
1201.16 - "No 5 waiting at California Gully loop."
1201.17 - "Nos. 5 and 26 crossing at California Gully loop"
1201.18 - "No. 26 at Eaglehawk terminus"
1201.19 - "No. 21 arriving at Charing Cross from Golden Square"
1201.20 - "No. 26 at Charing Cross"
1201.21 - "Nos. 5 and 26 at Charing Cross."
1201.22 - "No. 26 at Quarry Hill terminus"
1201.23 - "No. 26 at Quarry Hill terminus seen through the gates of the Bendigo Cemetery."
1201.24 - "Quarry Hill terminus showing remains for former double track layout abandoned before 1964."
1201.25 - "No. 2 at Quarry Hill terminus"
1201.26 - "No. 2 at Quarry Hill terminus"
1201.28 - "The Southern approach to Golden Square with No. 7 standing at the terminus, "TRAM" warning sign on the left.
1201.29 - "No. 7 passing through Golden Square Shopping Centre"
1201.30 - "No. 7 in High St. Golden Square"
1201.31 - "No. 7 in High St. passing Wattle St."
1201.32 - "No. 7 in High St. nearing Wattle St."