Physical description
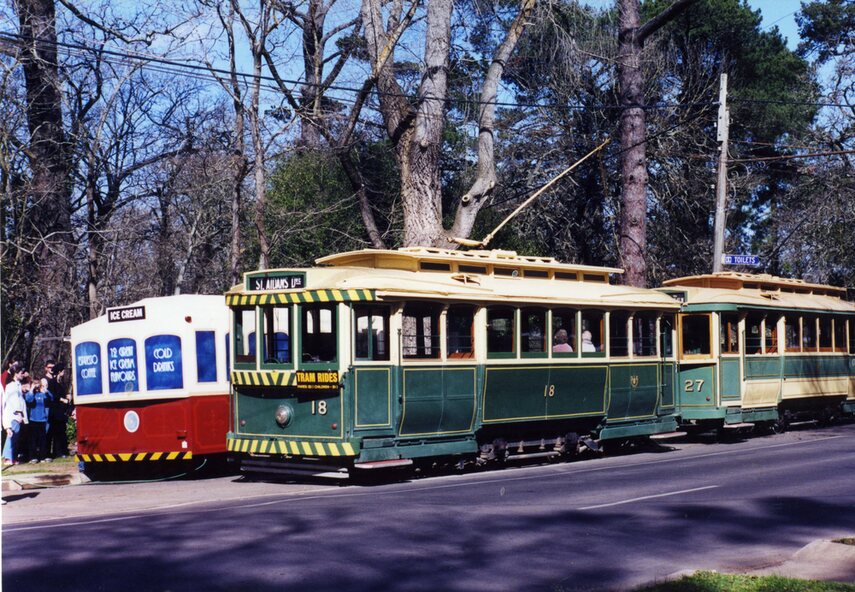
Colour print of trams 18 and 27 at depot junction, Wendouree Parade alongside the Ice cream van, which has been made to look like an ESCo colour scheme tramcar. Not know when photo taken or date, c2002. On Kodak paper.
Untitled image
Can you reuse this media without permission? No (with exceptions, see below)
All rights reserved
This media item is licensed under "All rights reserved". You cannot share (i.e. copy, distribute, transmit) or rework (i.e. alter, transform, build upon) this item, or use it for commercial purposes without the permission of the copyright owner. However, an exception can be made if your intended use meets the "fair dealing" criteria. Uses that meet this criteria include research or study; criticism or review; parody or satire; reporting news; enabling a person with a disability to access material; or professional advice by a lawyer, patent attorney, or trademark attorney.
Please acknowledge the item’s source, creator and title (where known)
Have a question? Contact Ballarat Tramway Museum
Colour print of trams 18 and 27 at depot junction, Wendouree Parade alongside the Ice cream van, which has been made to look like an ESCo colour scheme tramcar. Not know when photo taken or date, c2002. On Kodak paper.