


Physical description
Set of 20 digital images of Bendigo Tramways December 1970 by Stuart Lodington.
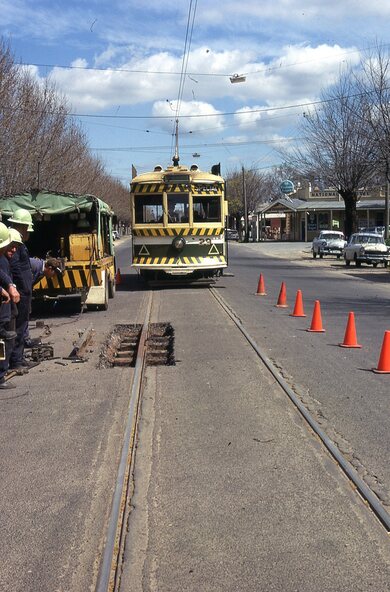
.1 - Bendigo track gang renewing a joint, McCrae St, with welding truck alongside and Birney No. 29.
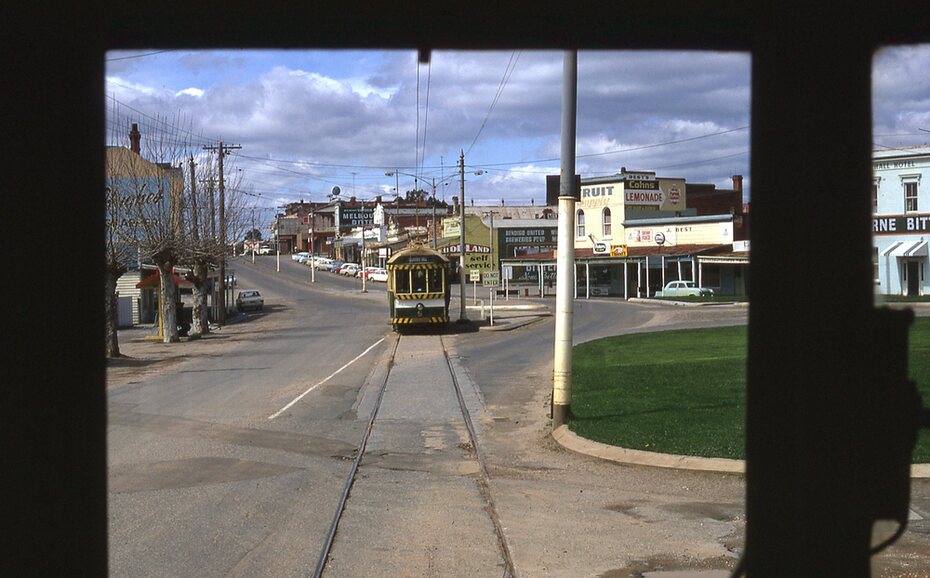
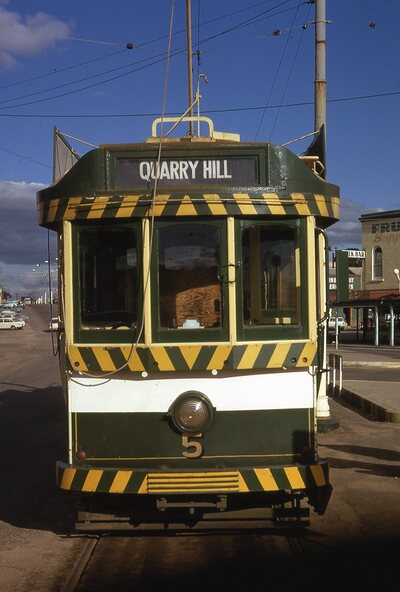
.2 - No. 5 at Quarry Hill terminus?
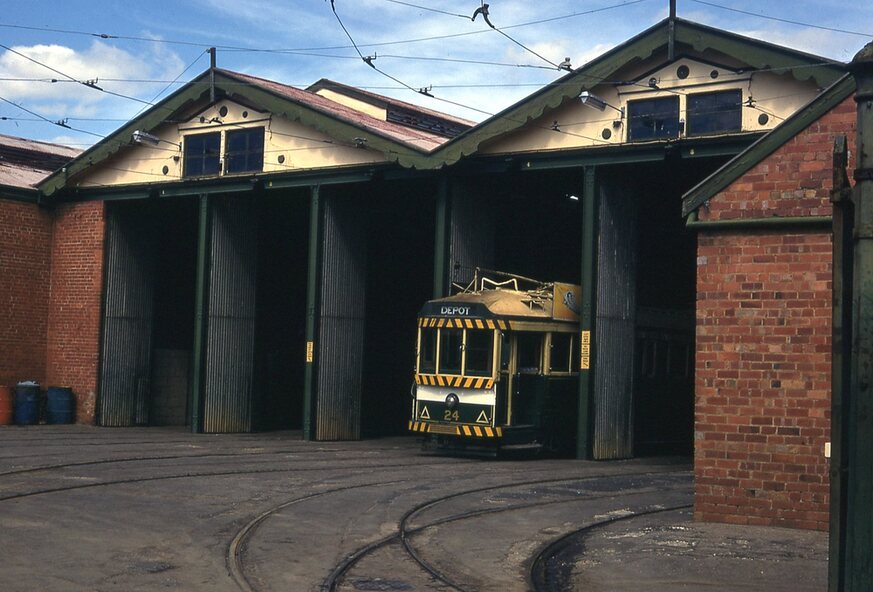
.3 - No. 24 at the depot
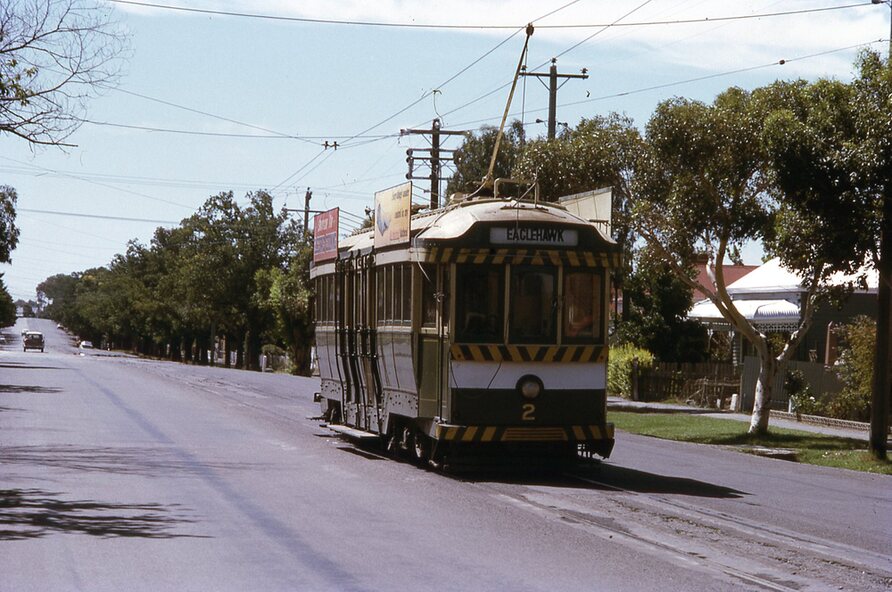
.4 - No. 2 on the Quarry Hill line
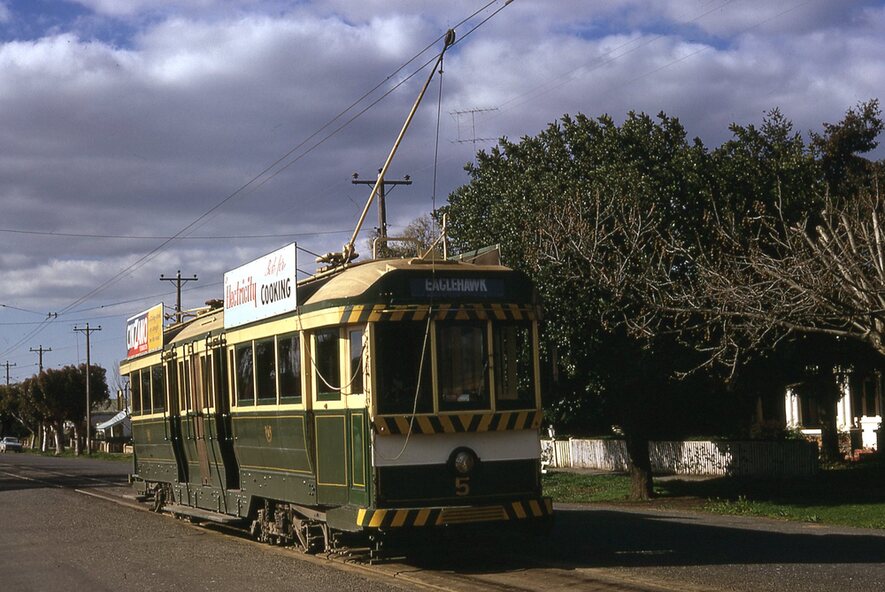
.5 - No. 5 approaching the Eaglehawk terminus
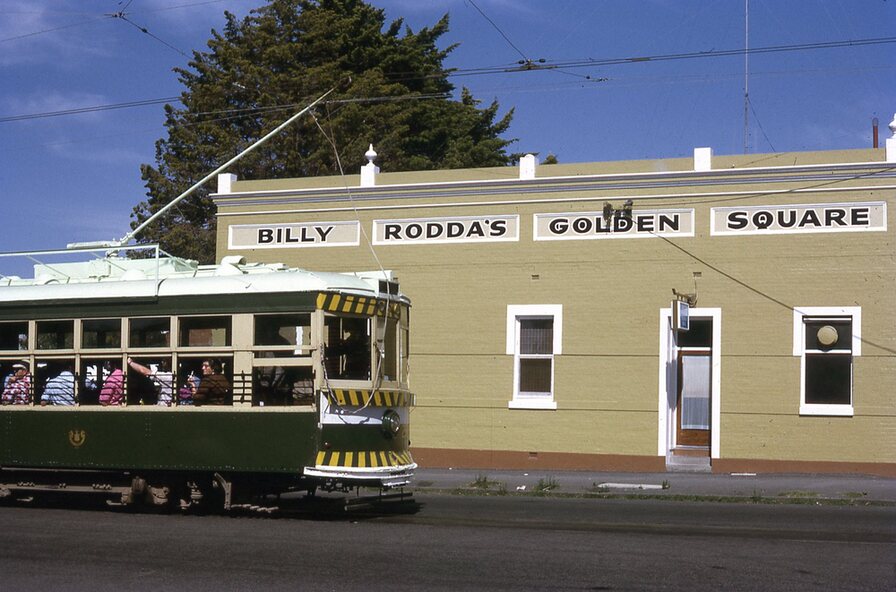
.6 - No. 29? at the Golden Square Terminus with Bill Rodda's Golden Square hotel in the background.
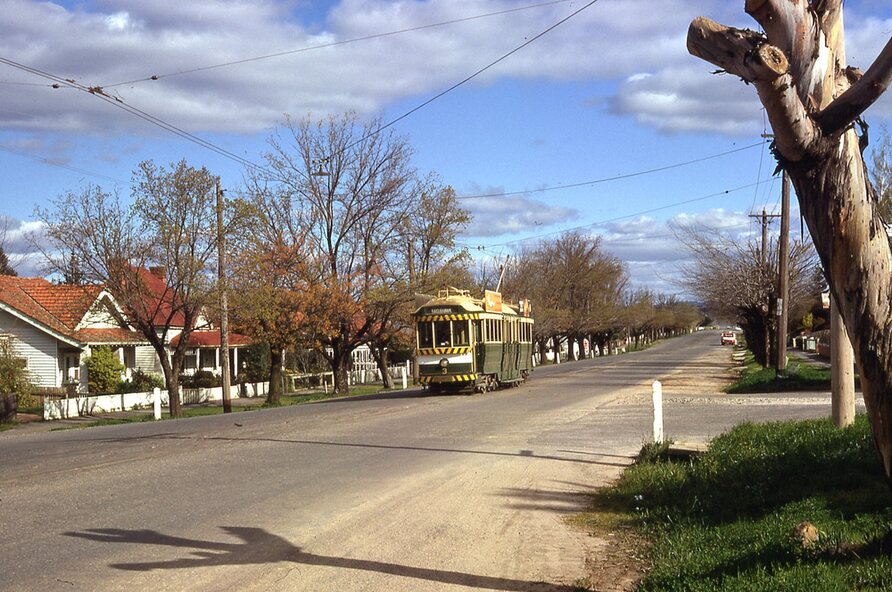
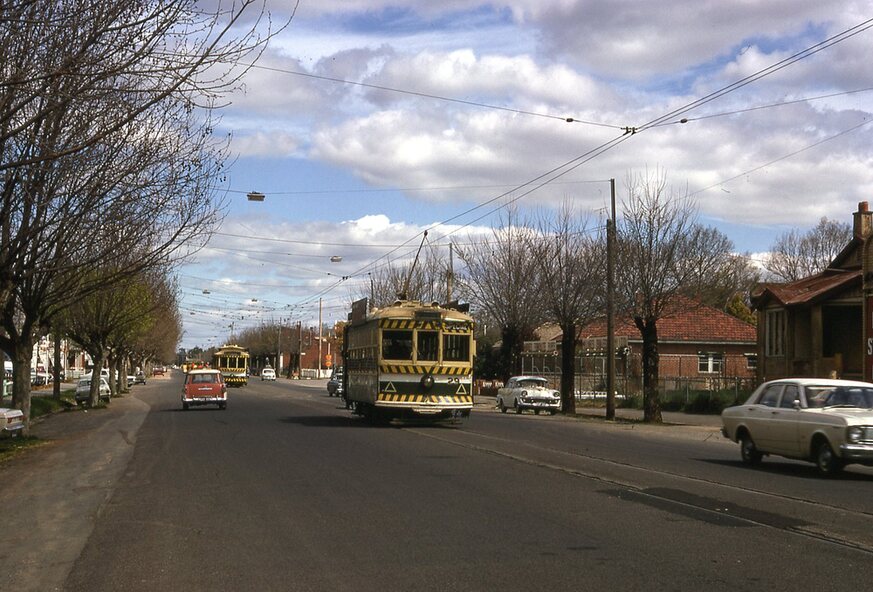
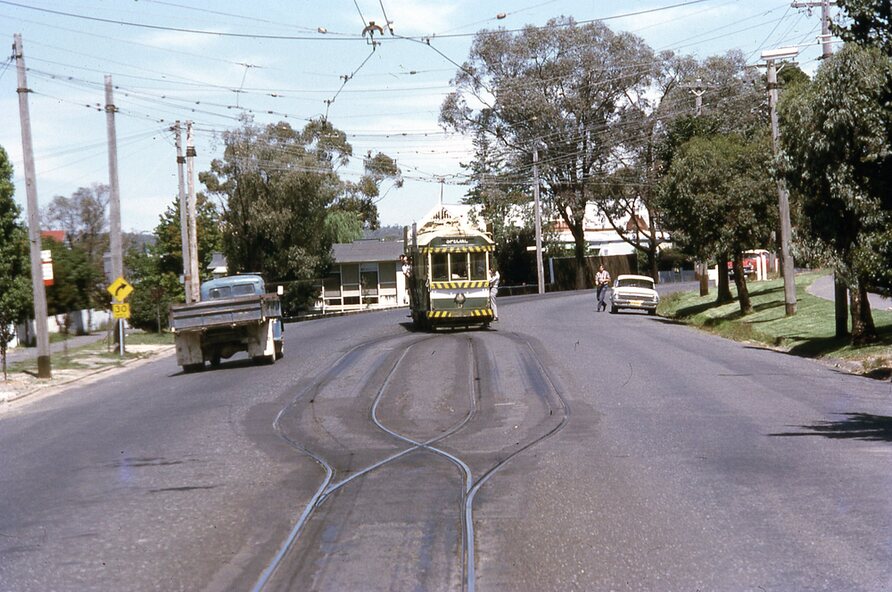
.7 - No. 3 inbound on the Quarry Hill line.
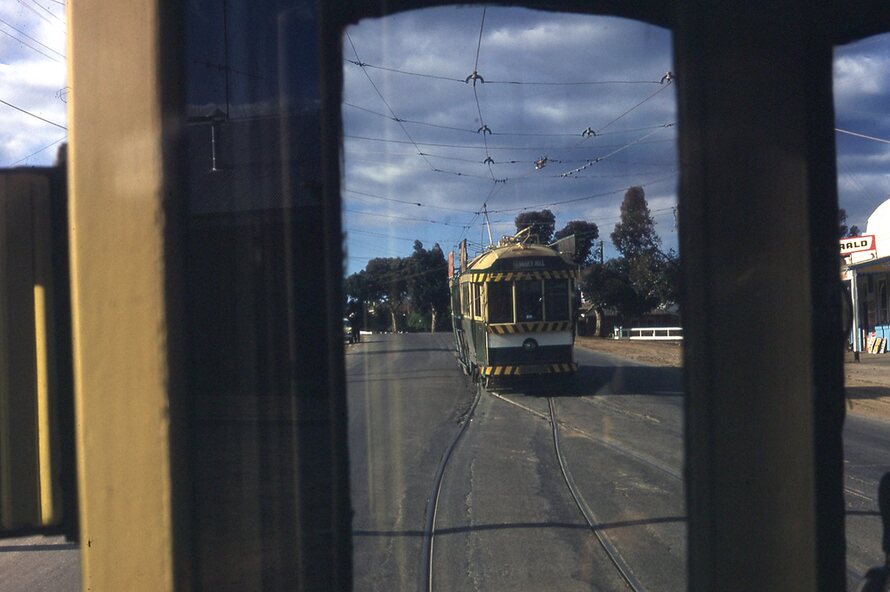
.8 - trams crossing on the Eaglehawk line, through the window of one tram.
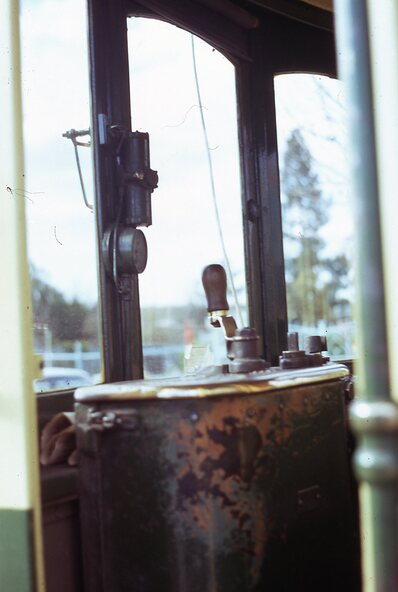
.9 - side on view of a B23D controller in a bogie tram
.10 - No. 5 at the Eaglehawk terminus
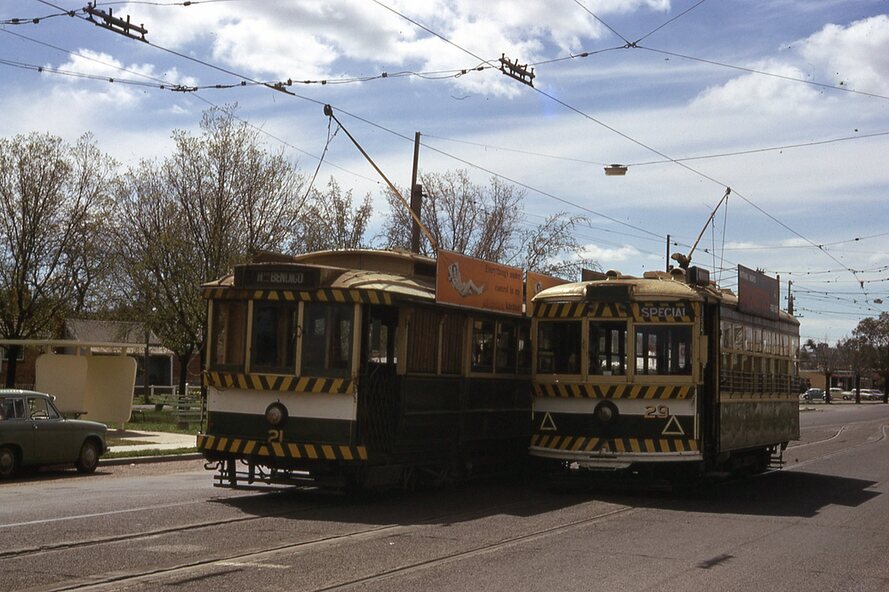
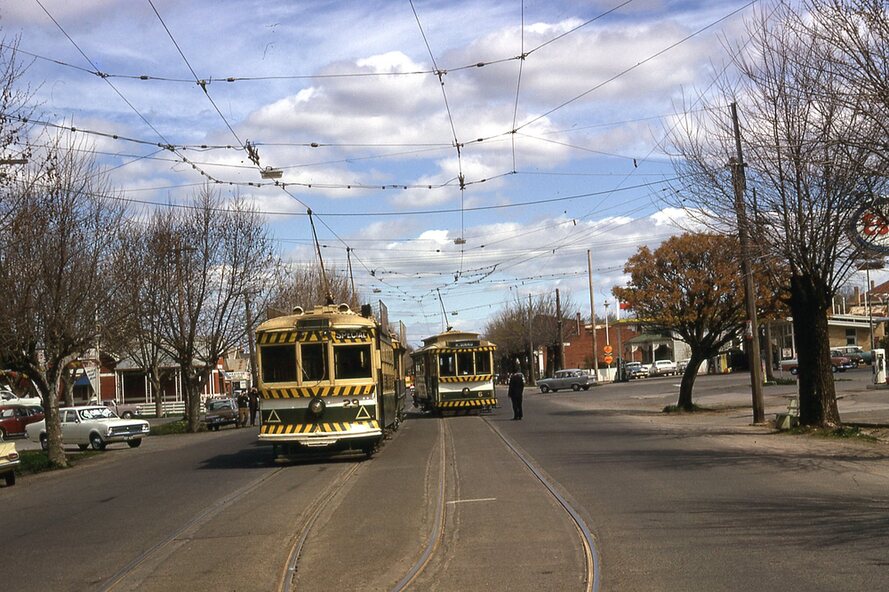
.11 - No. 21 at No. 21 crossing on the Golden Square line. No. 29 showing special, No.21 - North Bendigo, Fire Station Loop?
.12 - No. 29 and another tram - near work site?
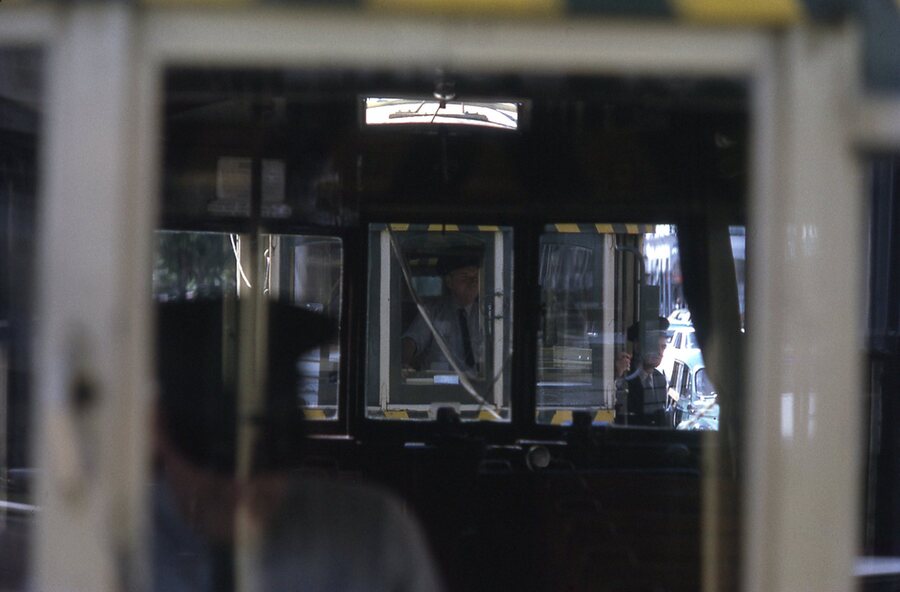
.13 - interior view from Birney looking at the front of another tram parked behind.
.14 - No. 29, No. 6 crossing at
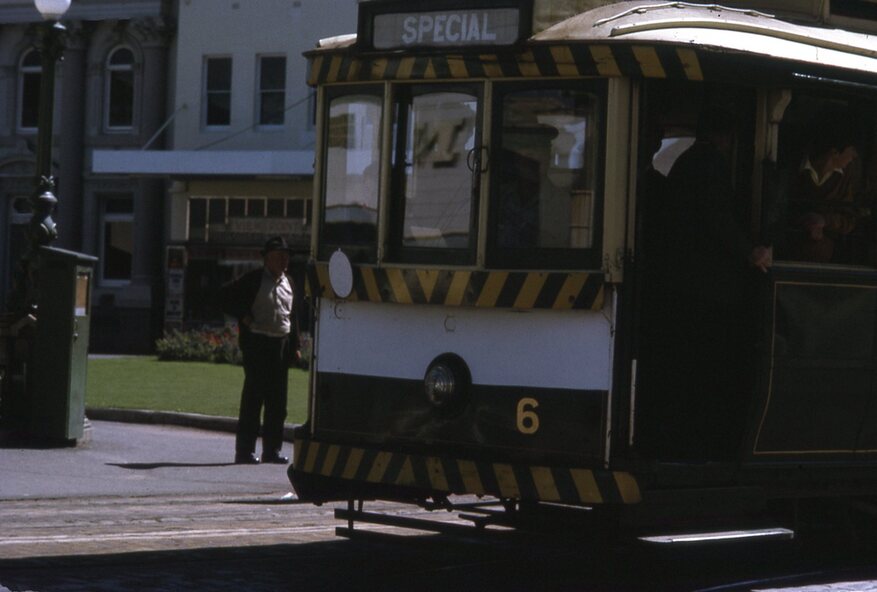
.15 - No. 6, showing special at Charing Cross.
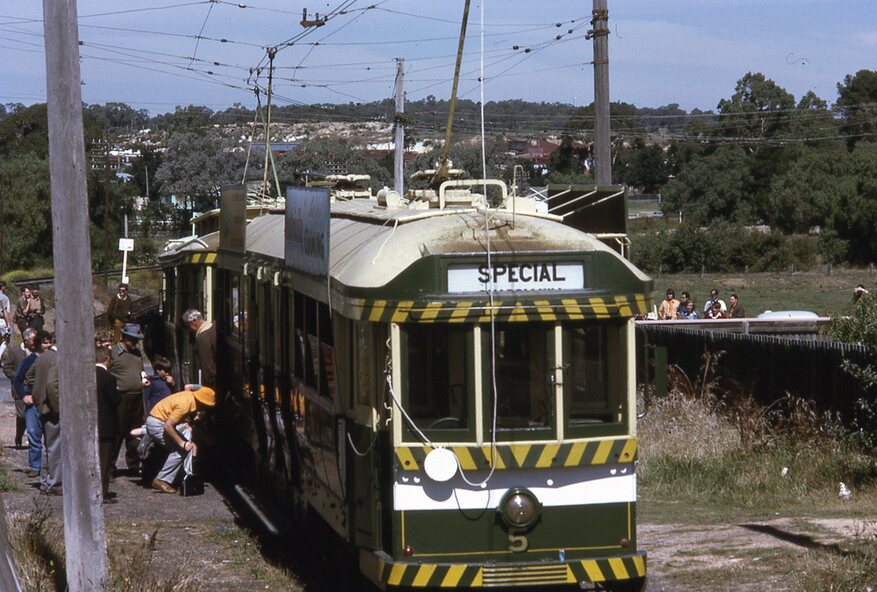
.16 - No. 5 and another tram at North Bendigo on a Special
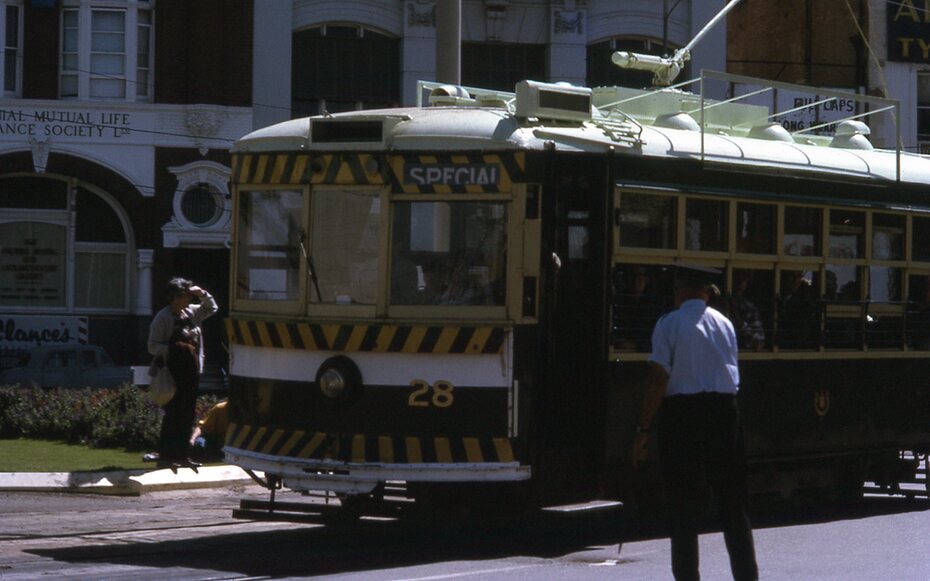
.17 - No. 28 at Charing Cross
.18 - No. 5 on Special at a Loop on the Eaglehawk line
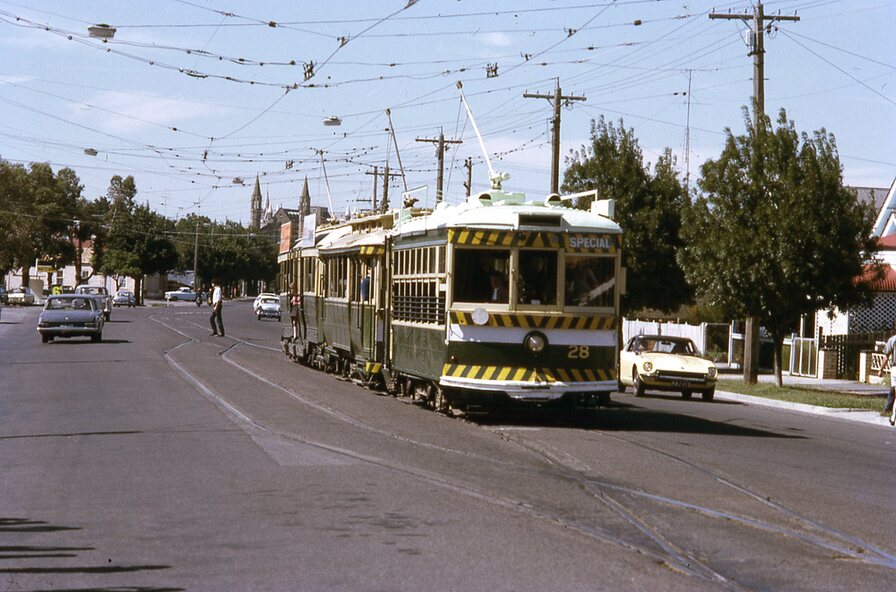
.19 - No. 28, and two other trams at the Myrtle St Loop
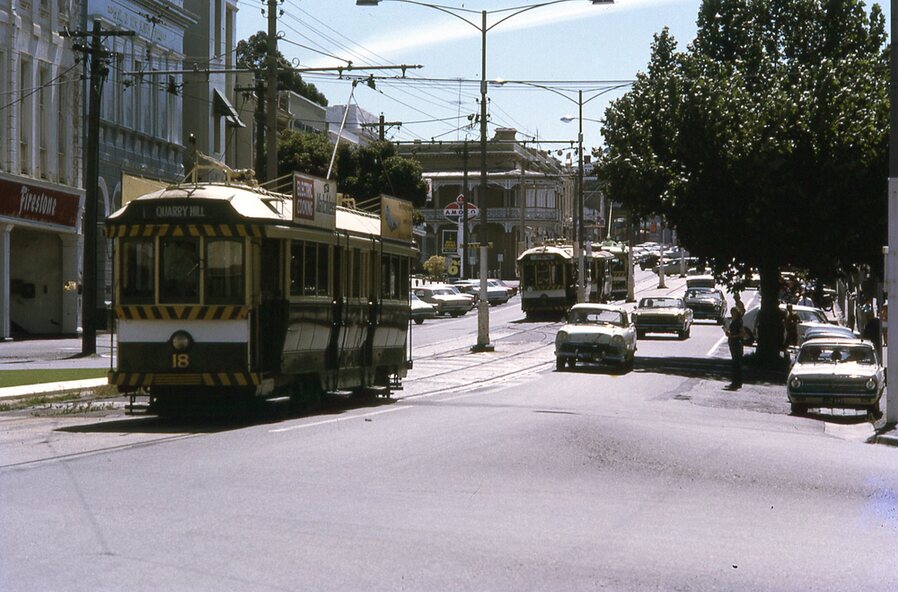
.20 - No. 18 showing Quarry Hill and two other trams on View St.