


Physical description
Set of 20 digital images of Bendigo Tramways, 1972 at or before closure while on a tram tour by Stuart Lodington.
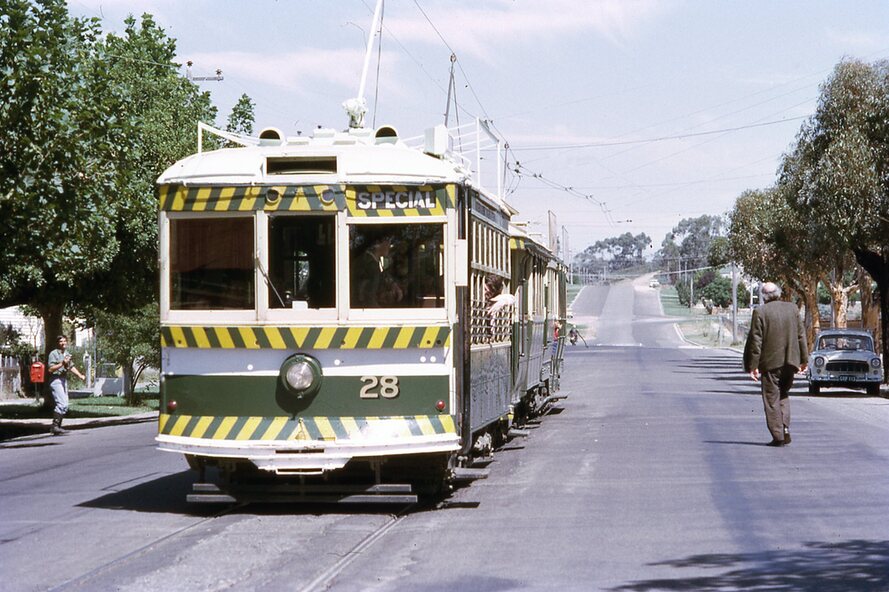
.1 - No. 28 and 5 at Eaglehawk terminus
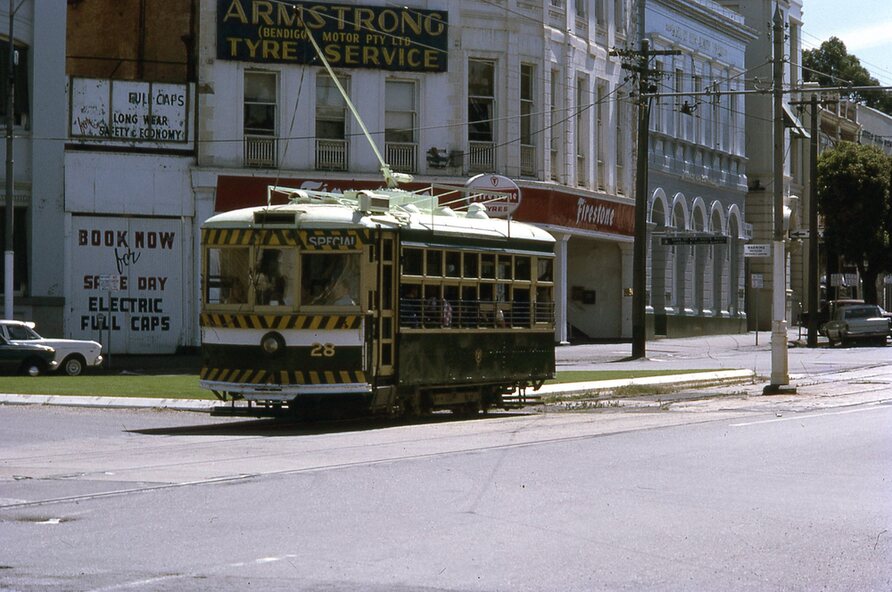
.2 - No. 28 leaving Charing Cross and travelling into View St with Armstrong Type Service building in background and Firestone Advertisements.
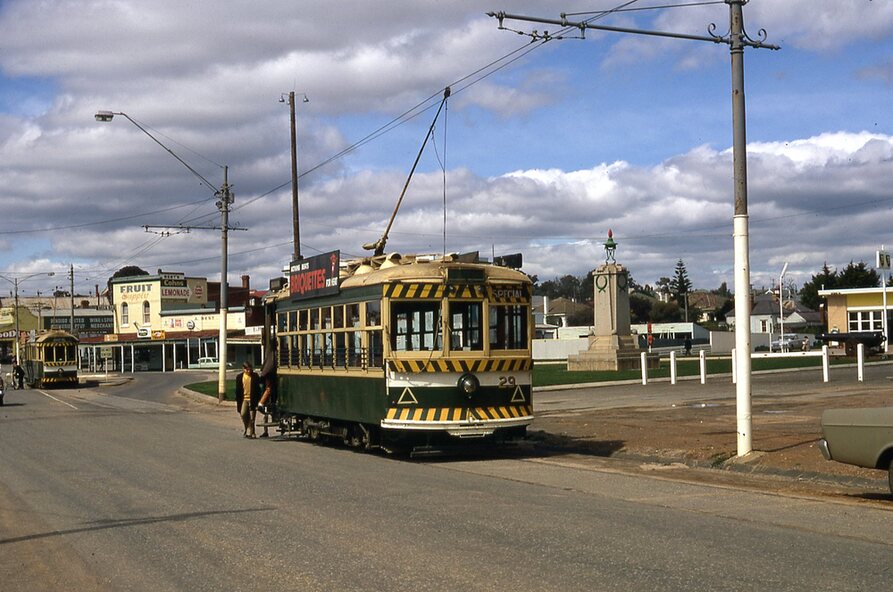
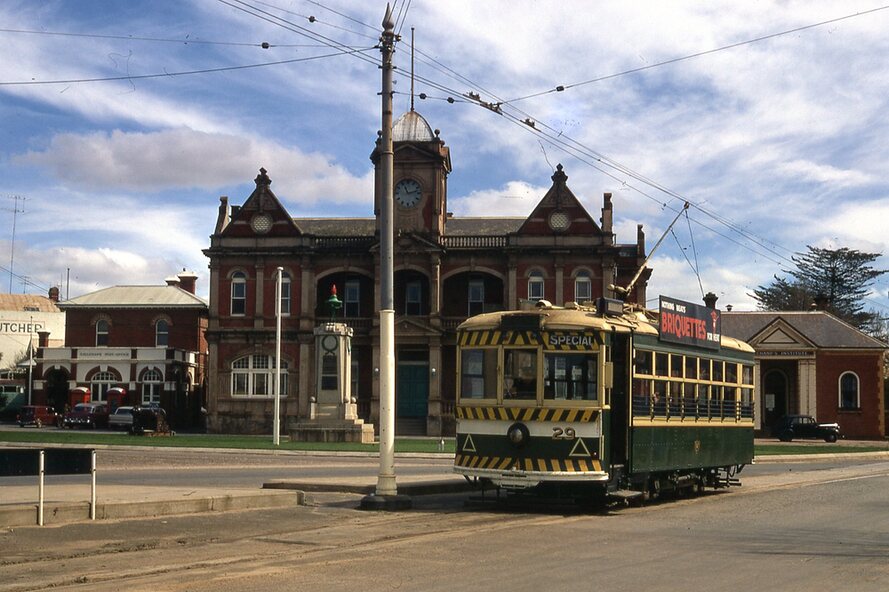
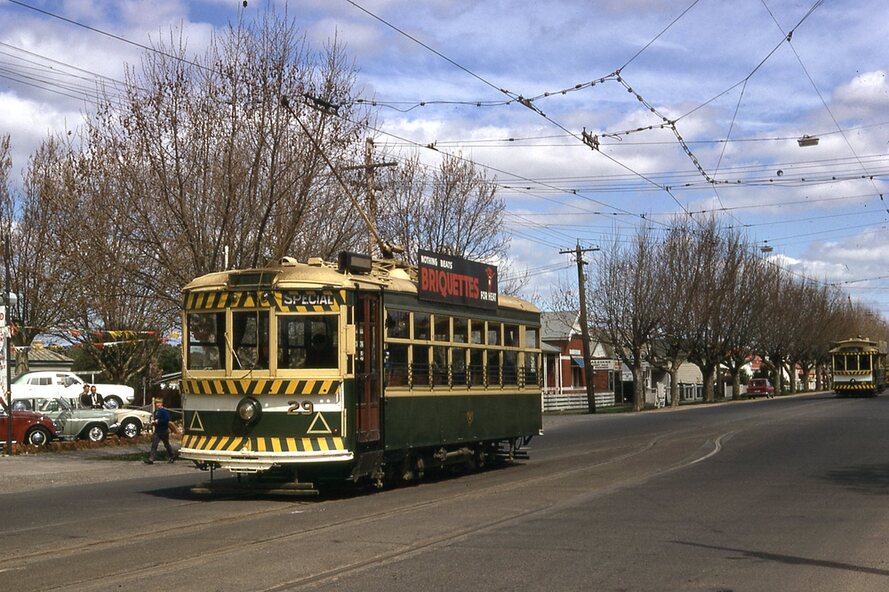
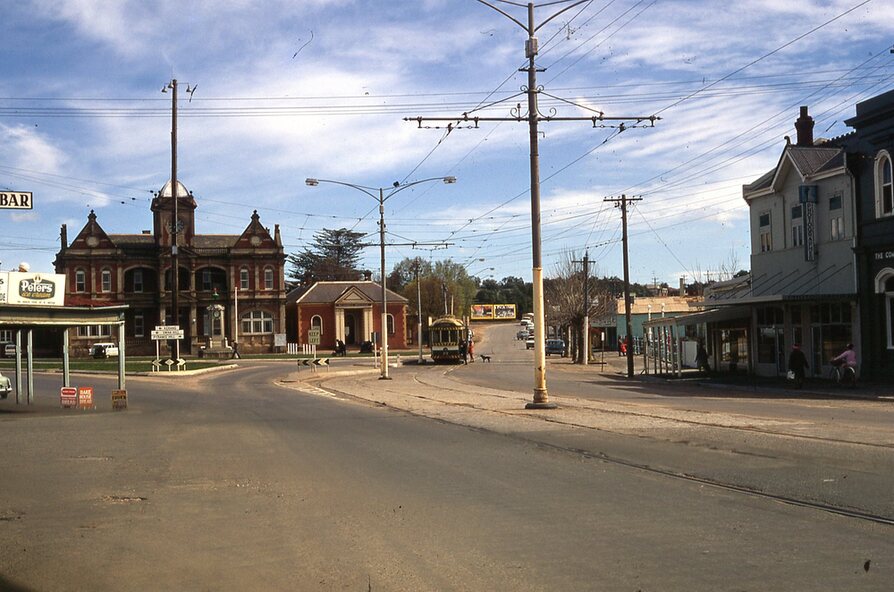
.3 - No. 29 with Eaglehawk Town Hall and Post Office in background.
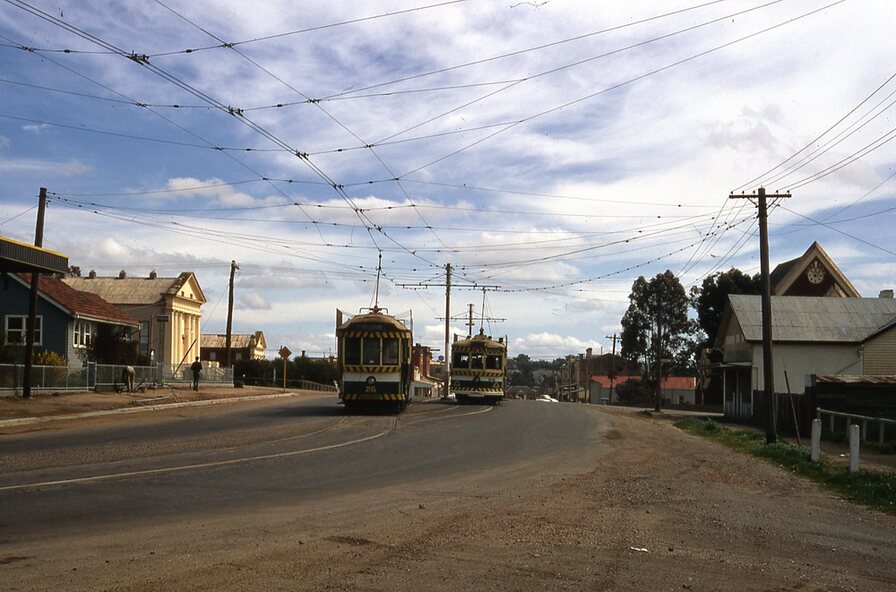
.4 - No. 26 and 29 at start of double track, High St Eaglehawk
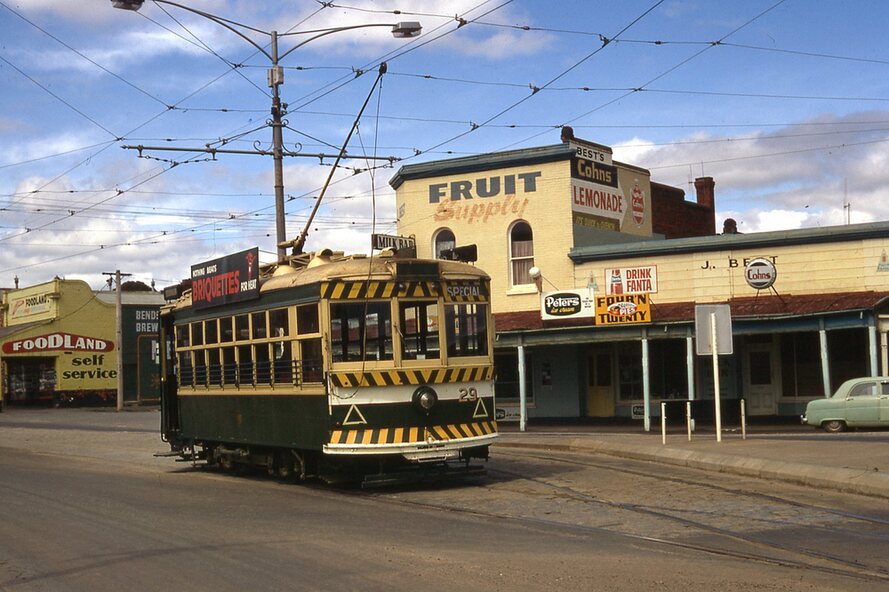
.5 - No. 29 leaving Eaglehawk with shops in the background, Foodland, J. Bests
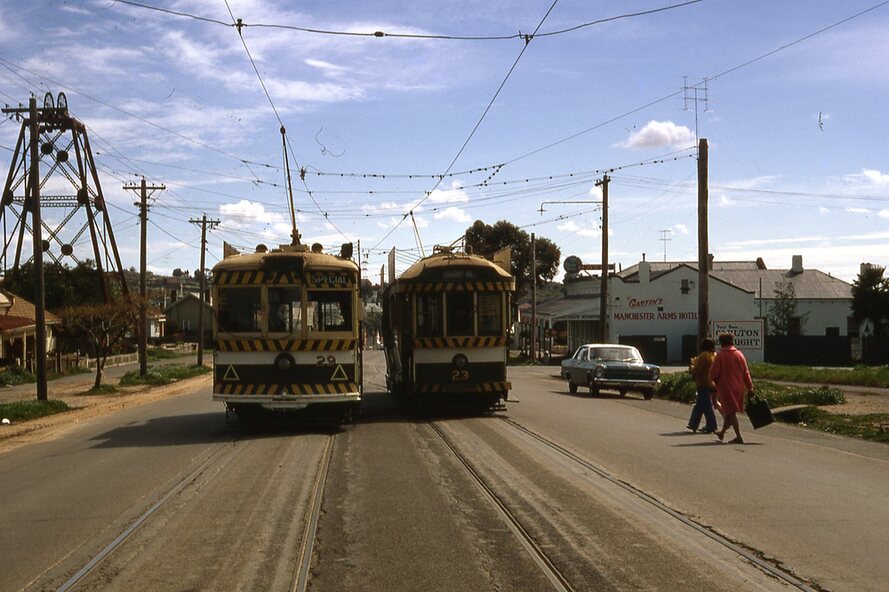
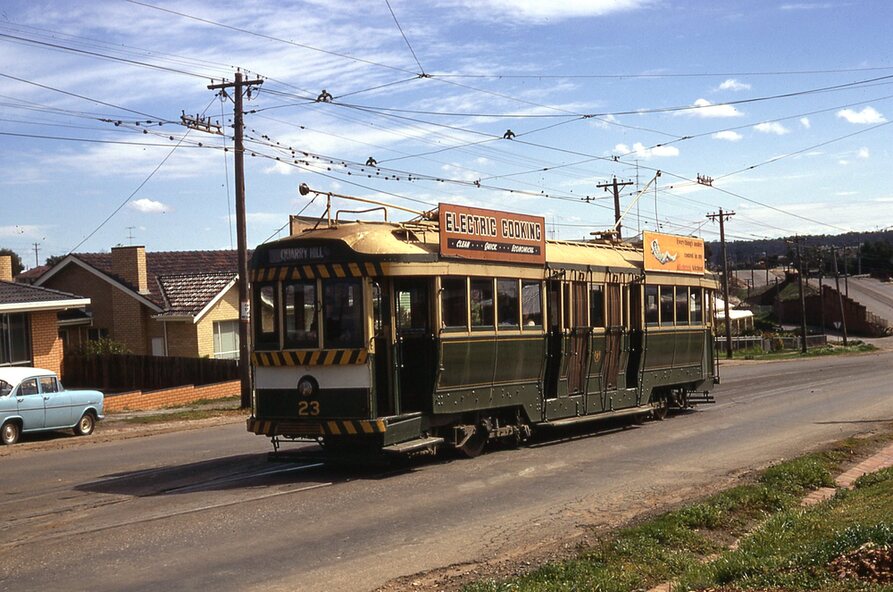
.6 - No. 29 and 23 crossing Manchester Loop with Manchester Arms Hotel in the background and an old poppet head.
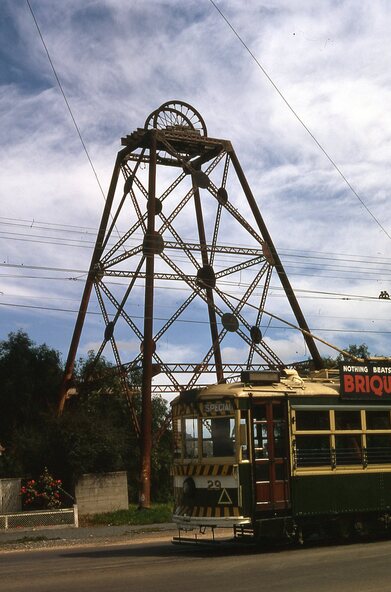
.7 - No. 29 at ditto with poppet head in the background.
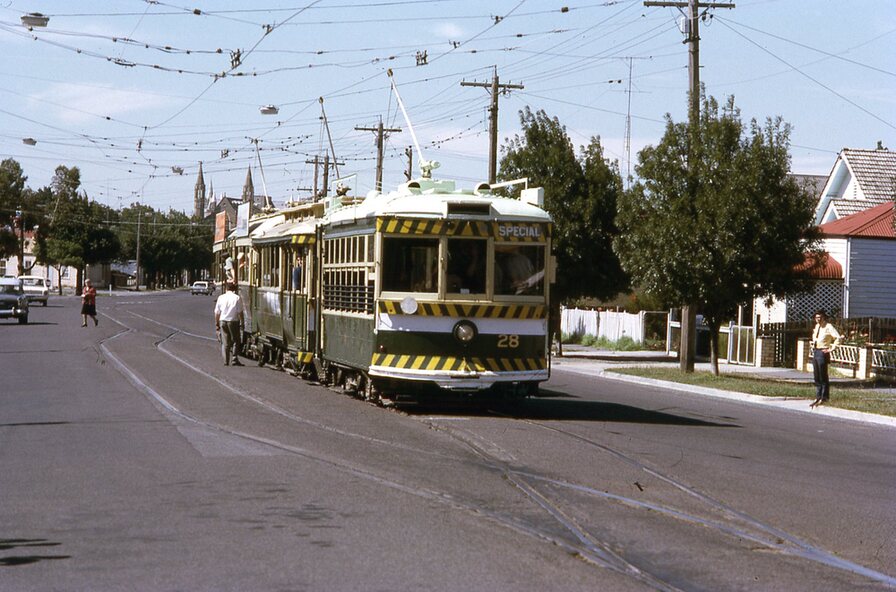
.8 - No. 28 and two other trams at the Quarry Hill terminus.
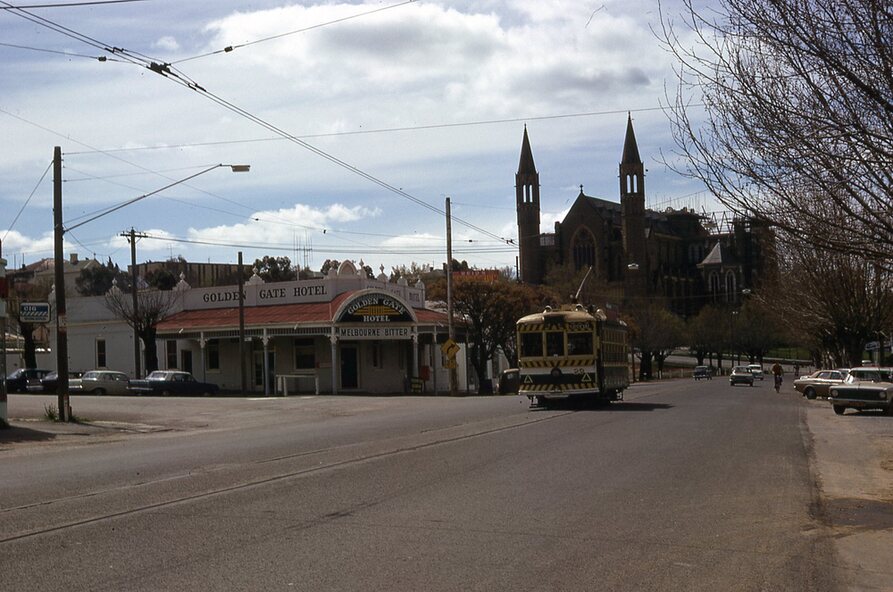
.9 - No. 29 in High St Bendigo with the Cathedral and Golden Gate Hotel in the background.
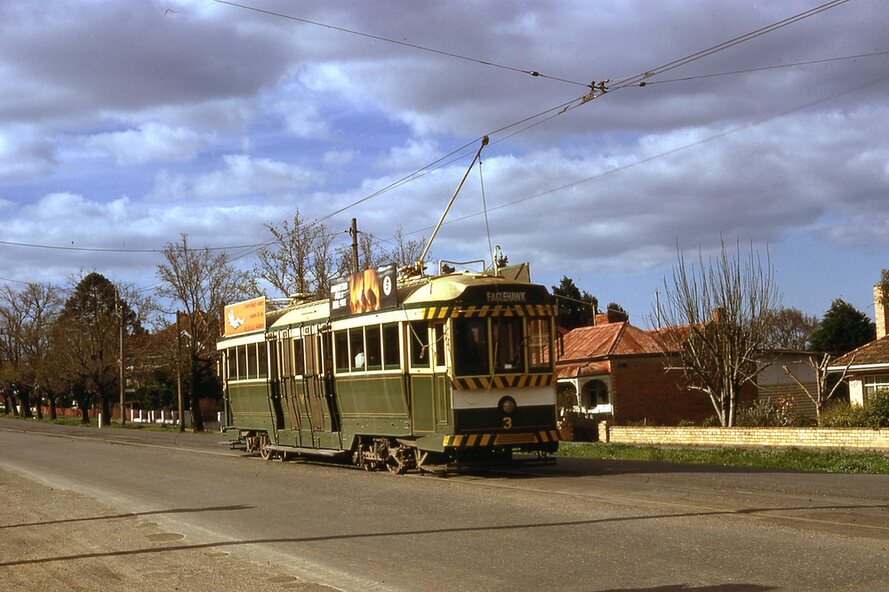
.10 - No. 3 with destination Eaglehawk, in bound Carpenter St?
.11 - No. 29 following a single trucker through a loop or the end of the double track near the depot.
.12 - No. 23?, at Eaglehawk terminus, with Eaglehawk Town Hall in the background.
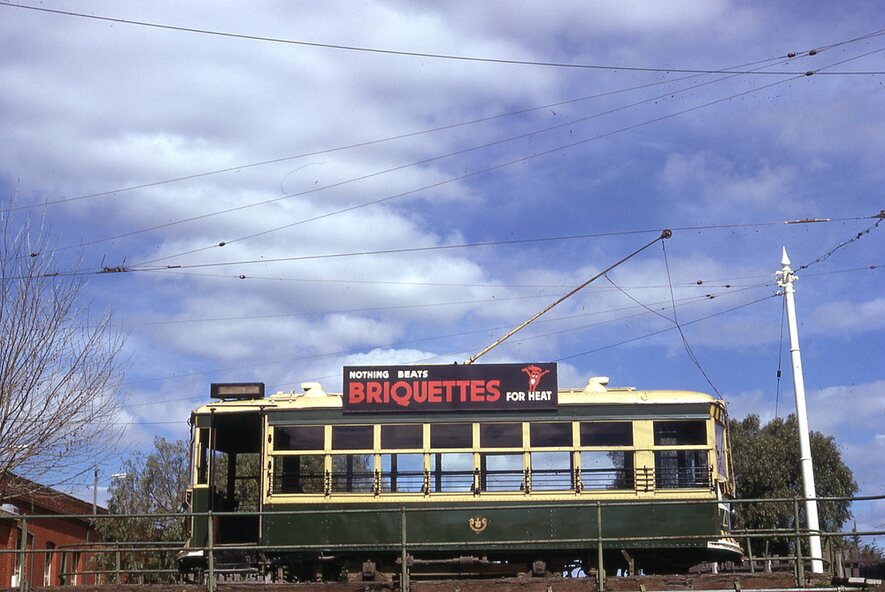
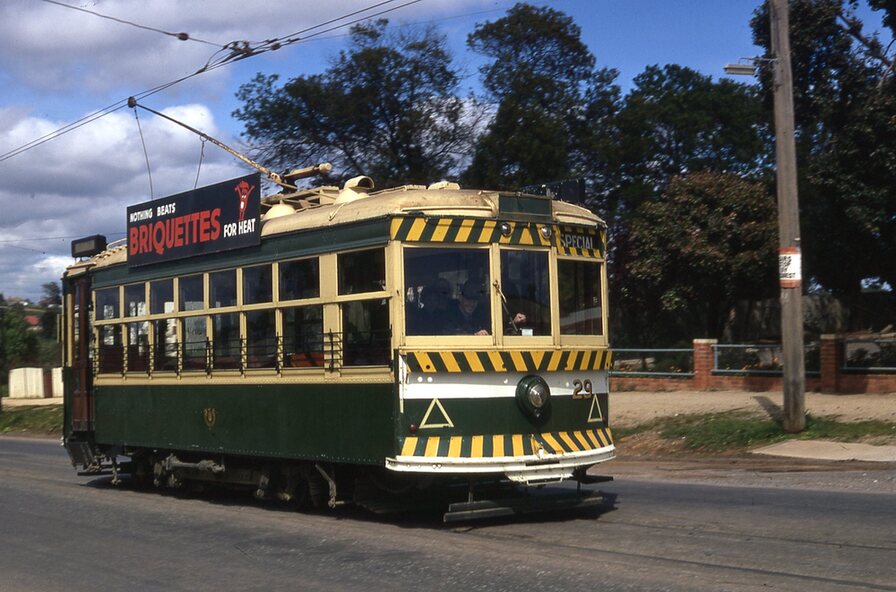
.13 - Birney tram crossing the bridge at the Depot entrance - No. 29
.14 - No. 29 on the Eaglehawk line?
.15 - as for .13
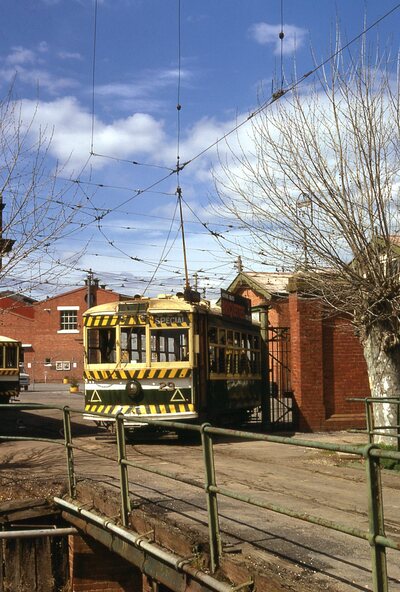
.16 - No. 29 entering the depot.
.17 - No. 23, inbound from Eaglehawk, at Jobs Gully Loop with the railway overbridge in the background.
.18 - No. 28 and two other trams (see also Reg Item 4982) for the same tram tour at Myrtle St. Loop.
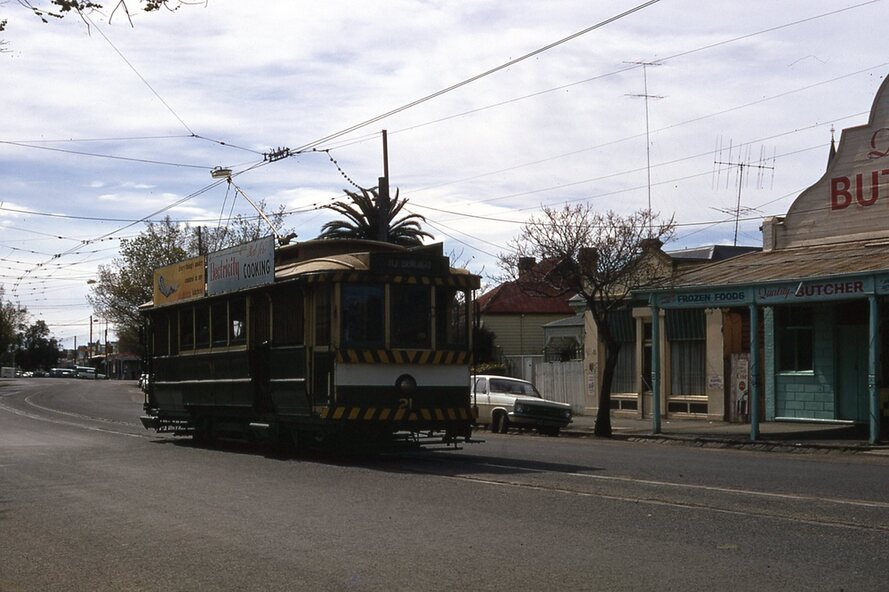
.19 - No. 21 with North Bendigo on the destination approaching the Golden Square terminus.
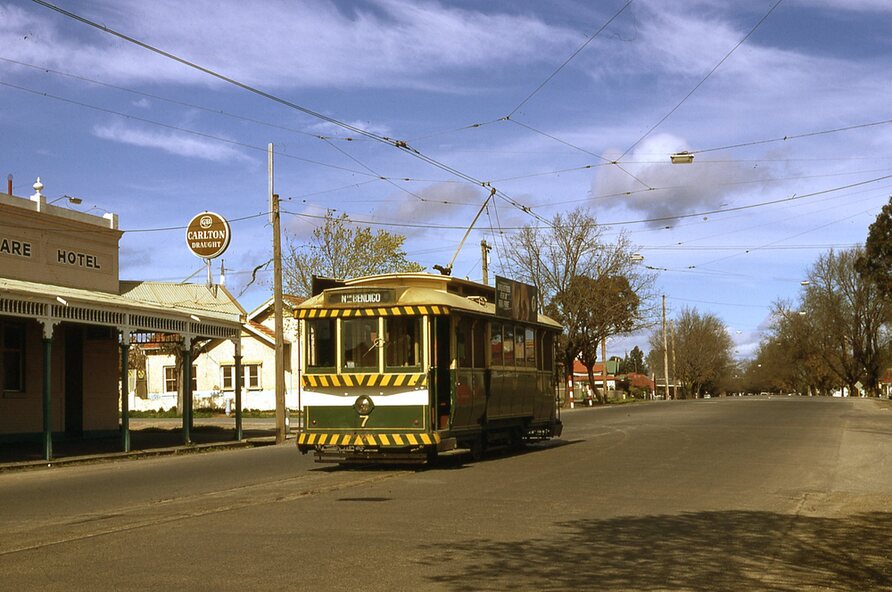
.20 - No. 7 at Golden Square terminus