


Physical description
Set of 20 digital images of Bendigo Tramways, 1972 at or before closure while on a tram tour by Stuart Lodington.
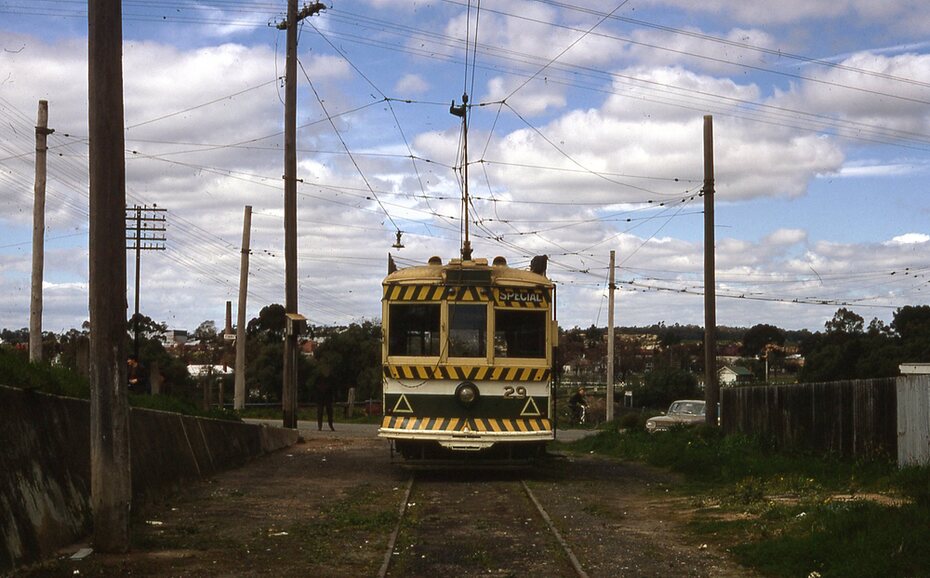
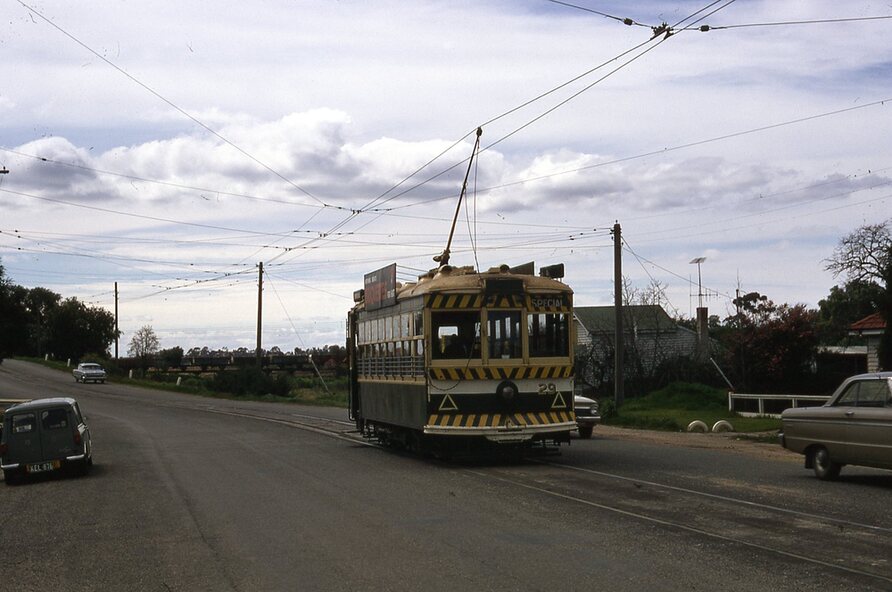
.1 - No. 29 at the North Bendigo terminus
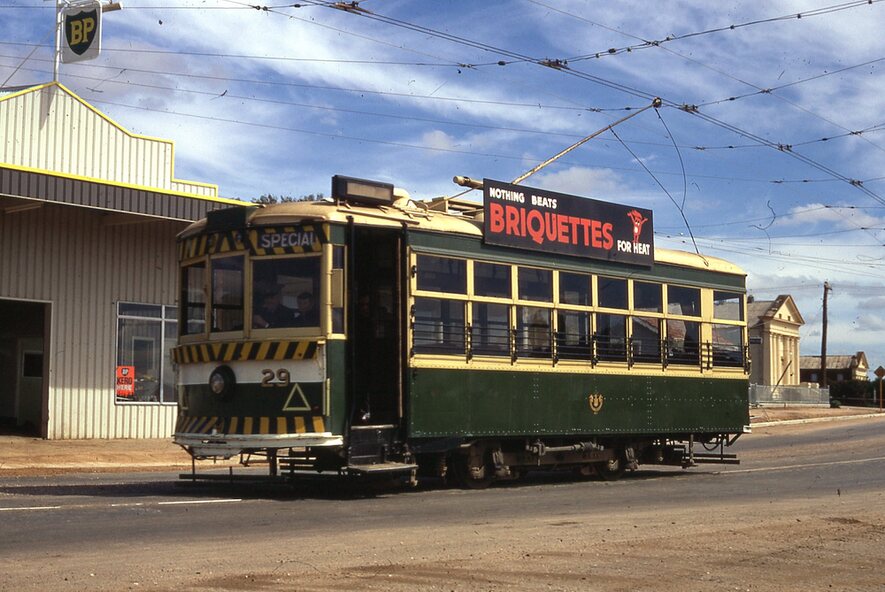
.2 - No. 29 just past the Bendigo end of the double track in High St Eaglehawk, with a BP dealer in the background.
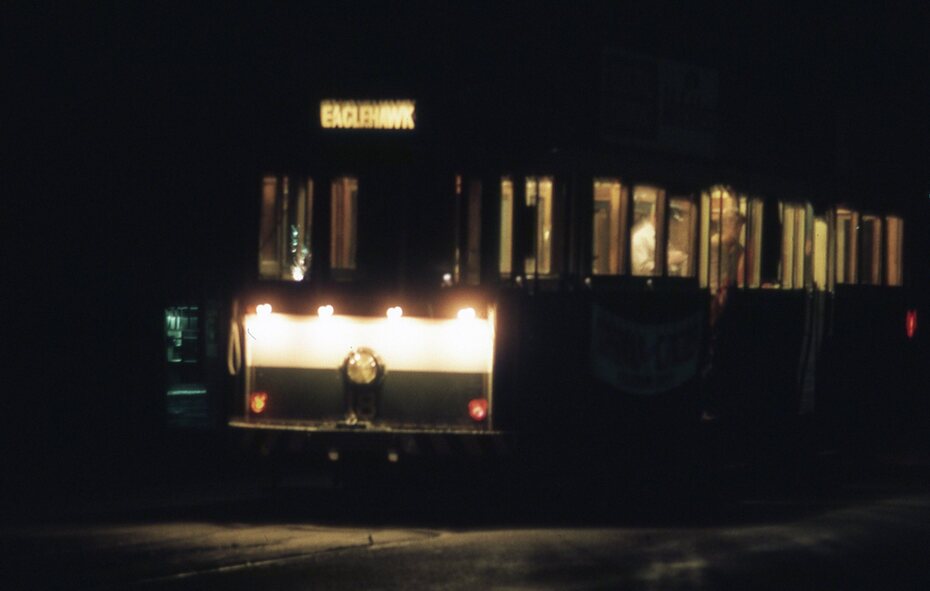
.3 - Night photo of No. 18 at a terminus, showing "Eaglehawk"
.4 - ditto
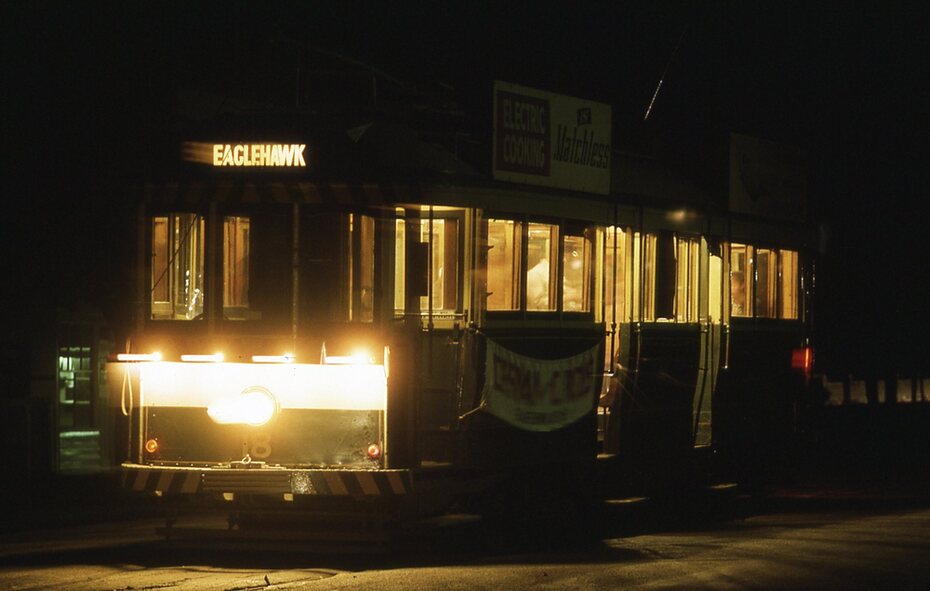
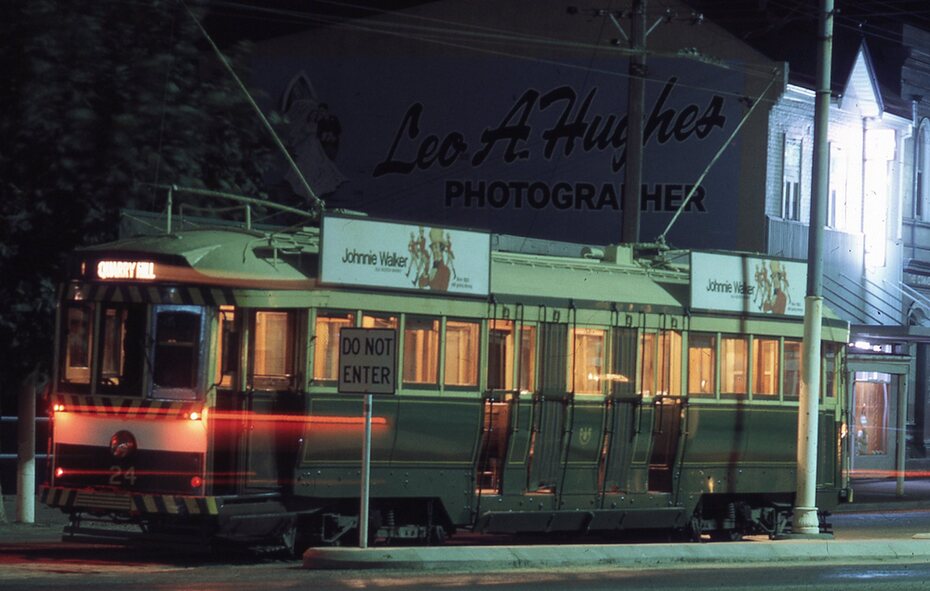
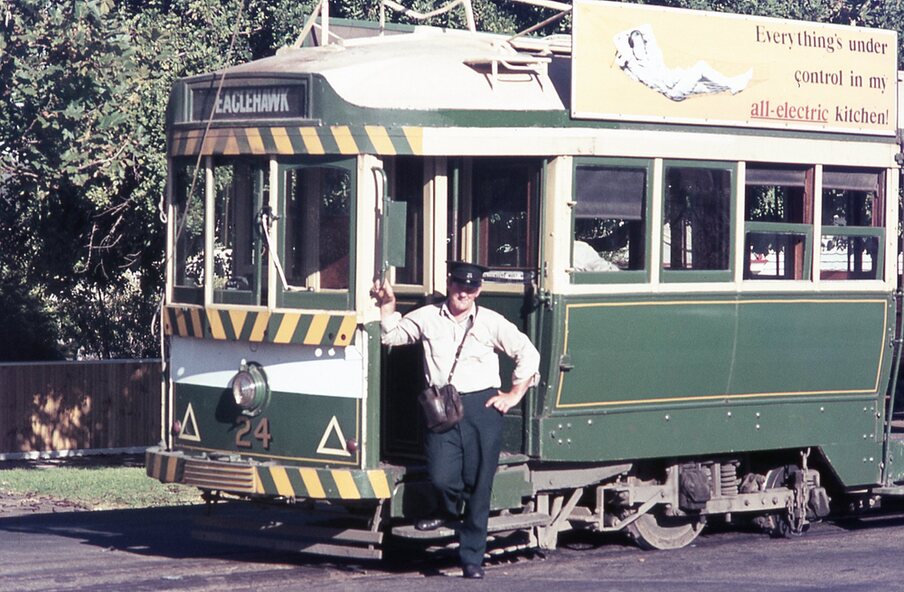
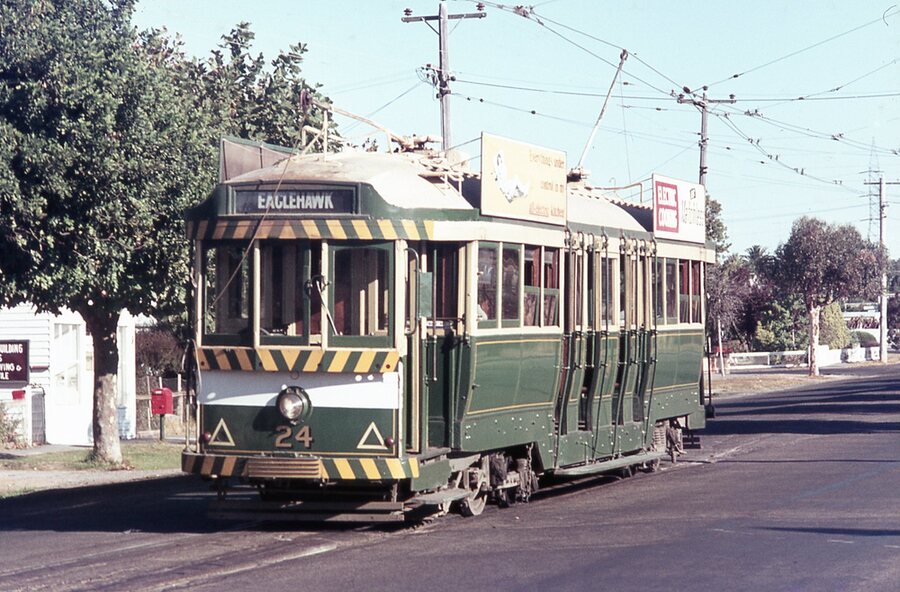
.5 - Night photo of No. 24 at Eaglehawk with Leo A Hughes Photographer in the background. The Tram has "Johnnie Walker whiskey" roof adverts.
.6 - No. 29 outbound in Thunder St with a train passing over the bridge in the background.
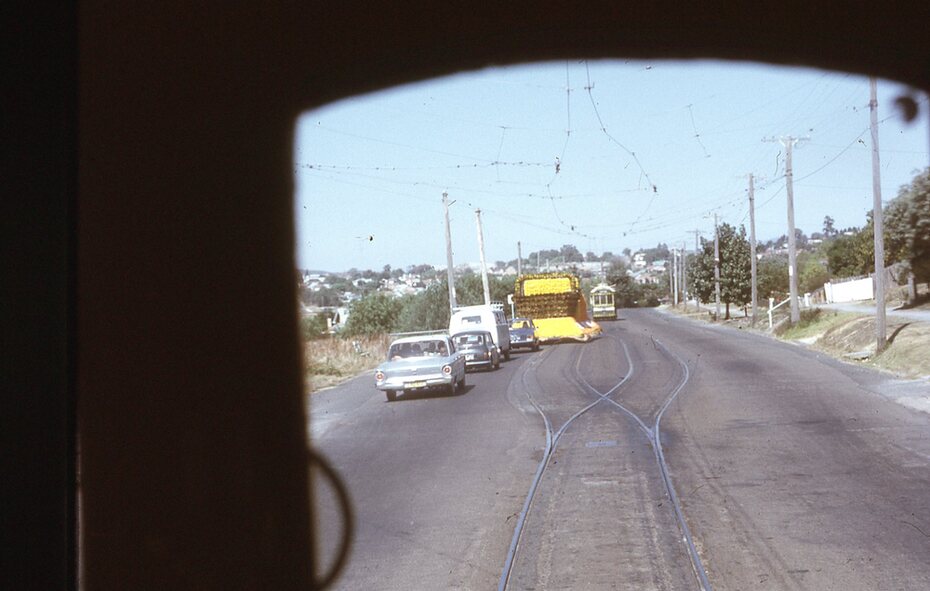
.7 - view from the front window of a tram on the Eaglehawk line with a large "display event float" in the foreground and tram approaching a crossing loop.
.8 - No. 29 at North Bendigo
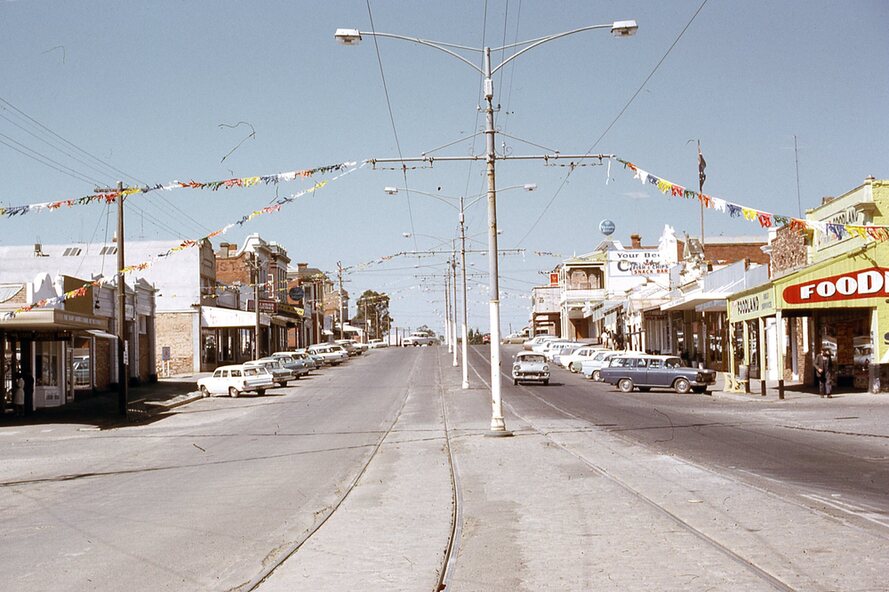
.9 - view of High St Eaglehawk looking east from the terminus, showing the track and centre poles.
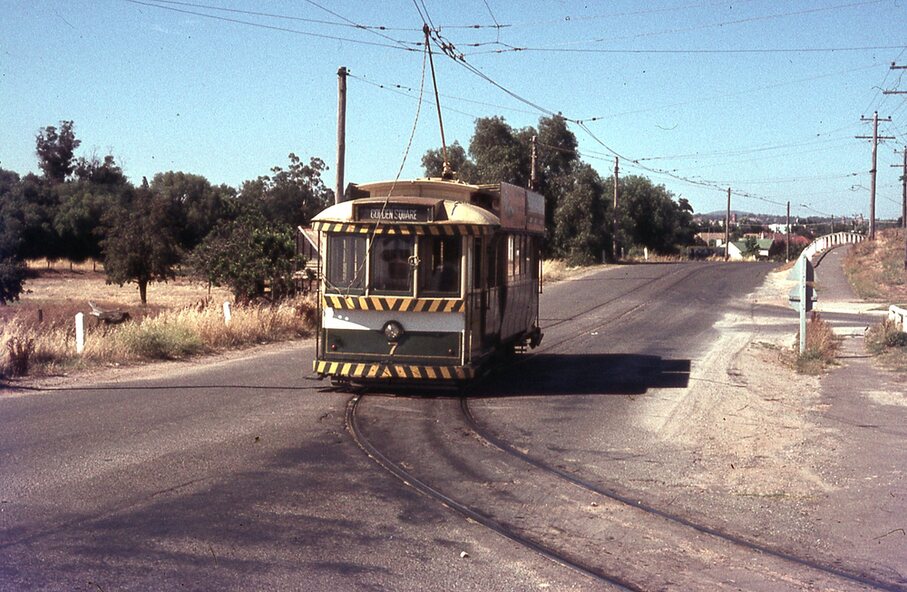
.10 - No. 29 outbound on the North Bendigo line turning from either Nolan St or Caledonia St, running a special.
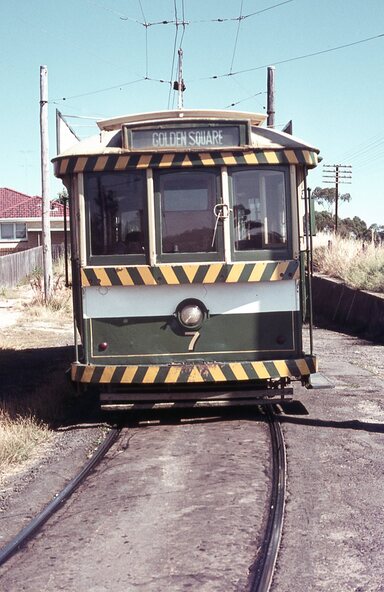
.11 - No. 7 departing North Bendigo for Golden Square.
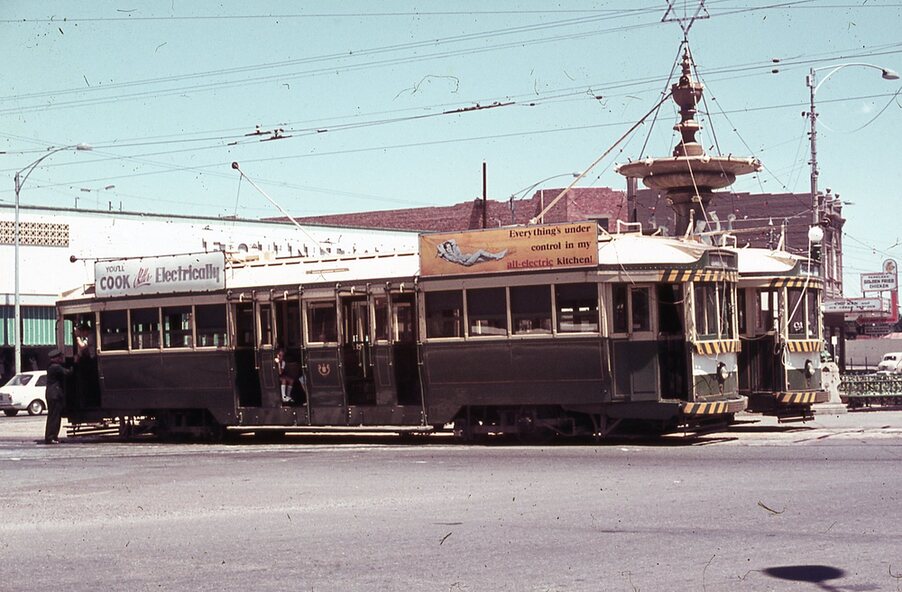
.12 - No. 3 and 18 at Charing Cross. No. 3 has two SEC roof Advertisements
.13 - No. 7 at North Bendigo with the trolley pole being reversed.
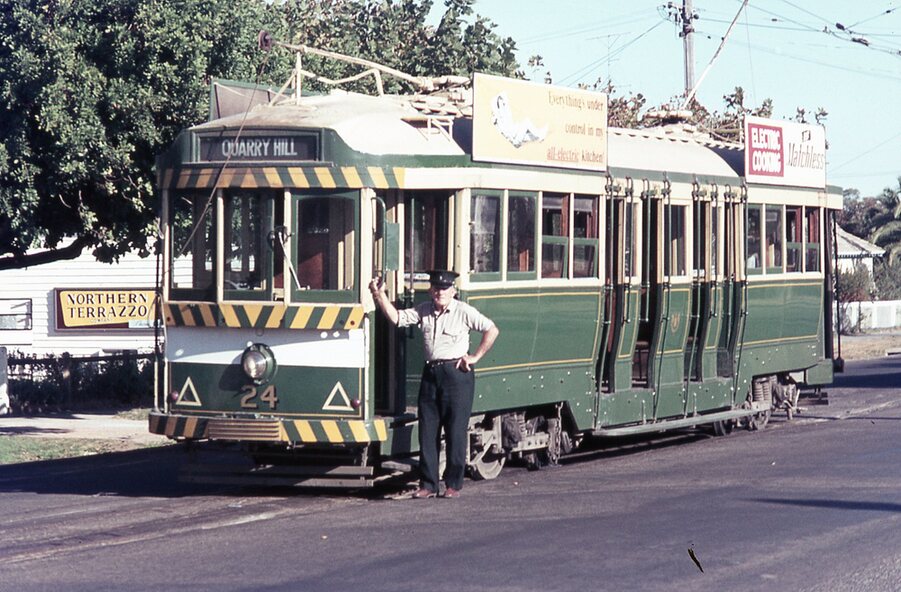
.14 - No. 24 at Quarry Hill with Northern Terrazzo in the background with the driver alongside
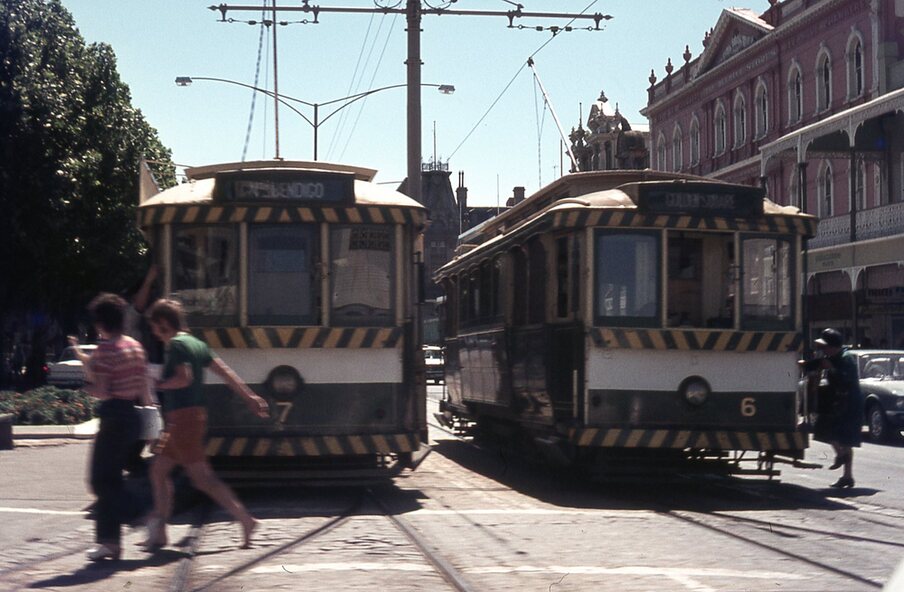
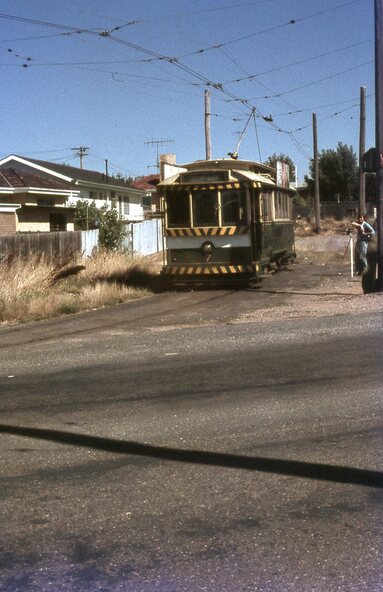
.15 - No. 7 and No.6 at Charing Cross with the Beehive buildings in the background.
.16 - No. 7 at North Bendigo terminus
.17 - ditto
.18 - No. 24 at Quarry Hill with Northern Terrazzo in the background with the conductor alongside.
.19 - ditto
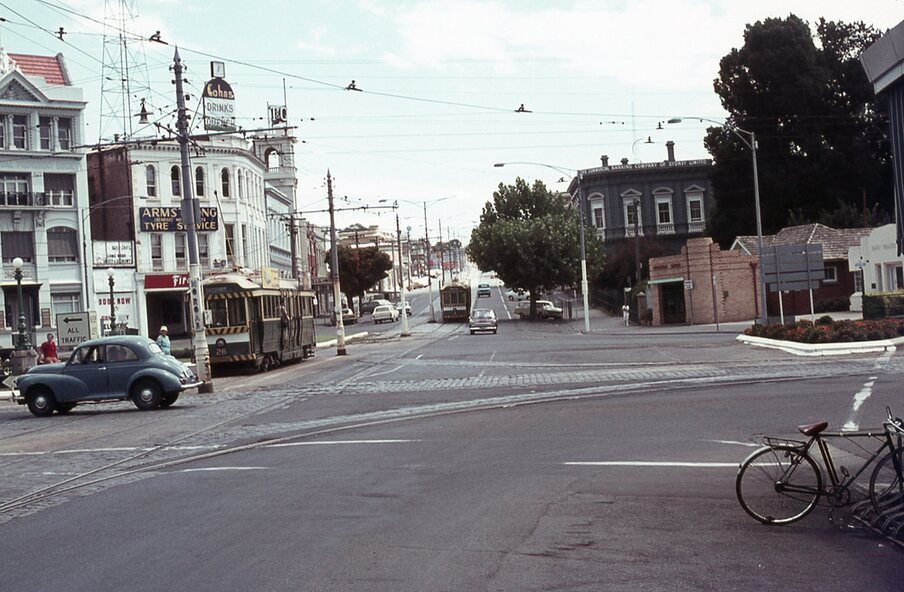
.20 - No. 26 and other bogie tram in View St near Charing Cross with the Armstrong Tyre Service building and signs for Cohn's Drinks and T&G in the view.