


Physical description
Set of 22 digital images of Bendigo Tramways, 1972 at or before closure while on a tram tour by Stuart Lodington.
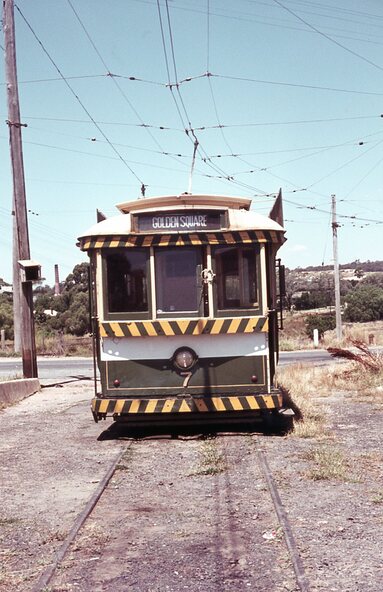
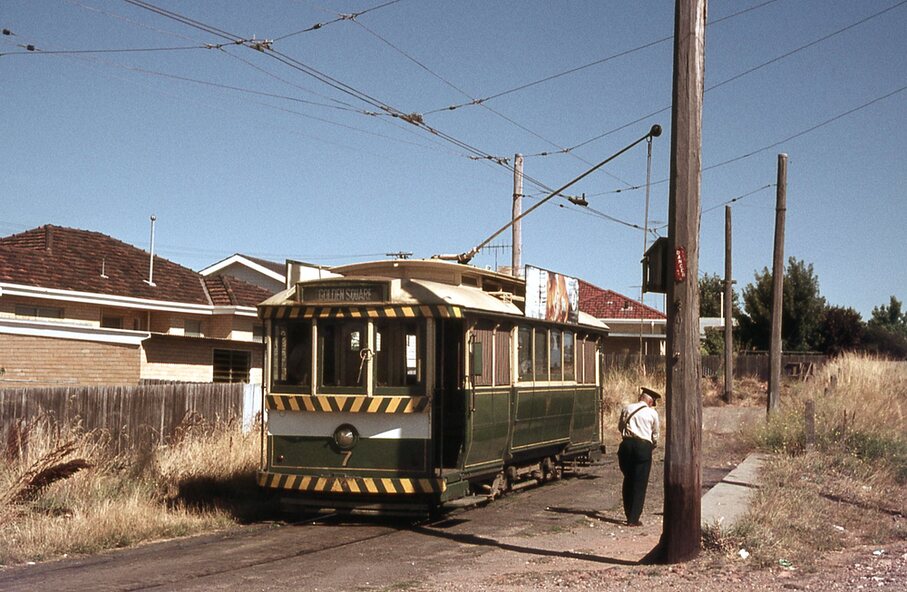
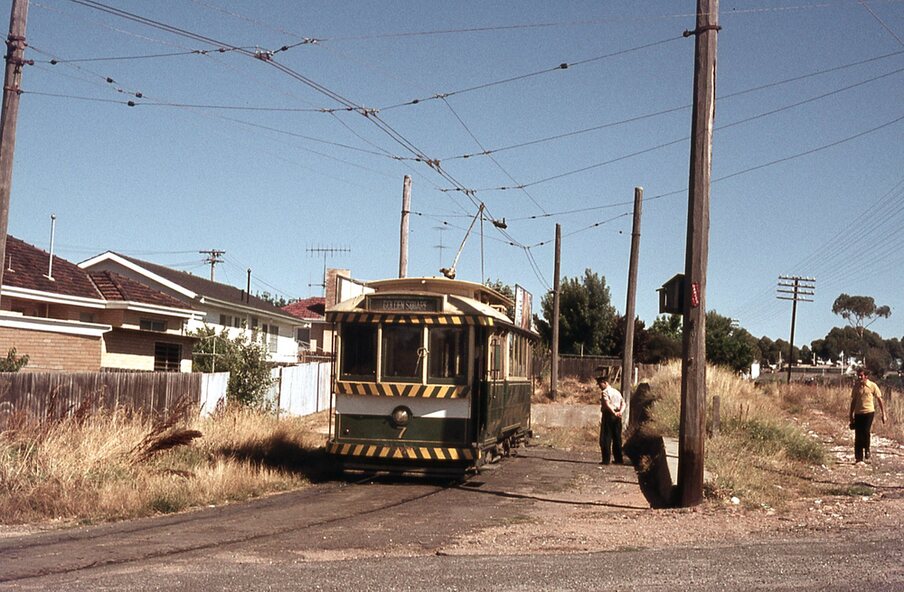
.1 - No. 7 arriving at North Bendigo
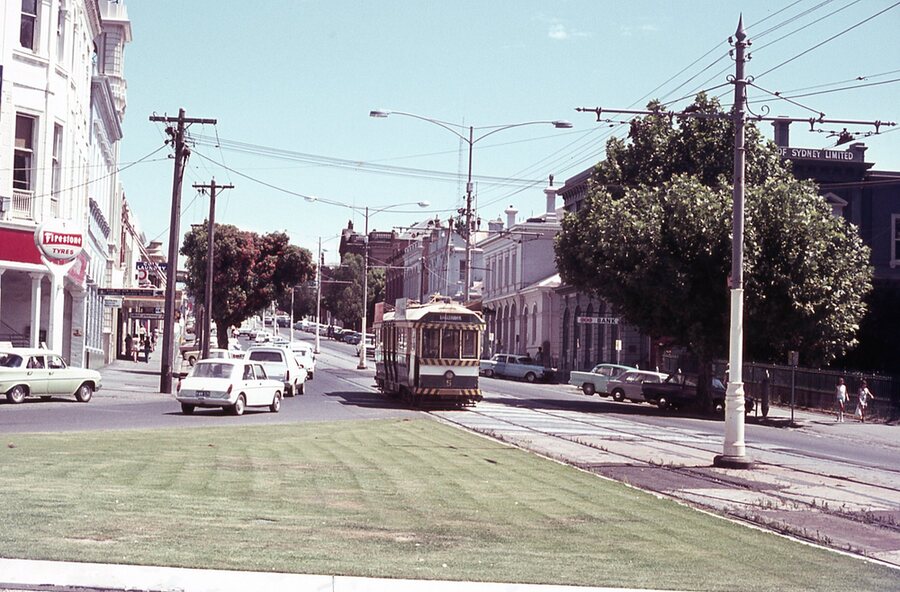
.2 - No. 5 departing Charing Cross along View St, with a Firestone tyres in the background.
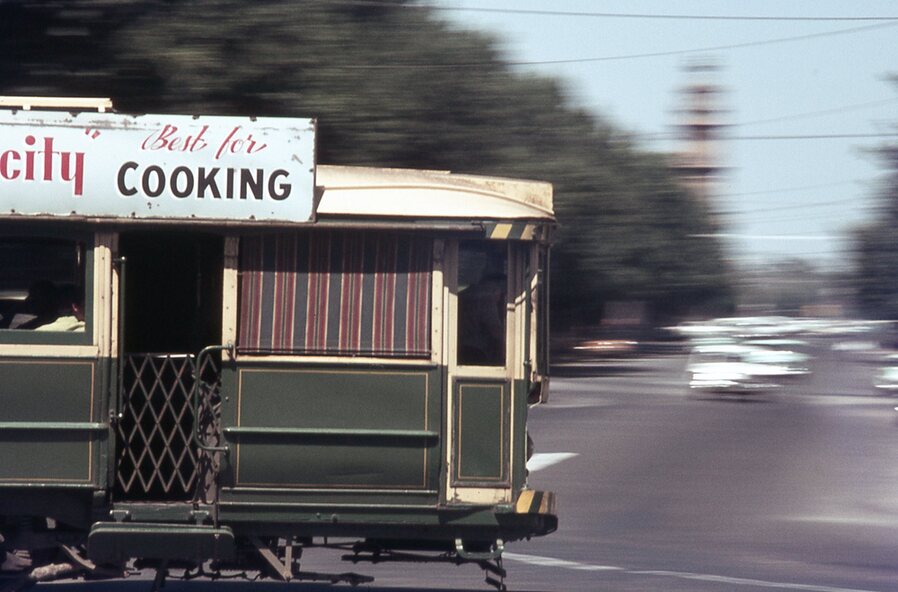
.3 - front view of a tram in View St with a blurred background image.
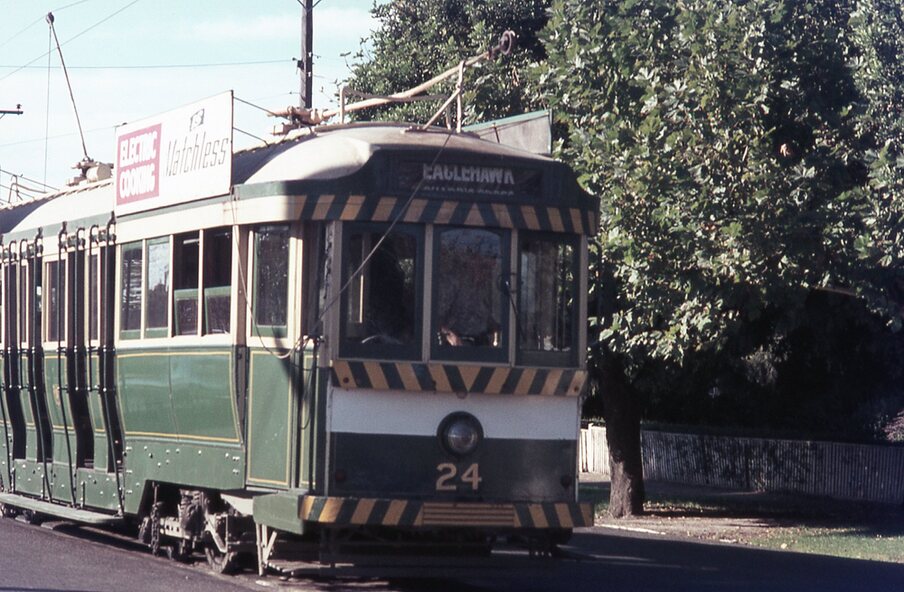
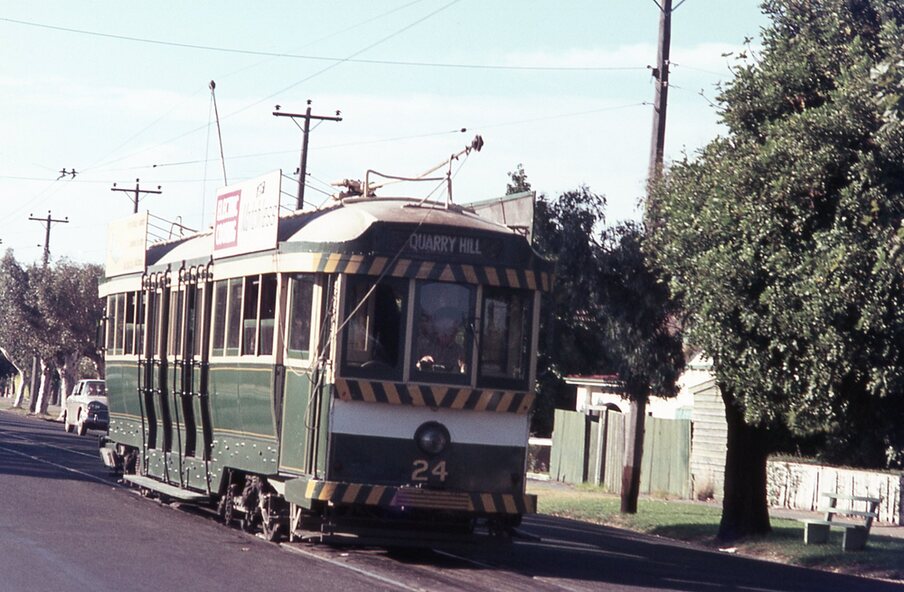
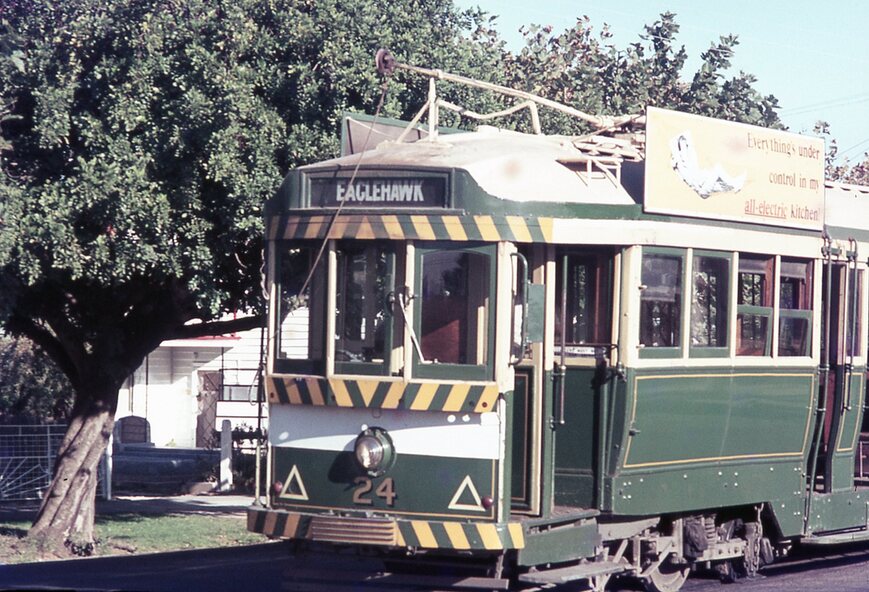
.4 - No. 24 showing Eaglehawk destination
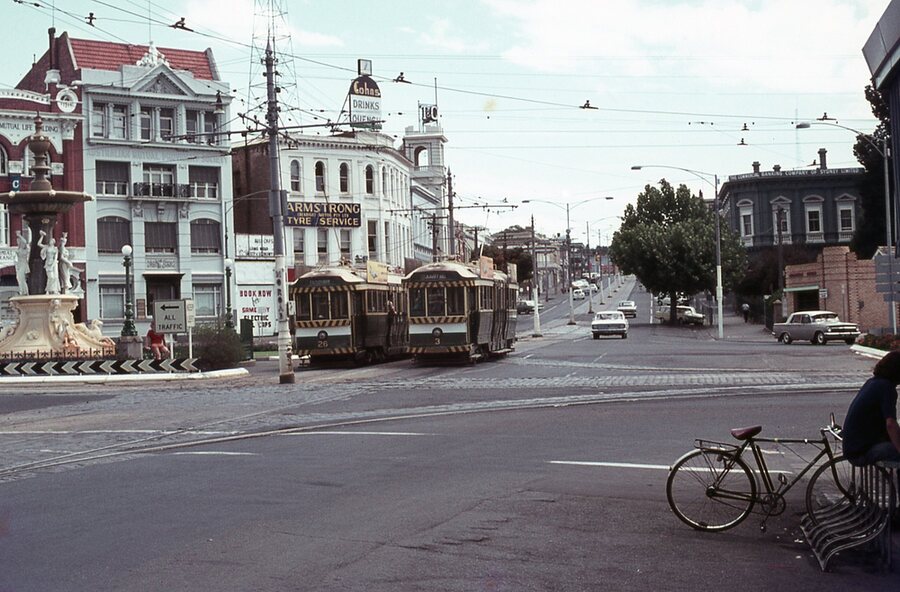
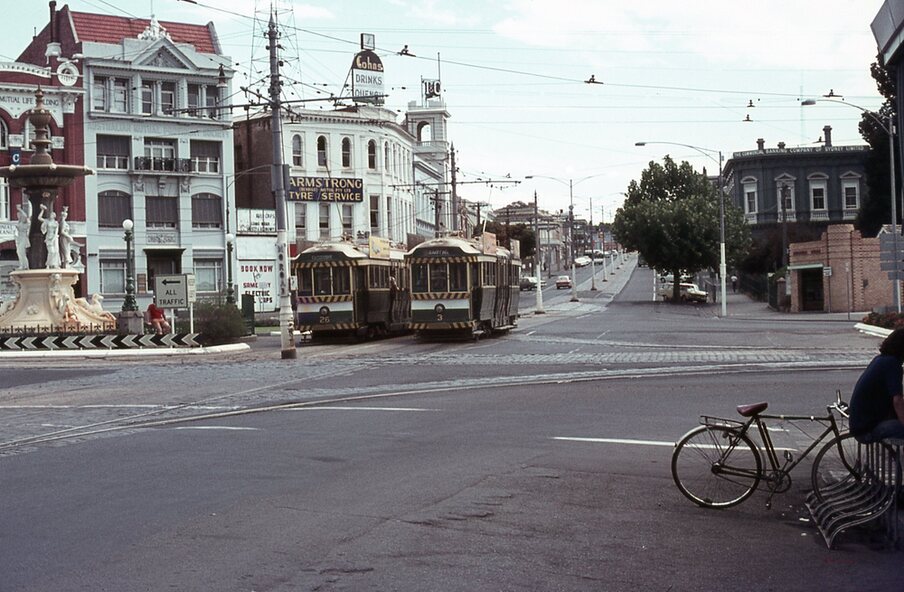
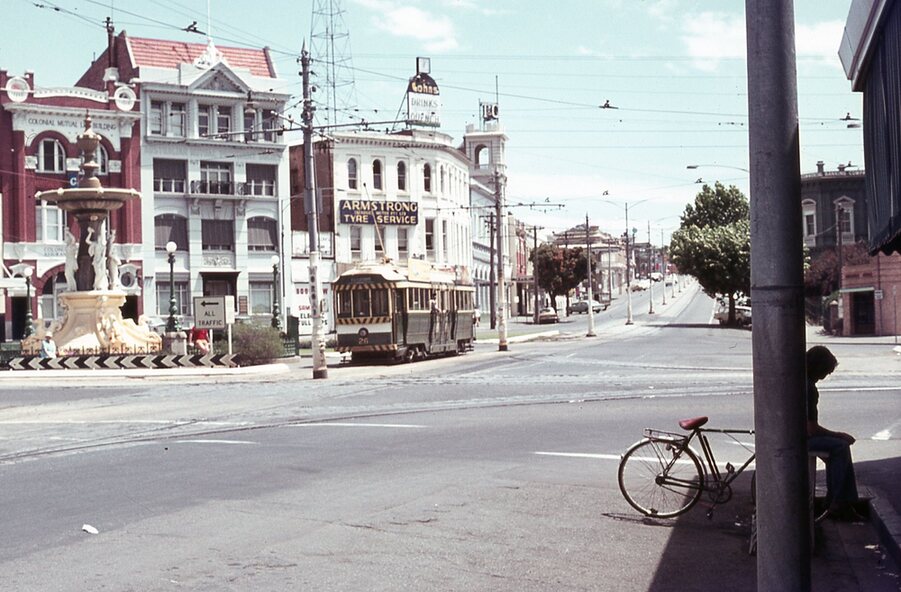
.5 - No 26 and 3 in View St, with the Armstrong Tyre Service building in the background and signs for T&G and Cohn's Drinks.
.6 - ditto
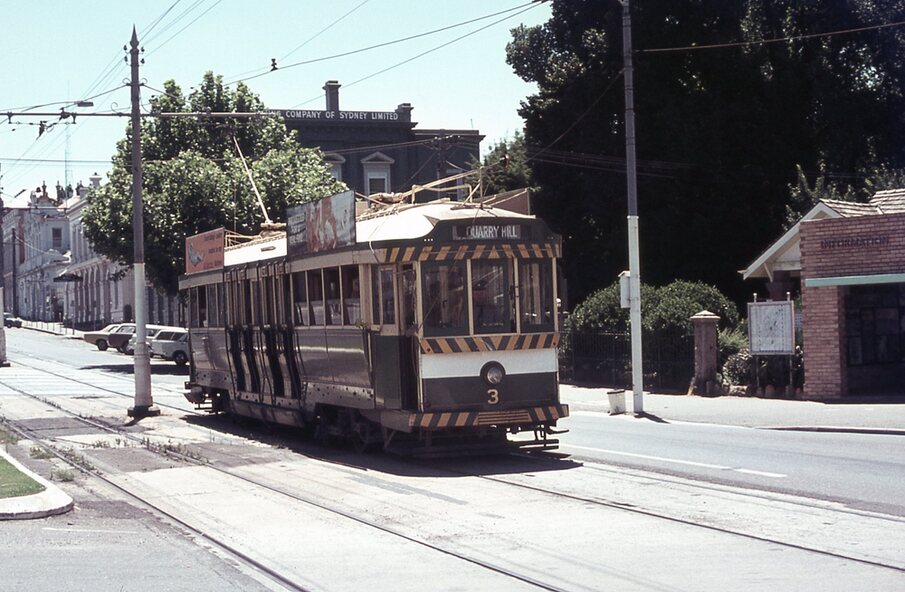
.7 - No. 3 arriving at Charing Cross from Eaglehawk in View St, with a Quarry Hill destination.
.8 - No. 3 and 18 at Charing Cross.
.9 - No. 24 on the Quarry Hill line.
.10 - No 26 in View St, with the Armstrong Tyre Service building in the background and signs for T&G and Cohn's Drinks.
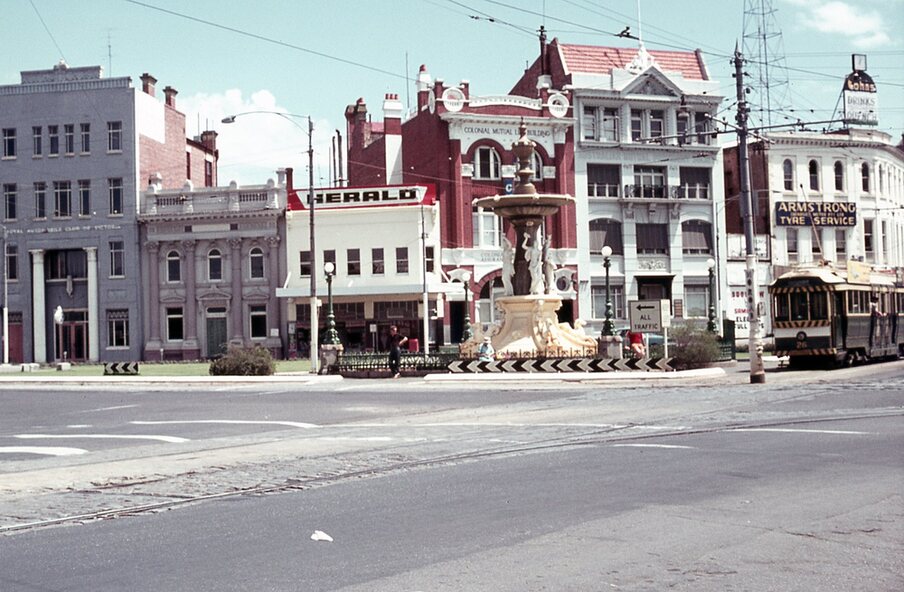
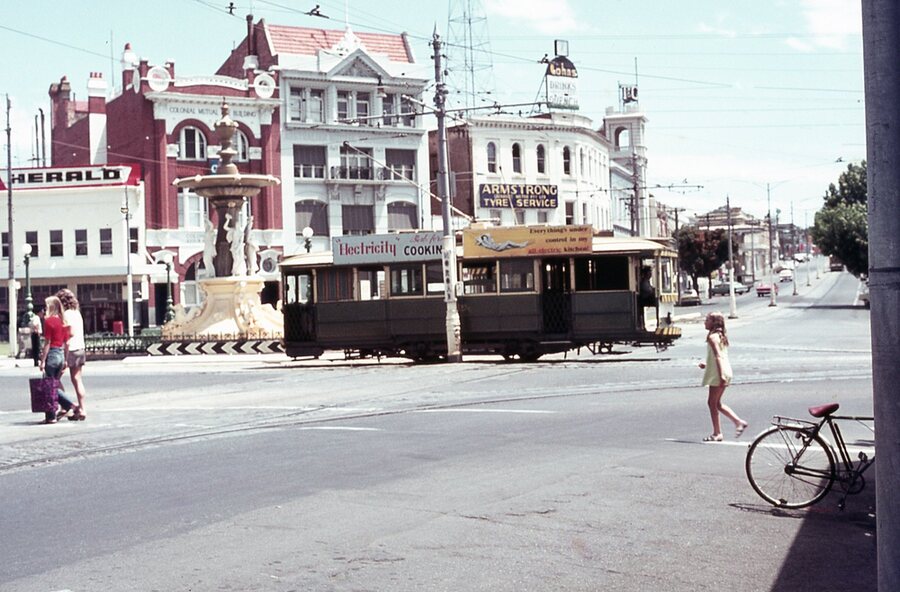
.11 - ditto, with fountain in view, Colonial Mutual building and a newsagent with a Herald sign on the building.
.12 - No. 7 at North Bendigo terminus
.13 - ditto with pole being reversed.
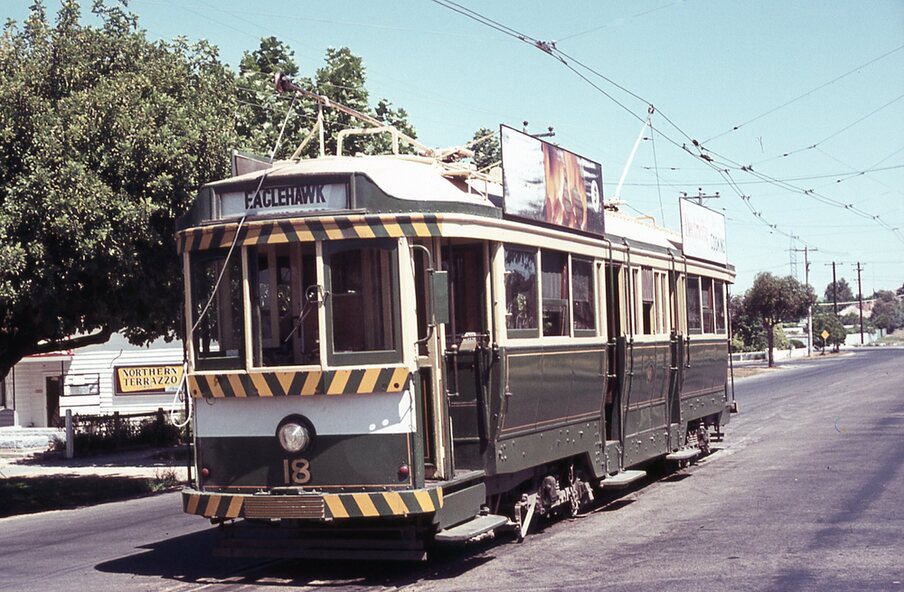
.14 - No. 18 at Quarry Hill terminus with Northern Terrazzo sign in the background.
.15 - No. 24 at Quarry Hill terminus
.16 - No. 18 arriving at Charring Cross, with Fountain Plaza and Bendigo Pharmacy in the background.
.17 - No. 3 and 18 at Charing Cross.
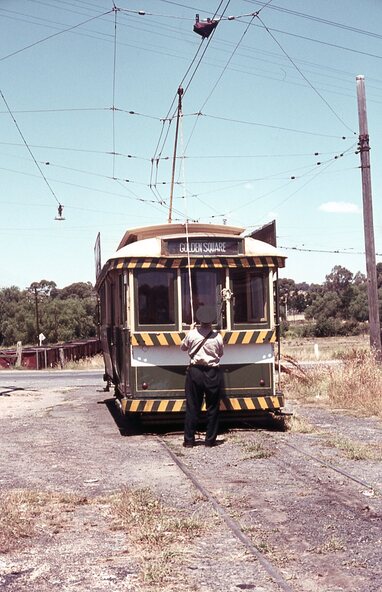
.18 - No. 7 at North Bendigo terminus with pole being placed on the overhead.
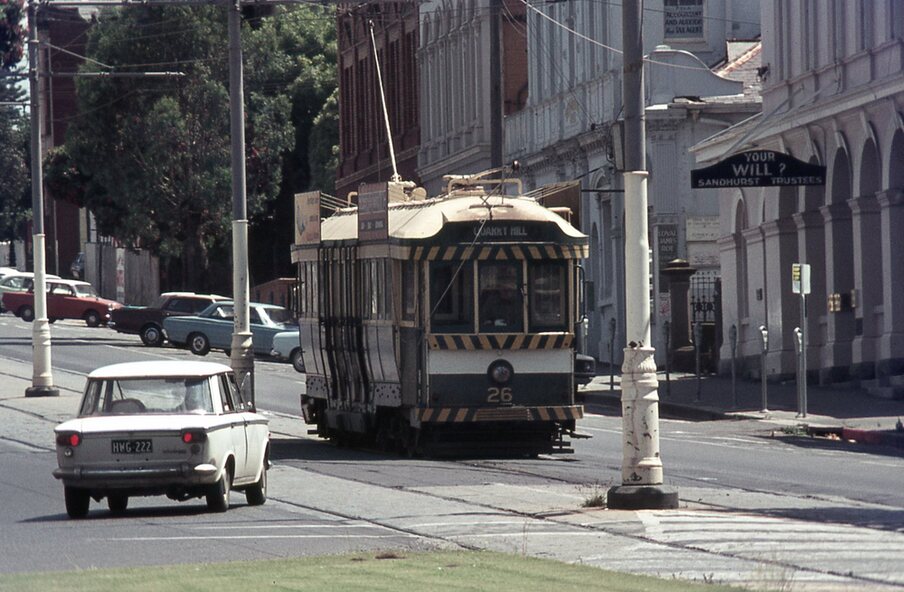
.19 - No. 26 in View St inbound, with Sandhurst Trustees sign in the background.
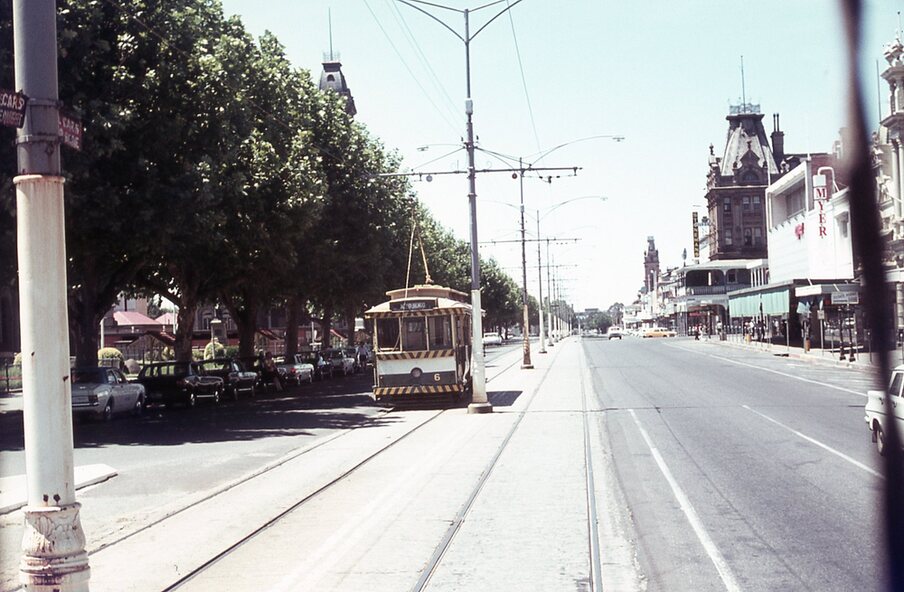
.20 - No. 6 leaving Charing Cross in Pall Mall with Myer and other buildings in the background.
.21 - No. 7 at North Bendigo
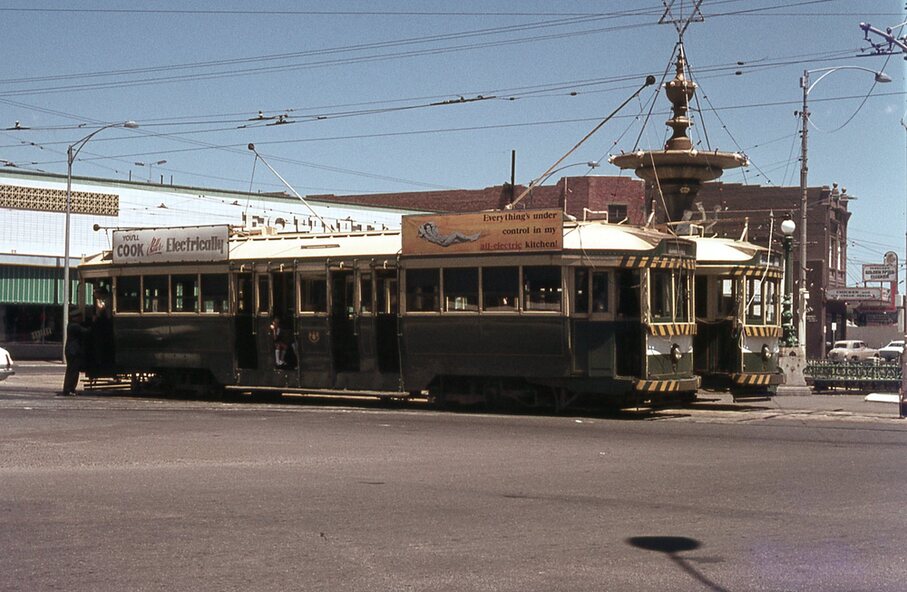
.22 - Single trucker with two roof Advertisements crossing View St with fountain in view, Colonial Mutual building and a newsagent with a Herald sign on the building.