


Historical information
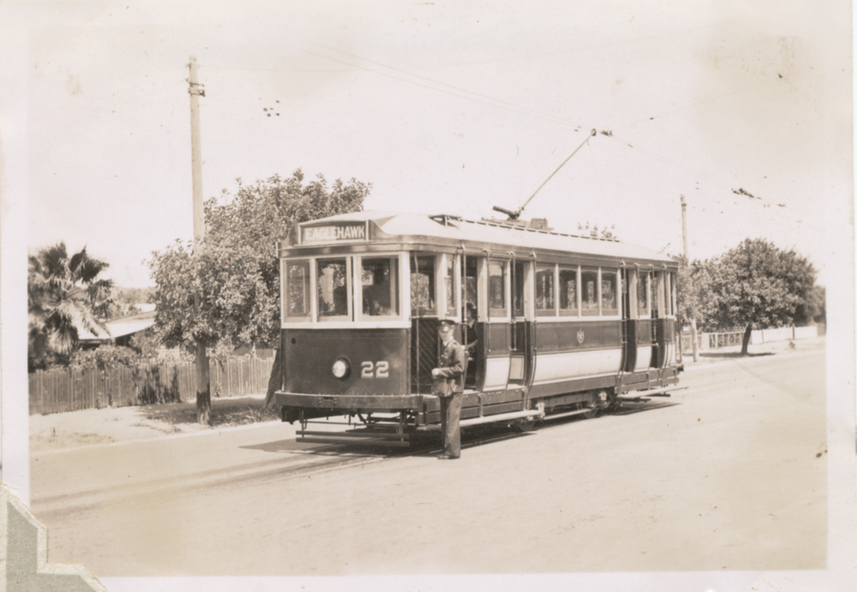
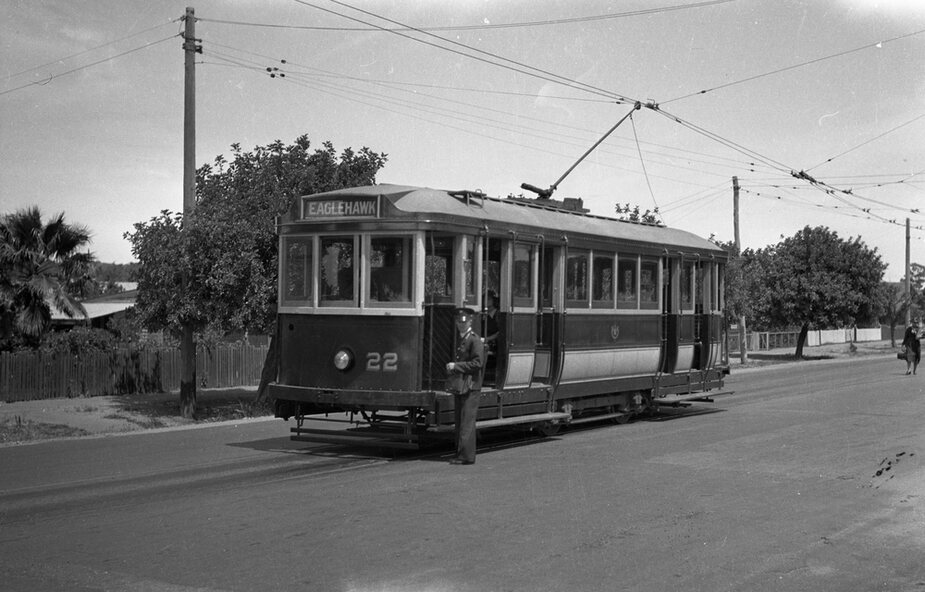
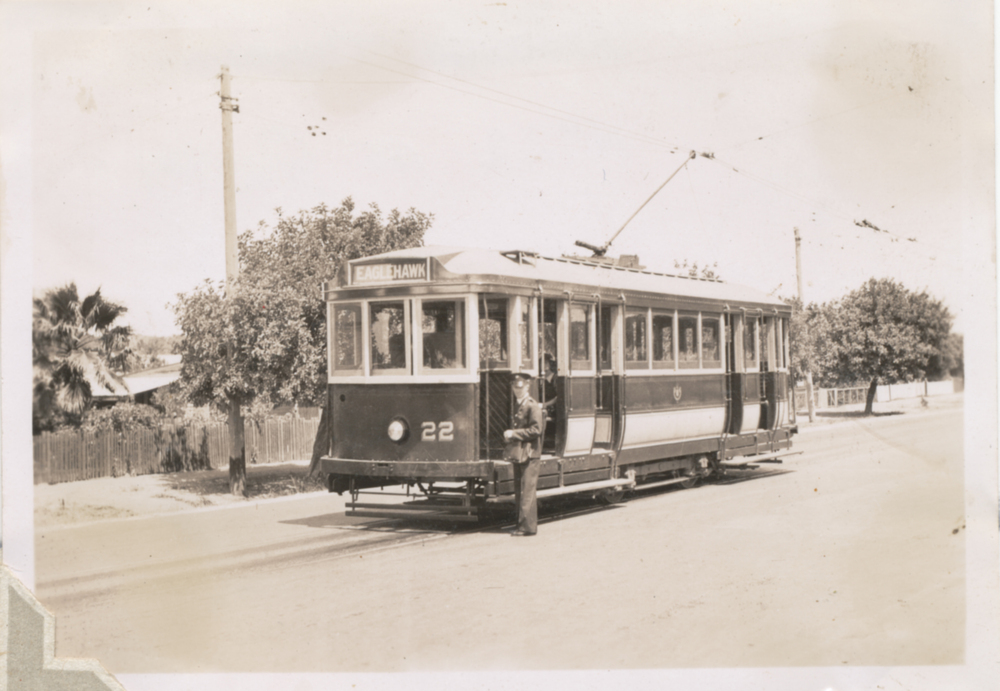
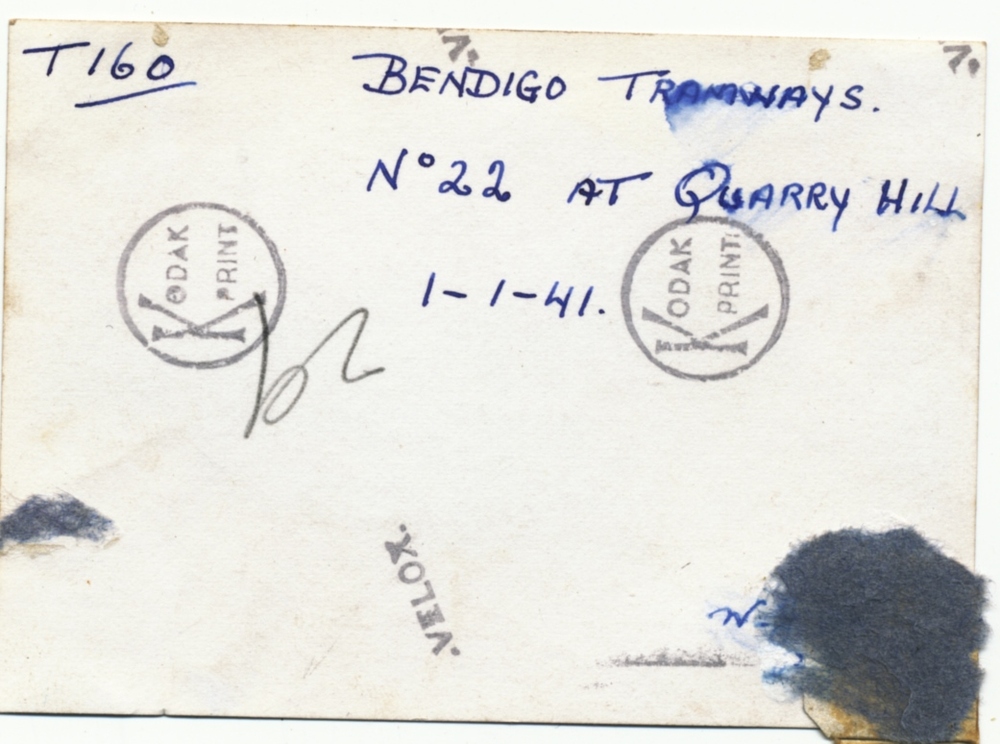
Photo of No. 22 at Quarry Hill 1-1-1941, has the conductor standing alongside the front of the tram. The tram has the destination of Eaglehawk. Photo by Wal Jack, contained within the Wal Jack Bendigo and Geelong Album, see Reg Item 5003 for more details.
Printed on Kodak Velox paper.
i1 - scan of print in the album
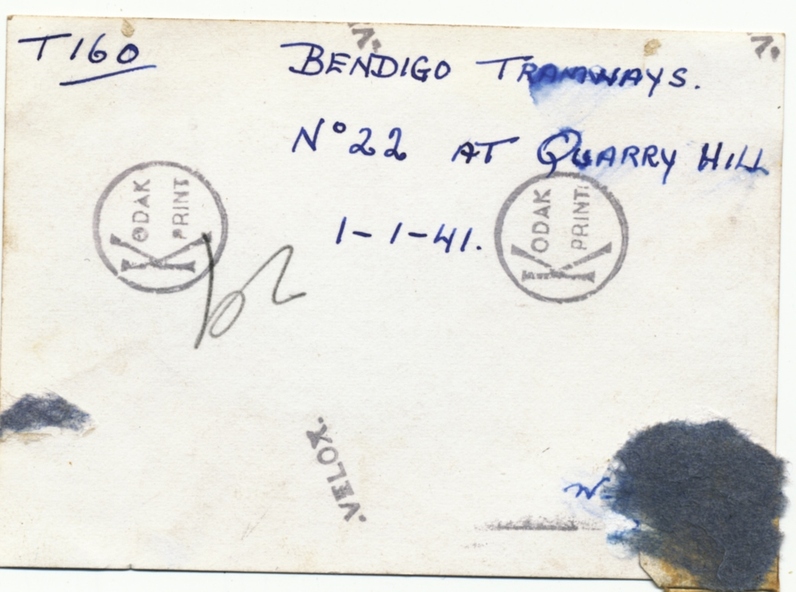
i2 - rear of image
i3 - scan of negative at 3200dpi added 6/6/2020.
Significance
Yields information about the Quarry Hill terminus and tram 22.
Physical description
Black and White print with the photographer's notes on the rear.
Inscriptions & markings
On the rear in blue ink "T160, Bendigo Tramways, No. 22 at Quarry Hill 1-1-41" "W. Jack photo" in bottom right hand corner.