
Historical information
Compiled by Gus Weir of the Wellington Tramway Museum, former Wellington tram driver. Comprises some 33 double-sided album sheets for photographs of Melbourne A1 & A2 class trams. Scanned into 3 parts as pdf files. Many photos taken in the City area, Kew Junction, Port Junction, Port Melbourne, Hawthorn Bridge, Mont Albert, Docklands Photos by Gus himself during Melbourne visits.
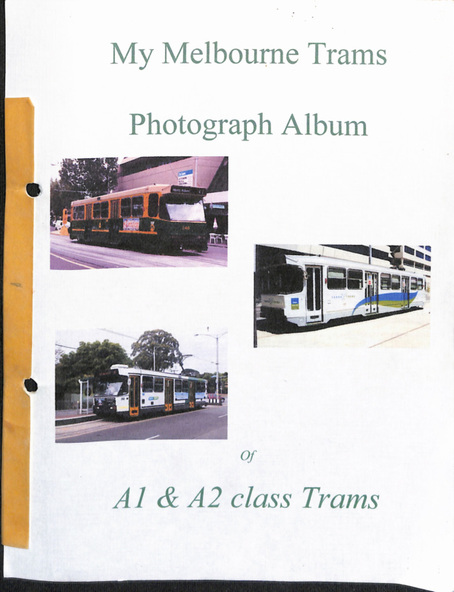
Part 1 - cover - A1 231, 232, 233, 236, 237, 238, 239, 240, 243, 246
Part 2 - A1 246, 248, 255, 256, 257, 258, A2 259. 260, 261, 262, 263, 264, 268, 269, 275, 278, 280, 282, 283, 284, 286 and 287
Part 3 - A2 288, 291, 292, 293, 294, 295, 296, 298, & 300
Significance
Yields detailed information about Melbourne trams from 1991 to 2012
Physical description
Set of 33 album sheets generally with four photos within a bound album, with many blanks to allow for further photos. Each photo has a label on the rear, with details of the photograph's location, photographer, and date. An insert label on each page gives the tram number, location, and date.