Physical description
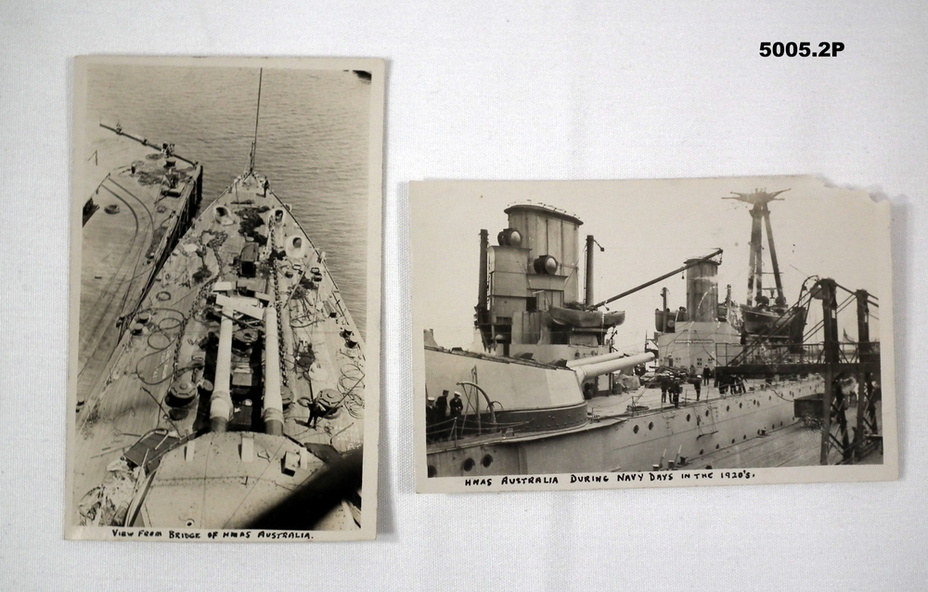
1. B & W postcard shows scene of foredeck taken from the bridge. One twin gun turret can be observed. The ship is tied up at a wharf.
2. Side view of HMAS AUSTRALIA. The photo shows one gun turret, two funnels and wireless mast.
Inscriptions & markings
1. On front bottom is handwritten "View from bridge of HMAS AUSTRALIA".
2. On front bottom is written "HMAS AUSTRALIA during Navy days in the 1920's" .