


Historical information
This collection contains eight archive sheets (Sheet 1 to Sheet 8) of strips of original 35mm black and white negatives of photographs taken during the 1960s and early 1970s by Robert Green, of the Bendigo State Electricty Commission of Victoria Tramways prior to their abandonment
The collection also includes two archive quality sheets (Sheet A and Sheet B) of original 35mm colour slides taken by Robert Green during the same period. Sheet B also contains one slide taken by Robert's friend Keigh S King (1928-2019) who was the author of the book 'The Bendigo Tramways an illustrated history, published by the Australian Railway Historical Society Victorian Division Melbourne in February 1972; BHS Item no. 5052.
The collection also includes one USB stick which contains images of all photographs described above, except for one colour slide taken by Keith S Kings. Sixteen black and white prints from the images are also included.
Physical description
Robert Green Collection, this item contains 33 Black and White Negatives of the trams at various locations around Bendigo.
Photos:
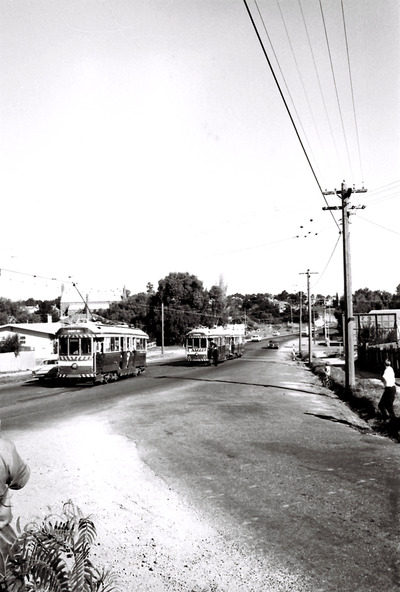
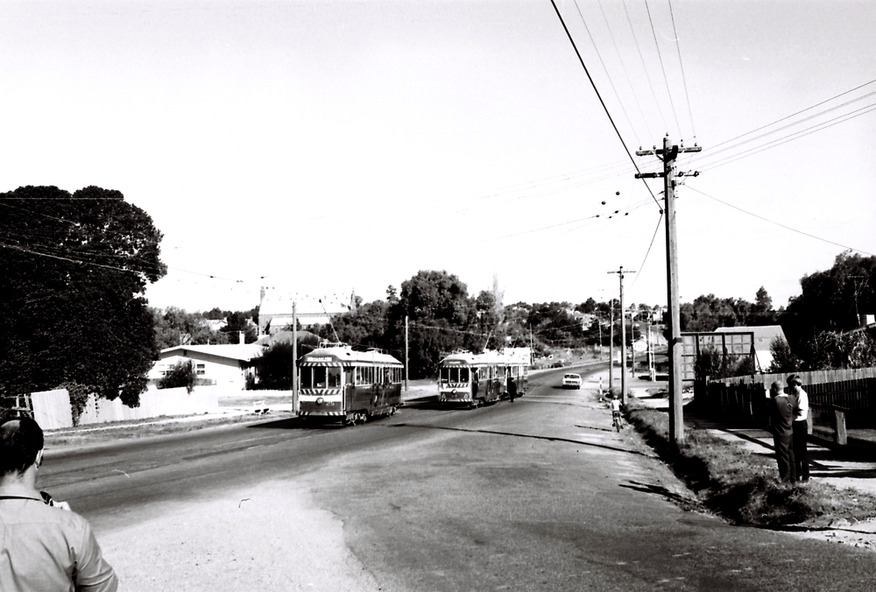
11147.6a Two trams passing at the loop in Eaglehawk Road at the Philpot Street intersection
11147.6b Two trams passing at the loop in Eaglehawk Road at the Philpot Street intersection
11147.6c Two trams passing at the loop in Eaglehawk Road at the Philpot Street intersection
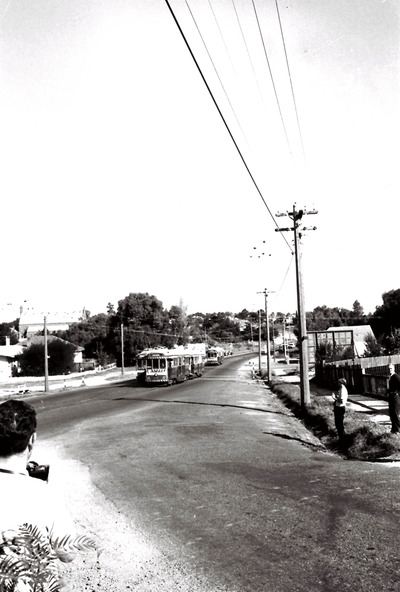
11147.6d Two trams leave the loop in Eaglehawk Road at the Philpot Street intersection
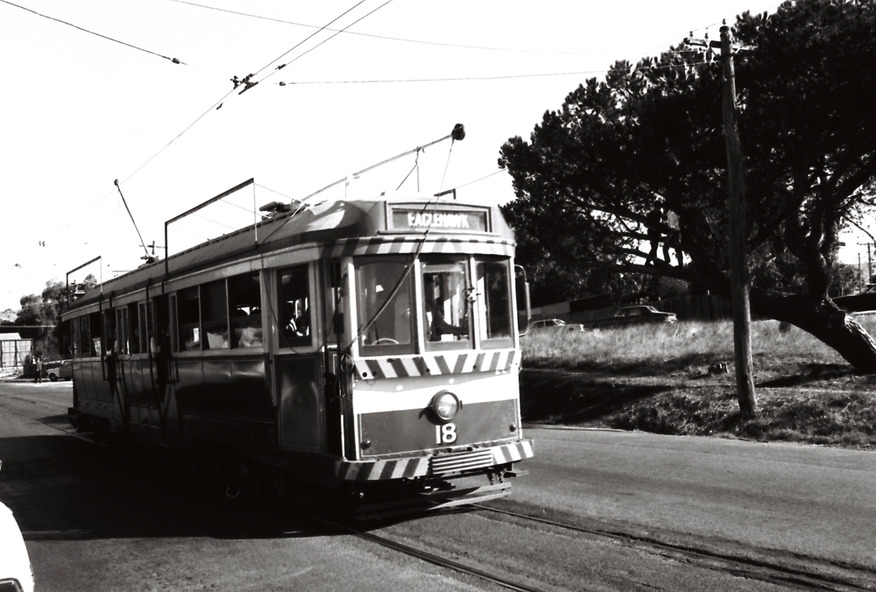
11147.6e No 18 heading out of Iron Bark to Long Gully along Eaglehawk Road
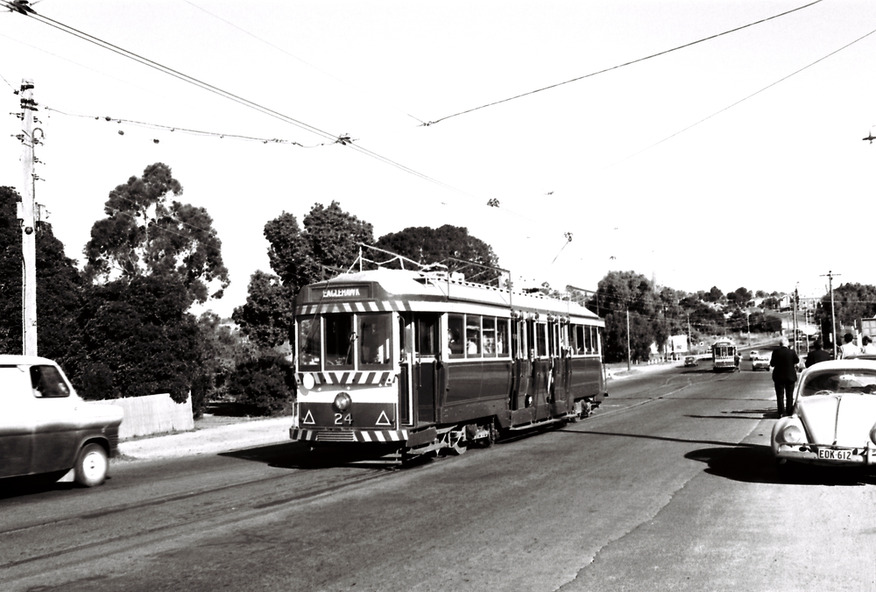
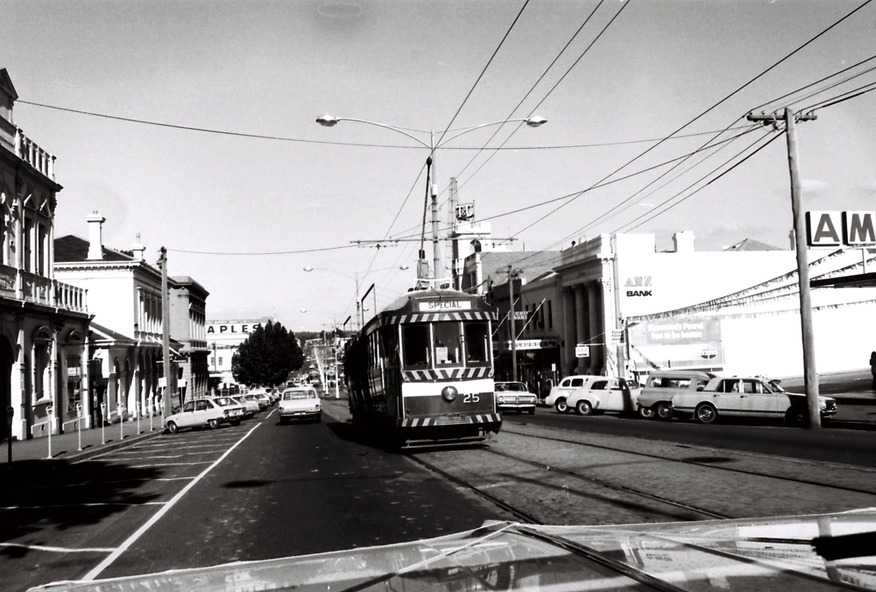
11147.6f No 25 Special head down View Street at the McKenzie Street intersection
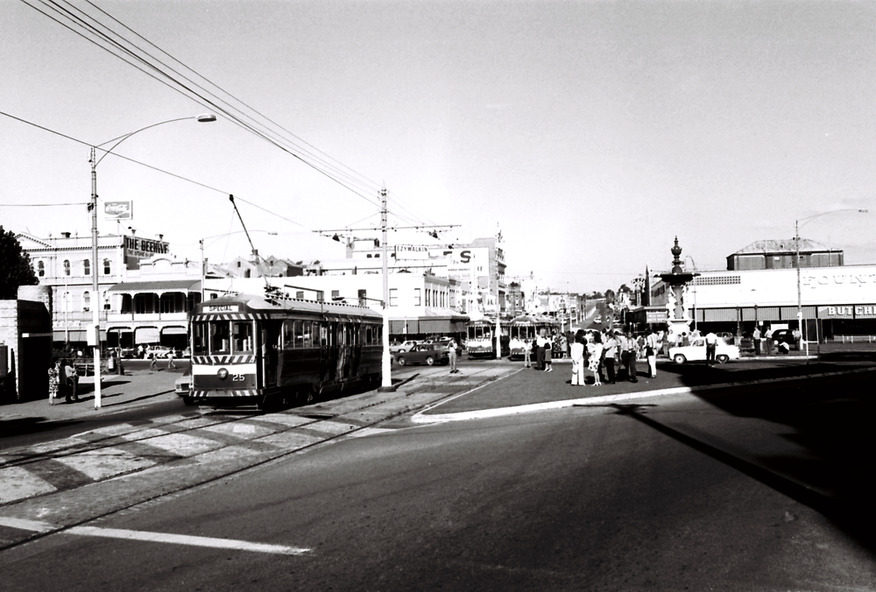
11147.6g The No 25 Special from Eaglehawk arrives at the fountain
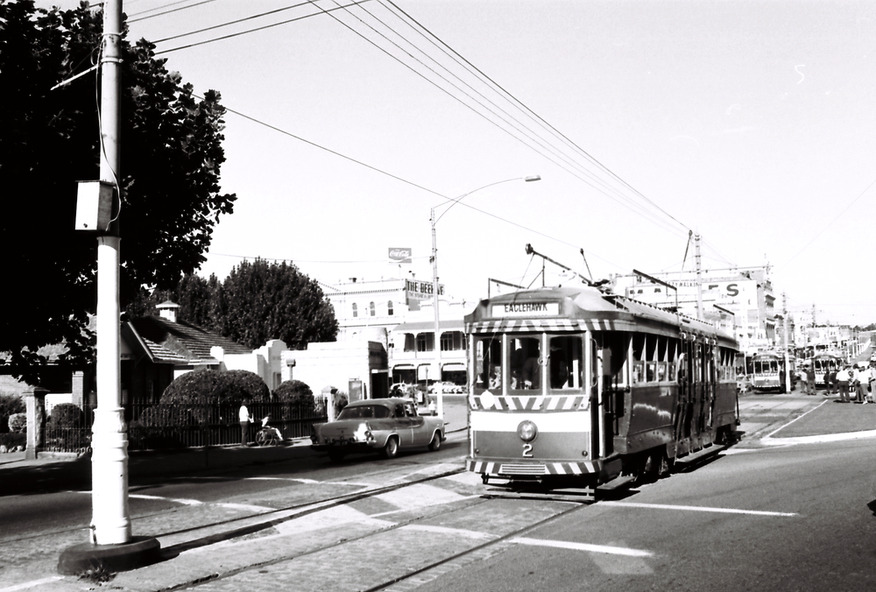
11147.h No 2 to Eaglehawk comes up View Street past the Infant Welfare Centre
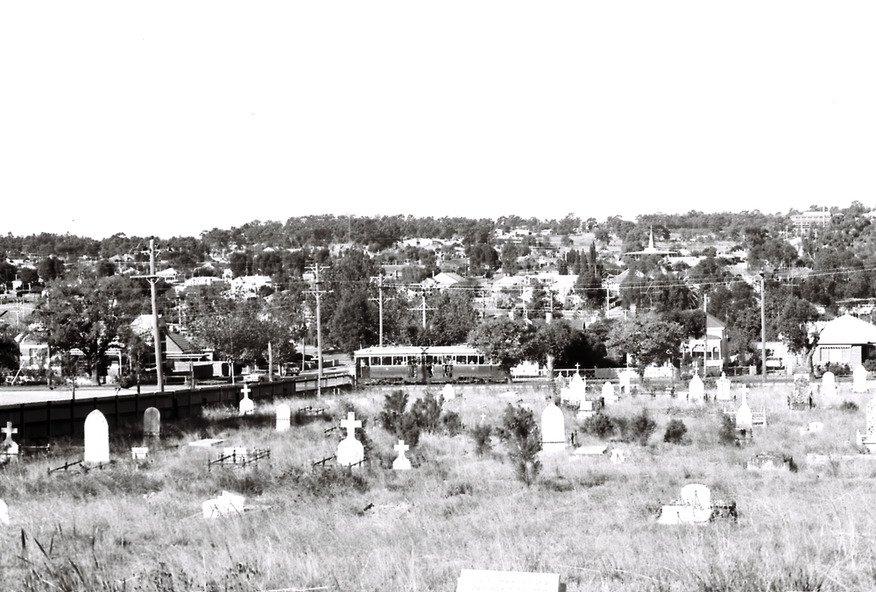
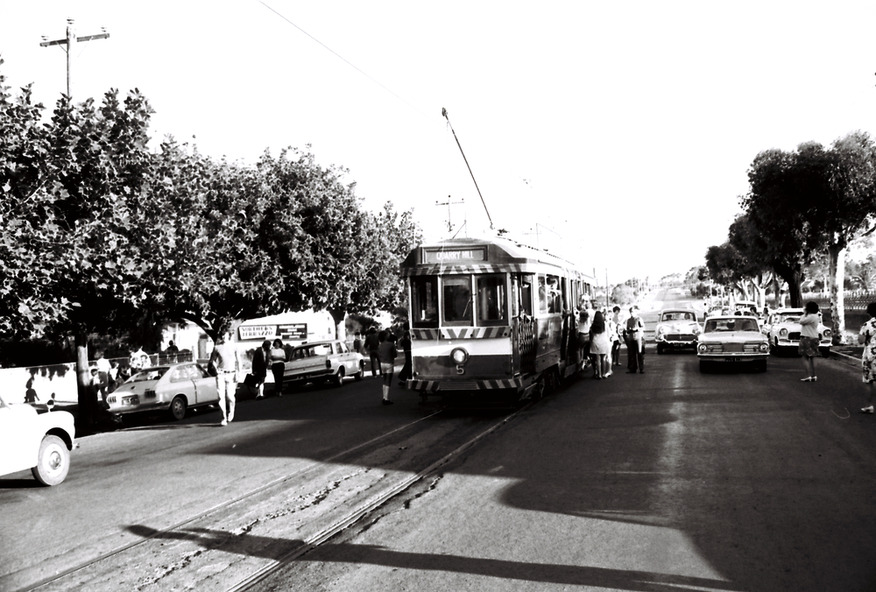
11147.6i The Quarry Hill tram passes the Carpenter and Houston St intersection at the corner of the cemetery
11147.6j The Quarry Hill tram passes the Carpenter and Houston St intersection at the corner of the cemetery
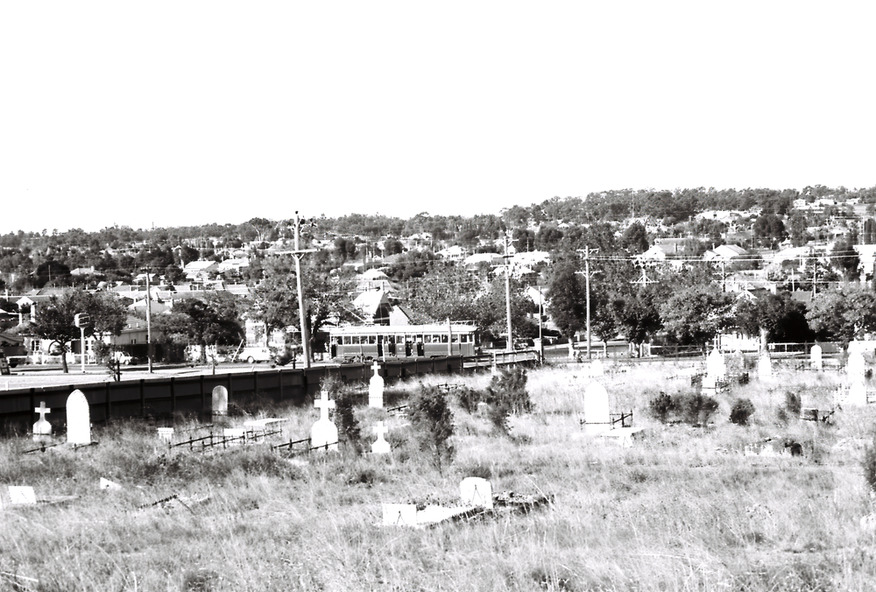
11147.6k The Quarry Hill tram approached the terminus at the Cemetery gates
11147.6l The Quarry Hill tram at the terminus at the Cemetery gates picking up passengers
11147.6m The Quarry Hill tram at the terminus at the Cemetery gates picking up passengers
11147.6n The Quarry Hill tram at the terminus at the Cemetery gates picking up passengers
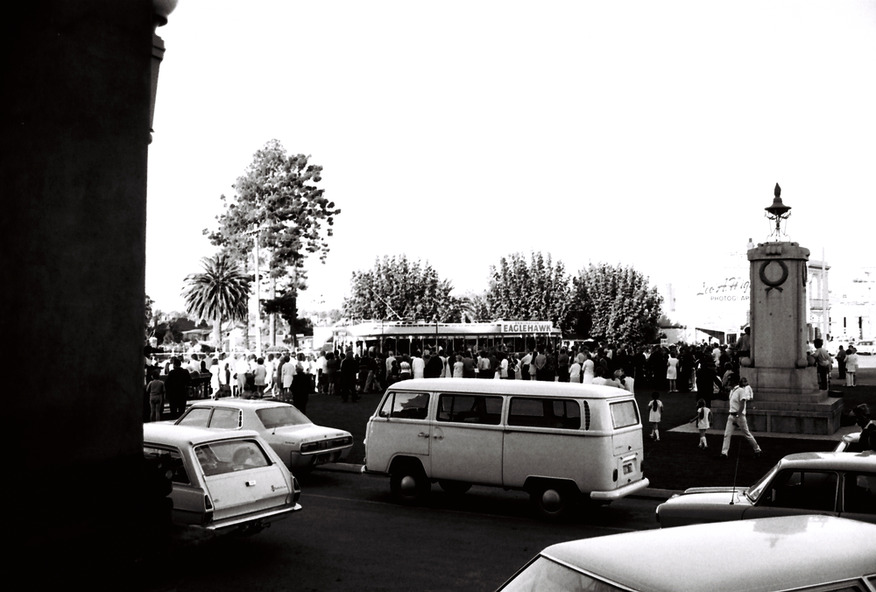
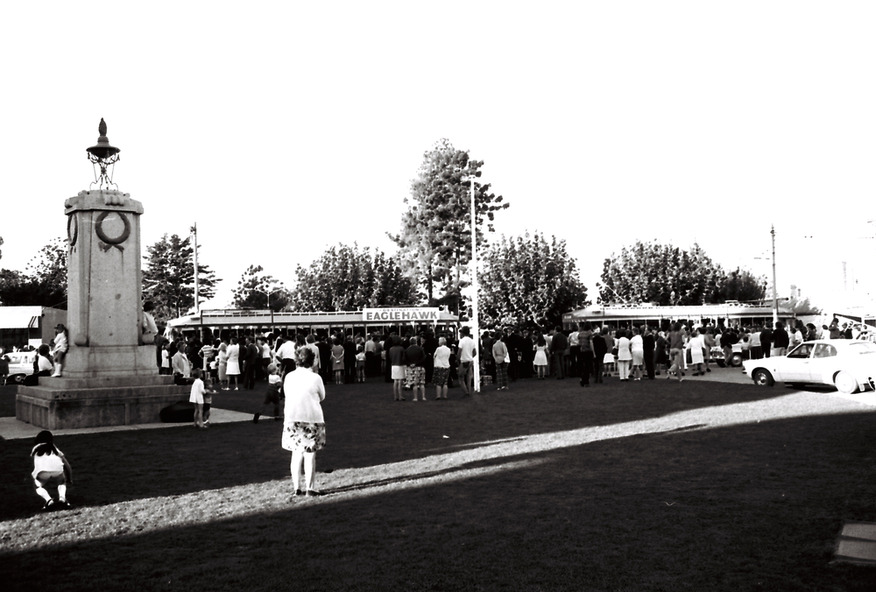
11147.6o Tram and large crown in front of the Eaglehawk Town Hall
11147.6p Tram and large crown in front of the Eaglehawk Town Hall
11147.6q Tram and large crown in front of the Eaglehawk Town Hall
11147.6q Two Trams and large crown in front of the Eaglehawk Town Hall
11147.6r Two Trams and large crown in front of the Eaglehawk Town Hall
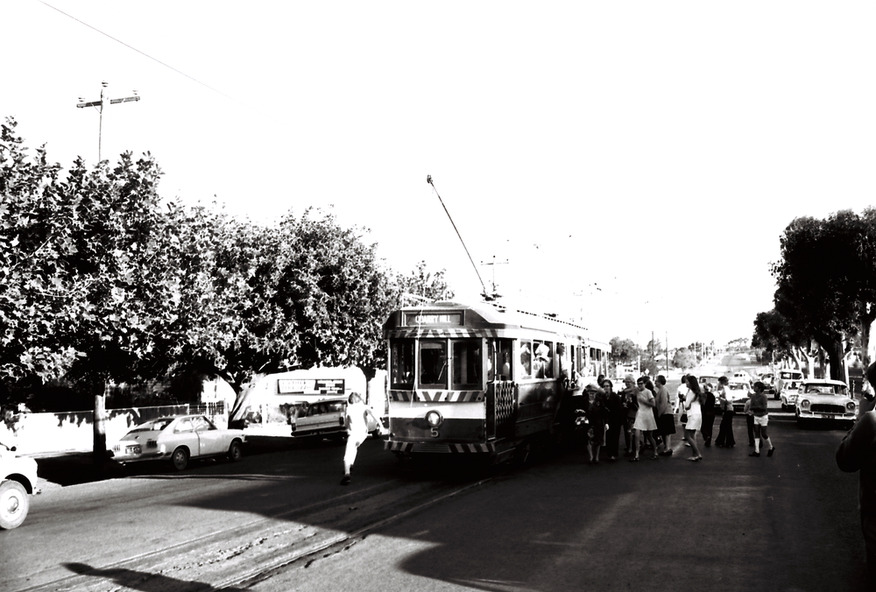
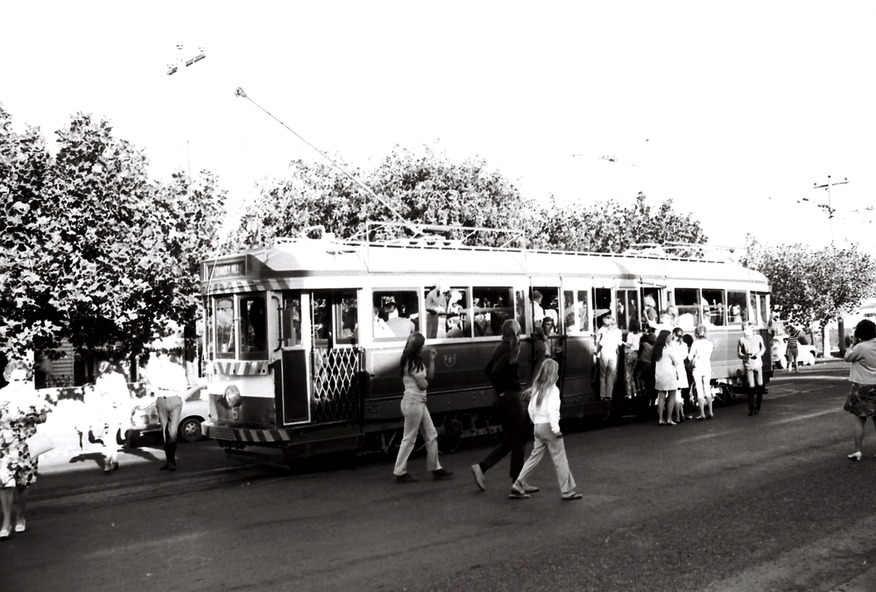
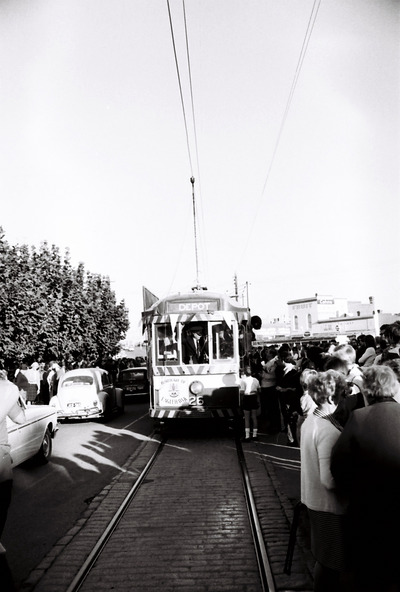
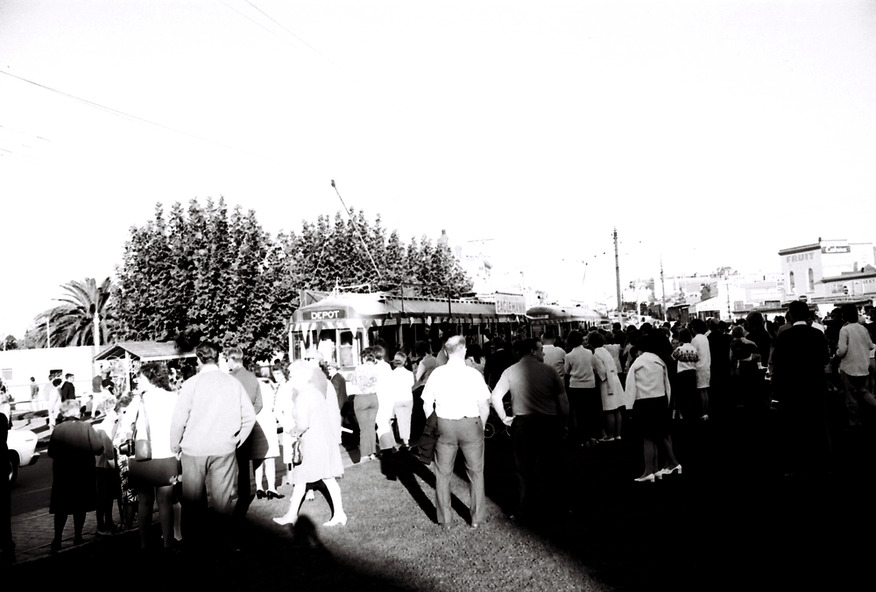
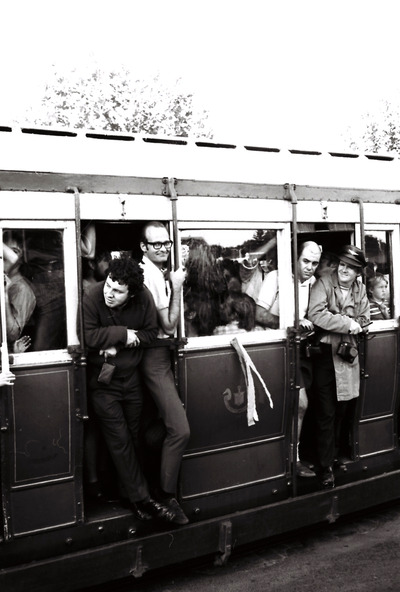
11147.6s Passengers on the "Last Tram"
11147.6t Passengers on the "Last Tram"
11147.6u Passengers on the "Last Tram"
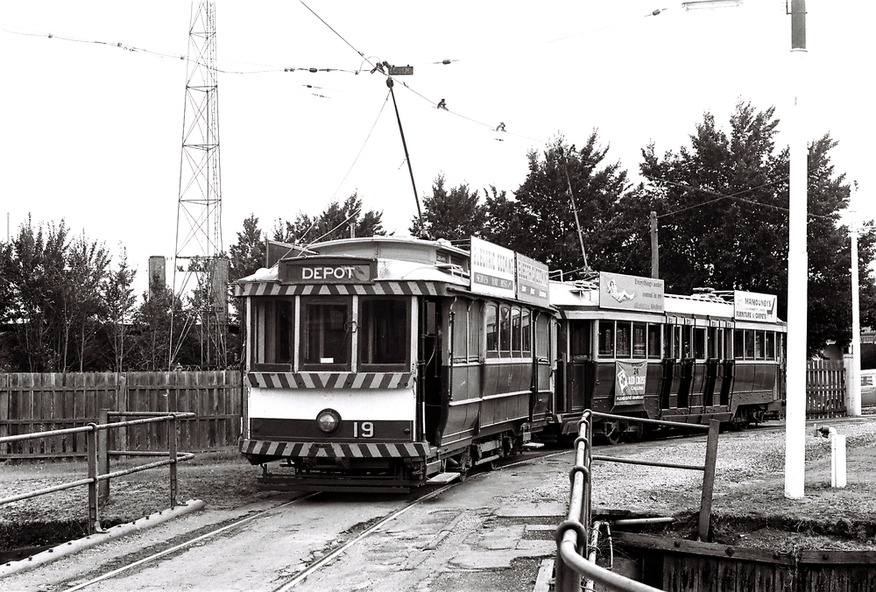
11147.6v Two trams leaving the depot crossing the Back Creek
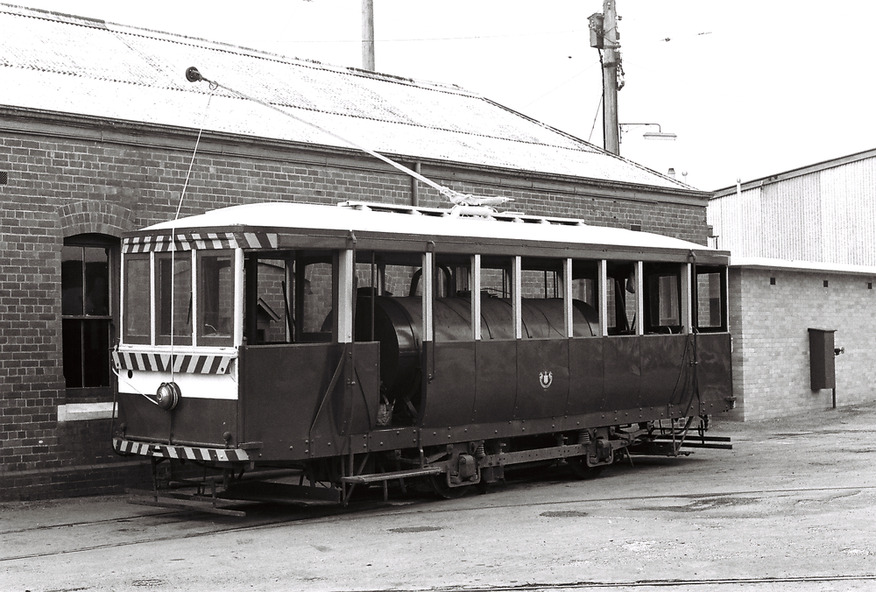
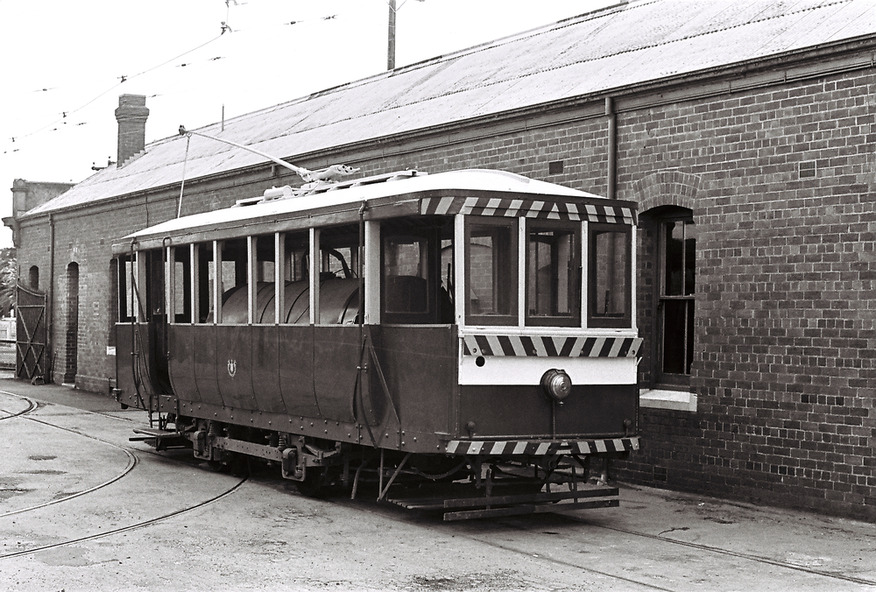
11147.6w The Scrubber tram in the depot
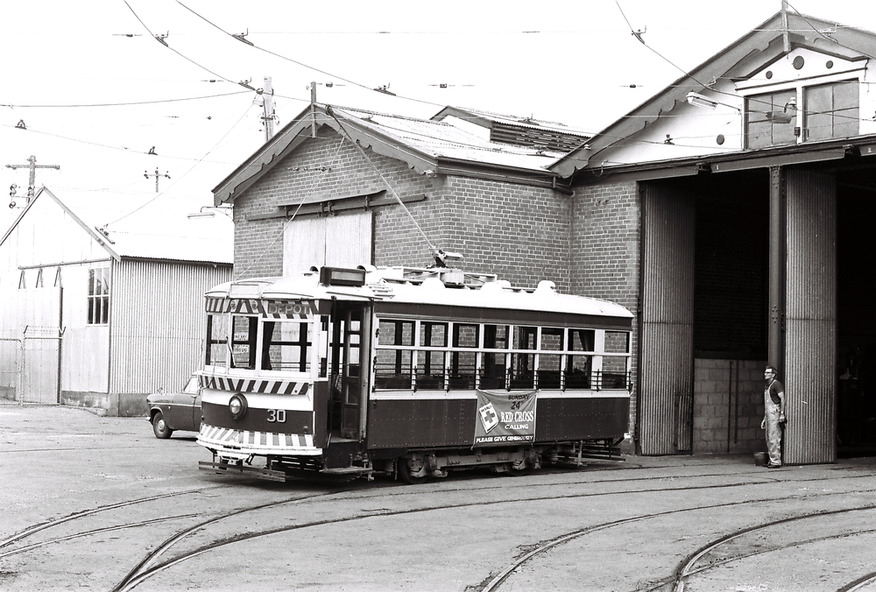
11147.6x Birney Car 30 tram in the depot
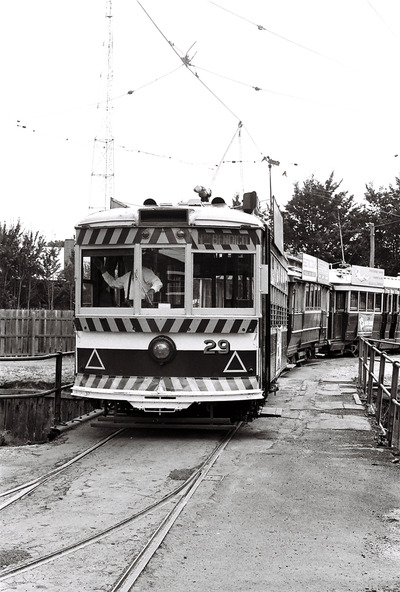
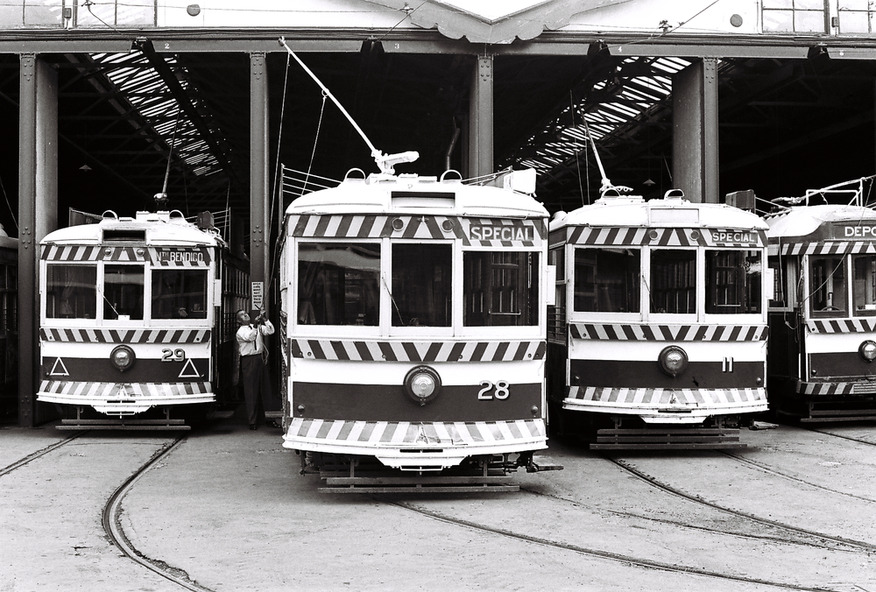
11147.6y Birney Car 29 and two others arriving at the depot
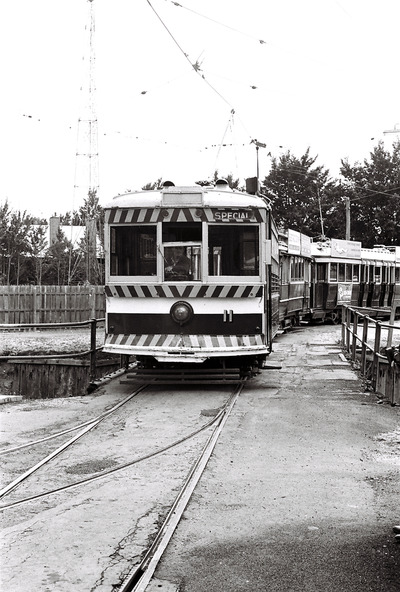
11147.6z Birney Car 11 and two others arriving at the depot
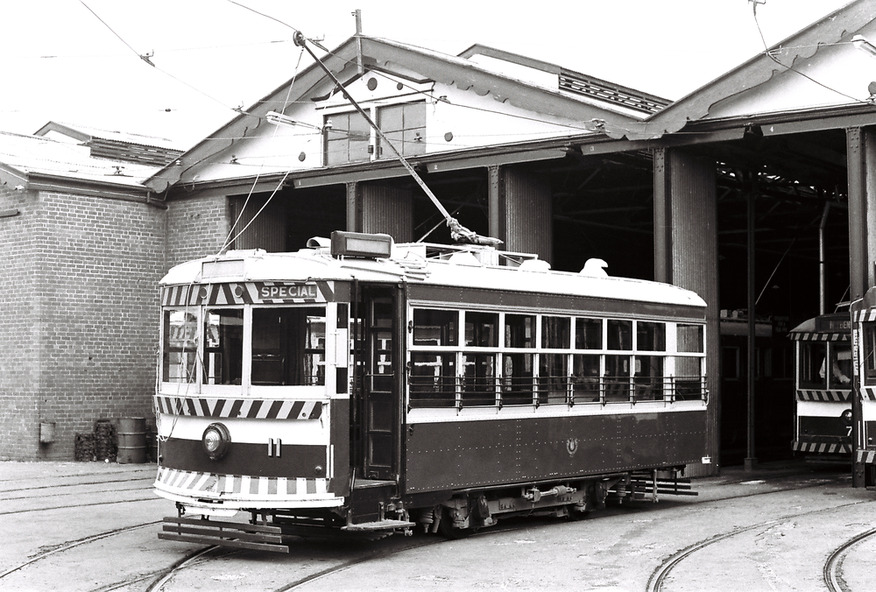
11147.6aa No 11 Birney Car at the depot
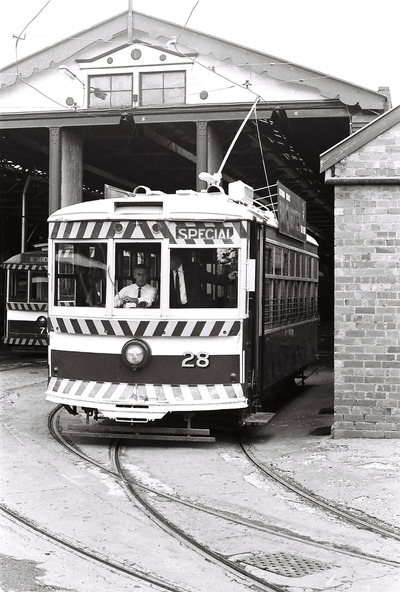
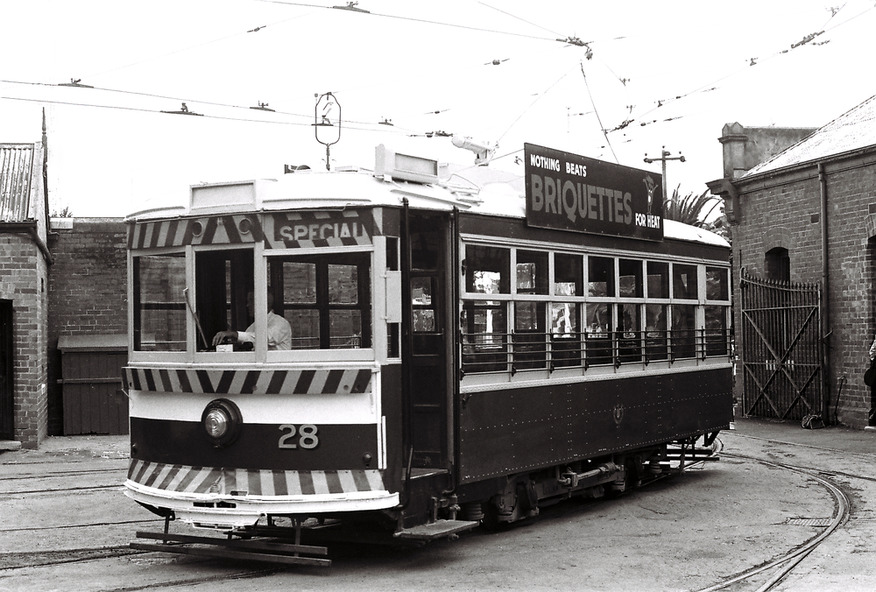
11147.6ab No 28 Birney Car at the depot
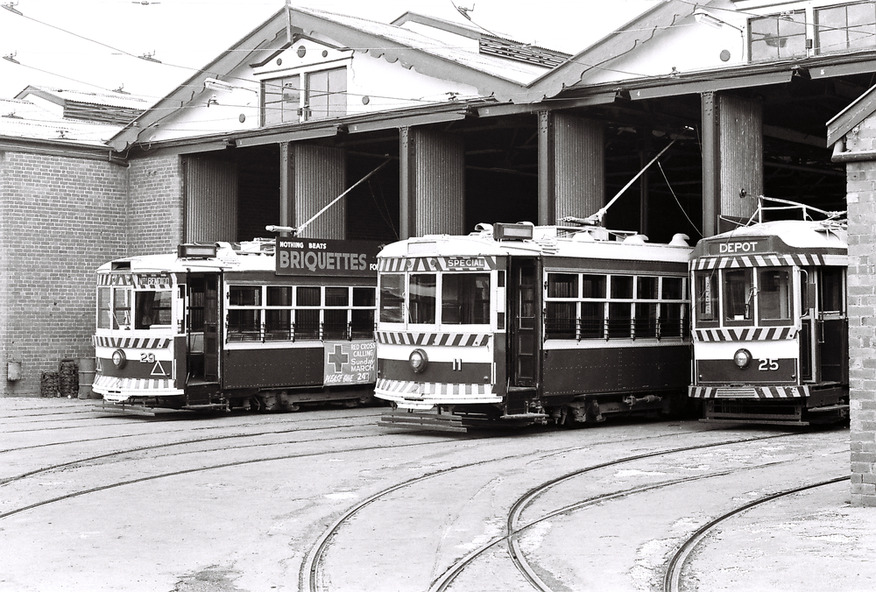
11147.6ac Nos 29, 11 and 25 at the depot
11147.6ad Birney Car 28 arrives at the depot
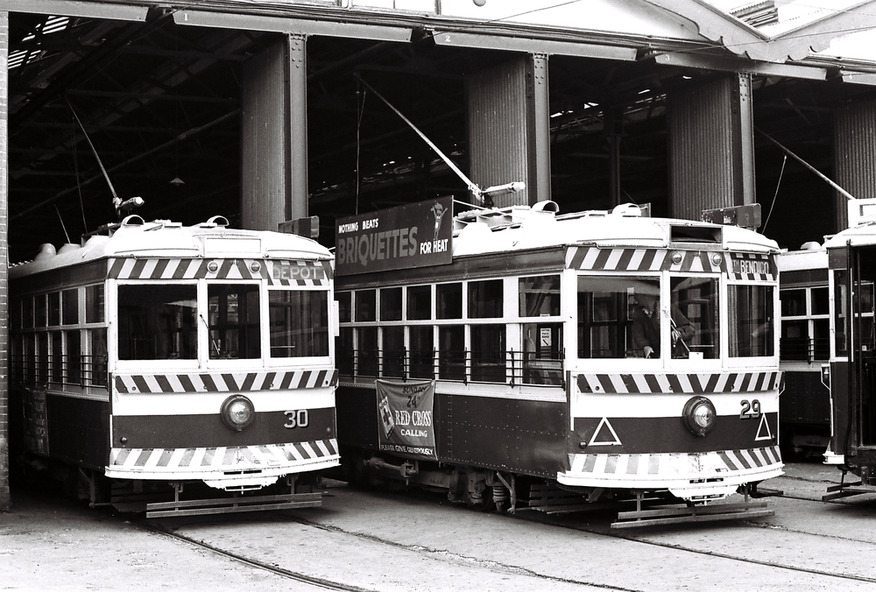
11147.6ae Birney Cars Nos 30 and 29 in the depot
11147.6af The Scrubber Car at the depot
11147.6ag Four trams and one driver at the depot TMS Bendigo Tour 24 March 1968
Subjects
References
- 11147.1 Sheet 1 Black and White Negatives
- 11147.2 Sheet 2 Black and White Negatives
- 11147.3 Sheet 3 Black and White Negatives
- 11147.4 Sheet 4 Black and White Negatives
- 11147.5 Sheet 5 Black and White Negatives
- 11147.6 Sheet 6 Black and White Negatives
- 11147.7 Sheet 7 Black and White Negatives
- 11147.8 Sheet 8 Black and White Negatives
- 11147.9 Sheet A Colour Slides
- 11147.10 Sheet B Colour Slides
- 11147.11 USB Stick of all images
- 11147.12 Black and White Prints of some of the images
- 5052 The Bendigo Tramways an Illustrated History