


Historical information
This collection contains eight archive sheets (Sheet 1 to Sheet 8) of strips of original 35mm black and white negatives of photographs taken during the 1960s and early 1970s by Robert Green, of the Bendigo State Electricty Commission of Victoria Tramways prior to their abandonment
The collection also includes two archive quality sheets (Sheet A and Sheet B) of original 35mm colour slides taken by Robert Green during the same period. Sheet B also contains one slide taken by Robert's friend Keigh S King (1928-2019) who was the author of the book 'The Bendigo Tramways an illustrated history, published by the Australian Railway Historical Society Victorian Division Melbourne in February 1972; BHS Item no. 5052.
The collection also includes one USB stick which contains images of all photographs described above, except for one colour slide taken by Keith S Kings. Sixteen black and white prints from the images are also included.
Physical description
Robert Green Collection, this item contains 20 Colour Slides of the trams at various locations around Bendigo.
Photos:
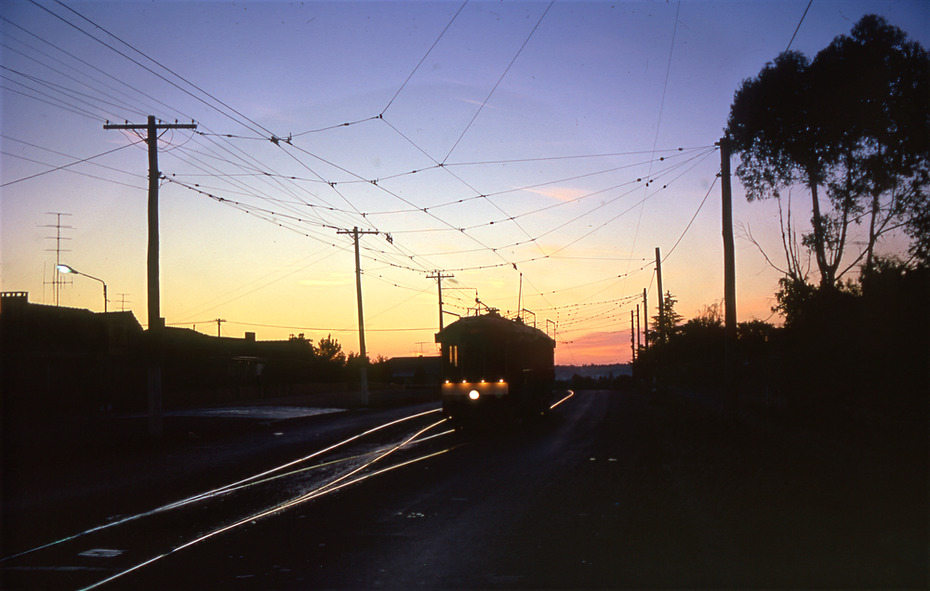
11147.10a Tram in the darkness, sunset or morning
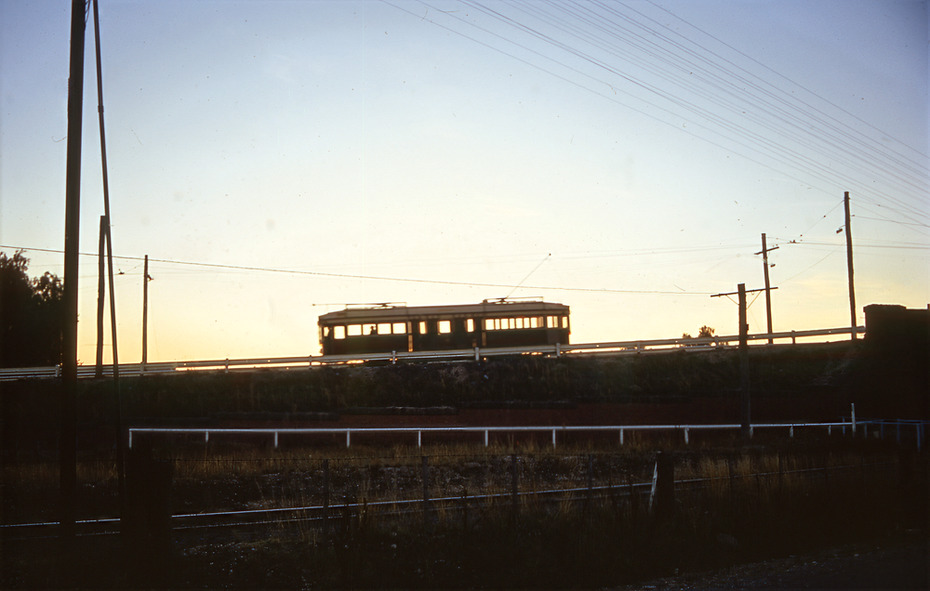
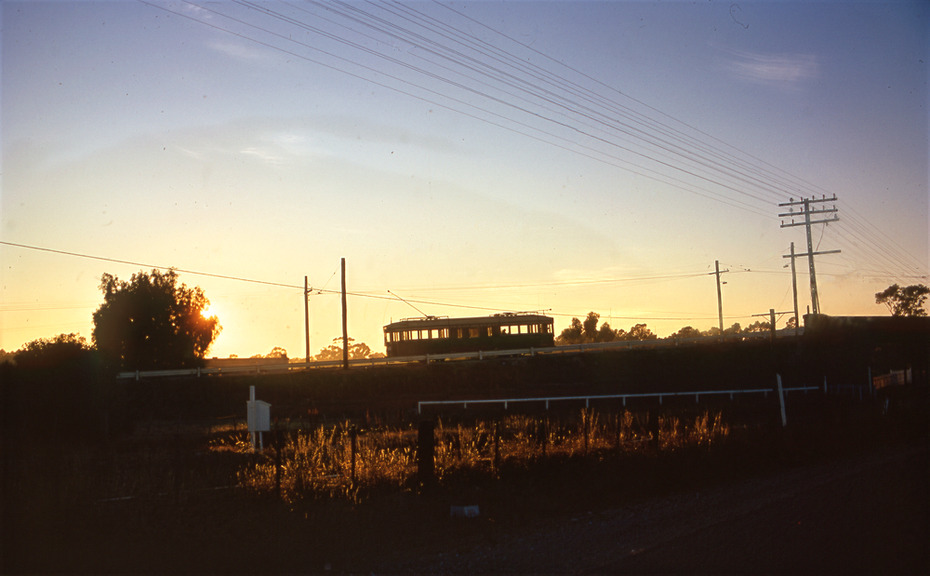
11147.10b Coming off the railway Line bridge towards Eaglehawk
11147.10c Coming on to the railway Line bridge from Eaglehawk
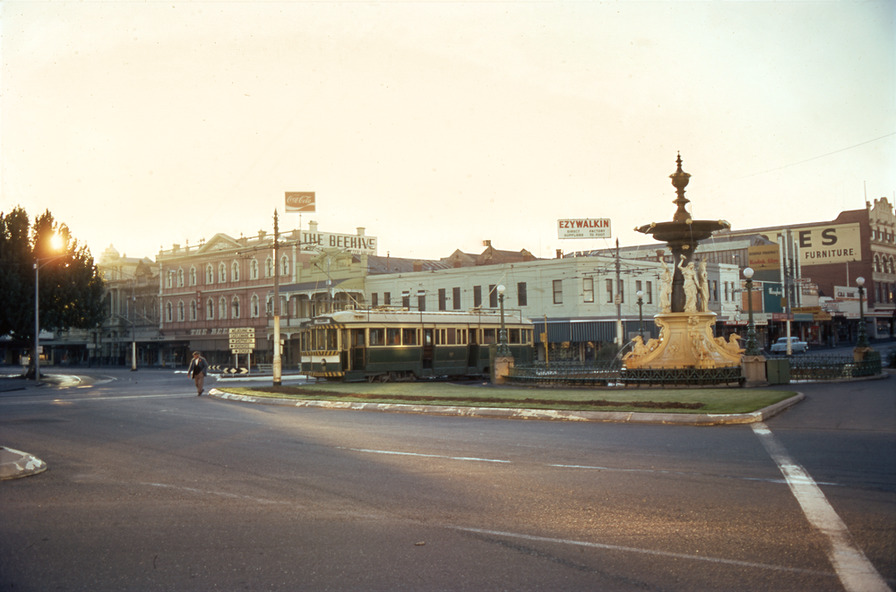
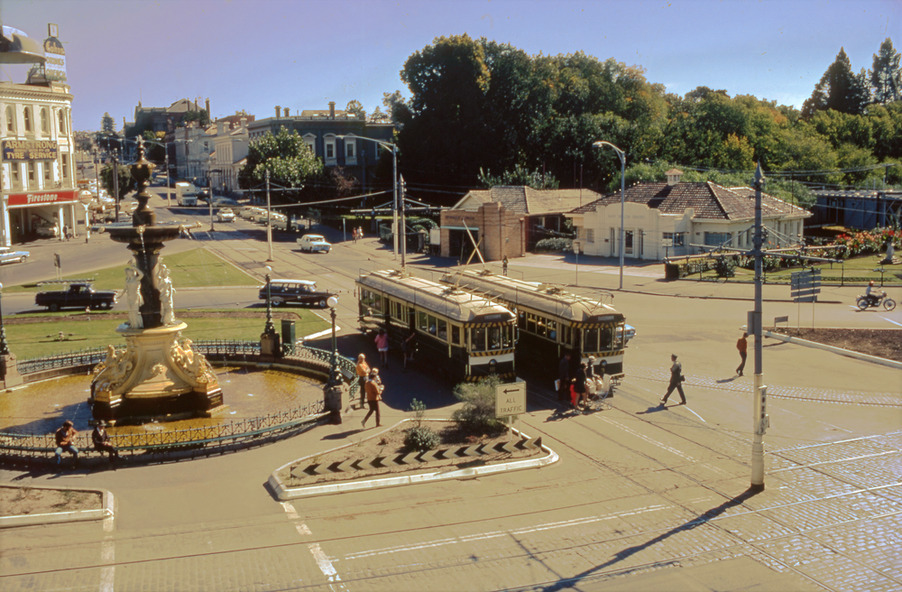
11147.10d The Quarry Hill and Eaglehawk trams waiting to leave the fountain
11147.10e No 18 from Quarry Hill arrives at the fountain
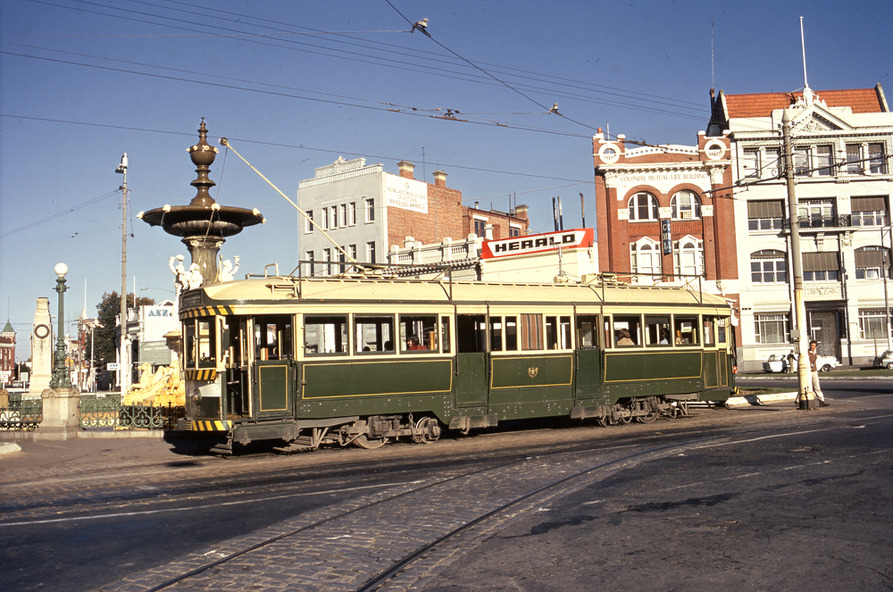
11147.10f Getting ready to leave the fountain for Eaglehawk
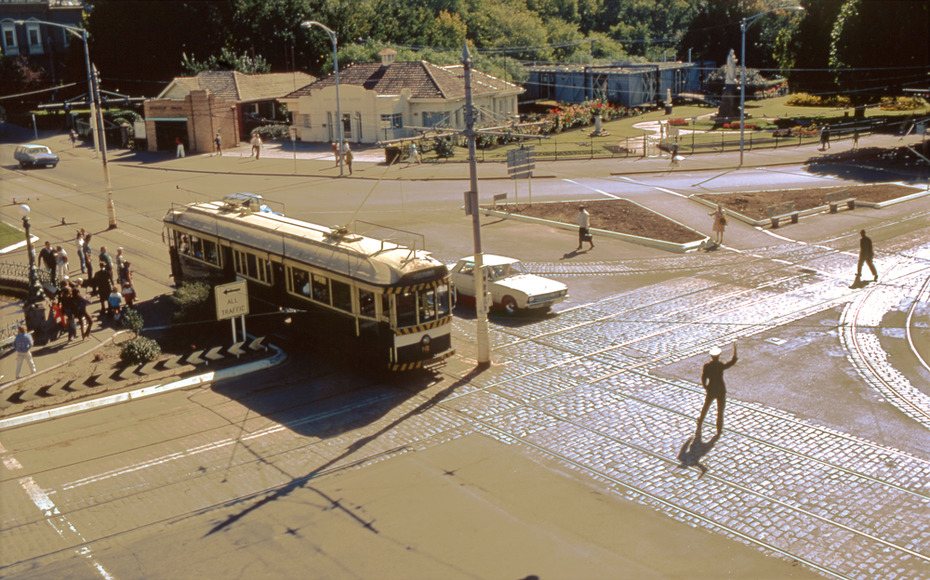
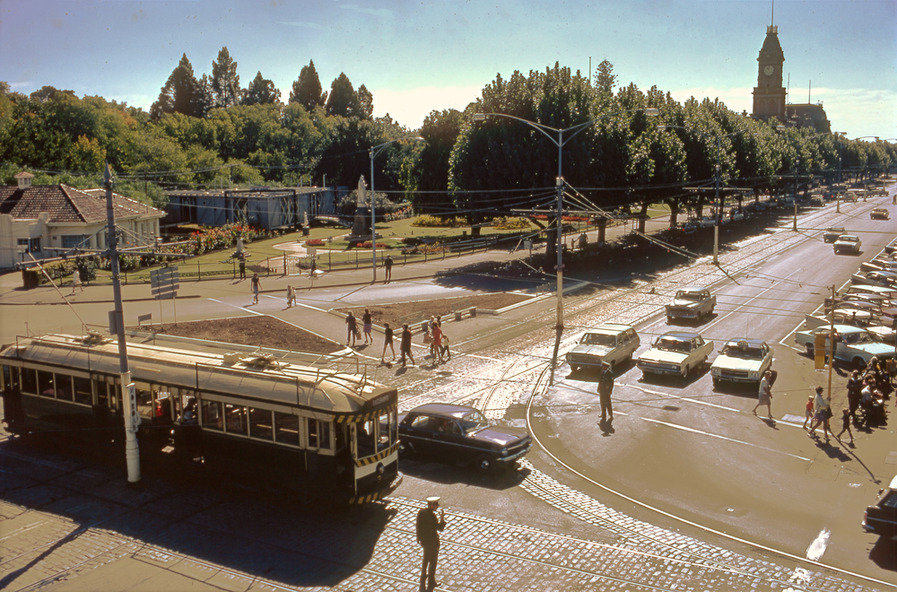
11147.10g Policeman on point duty and tram at the fountain, Charing Cross
11147.10h Eaglehawk and Quarry Hill trams at the fountain
11147.10i Policeman on point duty and tram at the fountain, Charing Cross, looking down Pall Mall
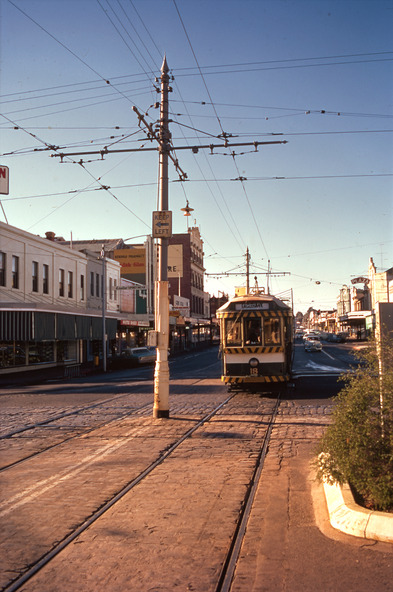
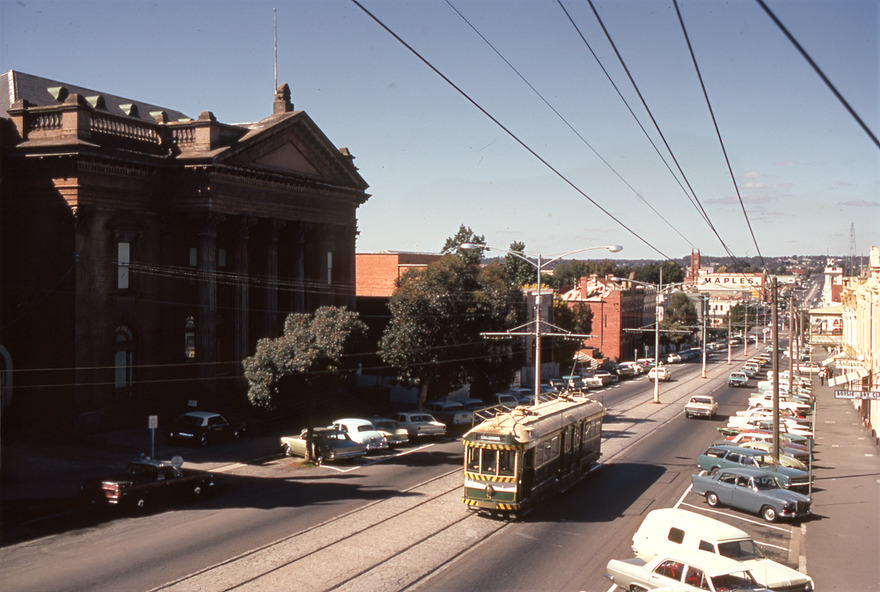
11147.10j No 3 roars up View Street at the corner of McKenzie Street
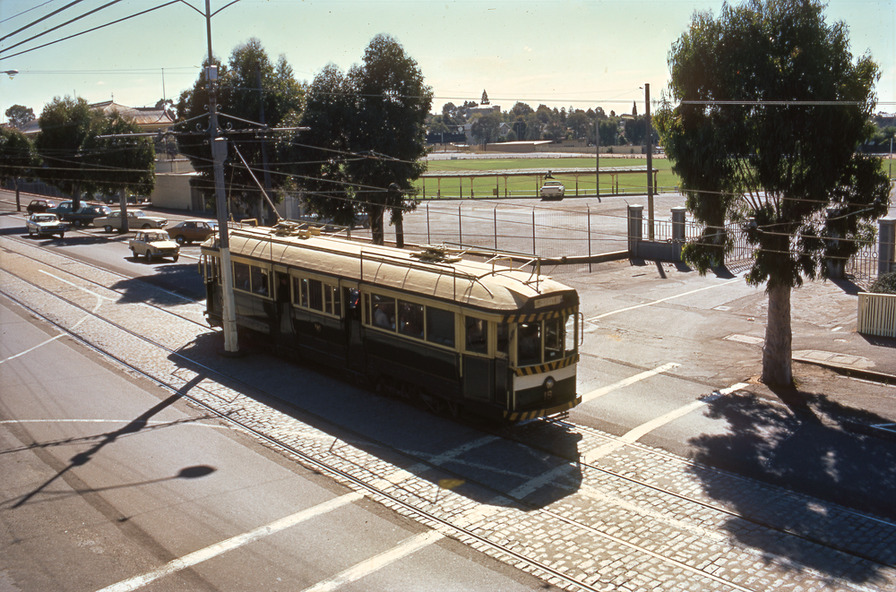
11147.10k From the Rifle Brigade Hotel the Eaglehawk tram comes past the Queen Elizabeth Oval down View Street
11147.10l From the Rifle Brigade Hotel the Eaglehawk tram comes past the Queen Elizabeth Oval down View Street
11147.10m From the Rifle Brigade Hotel the Eaglehawk tram up View Street opposite the Masonic Hall
11147.10n From the Rifle Brigade Hotel the Eaglehawk tram goes past the Queen Elizabeth Oval up View Street
11147.10o From the Rifle Brigade Hotel the Eaglehawk tram comes up View Street opposite the Masonic Hall
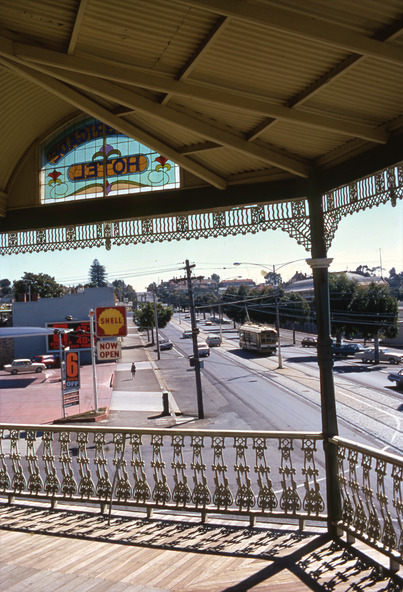
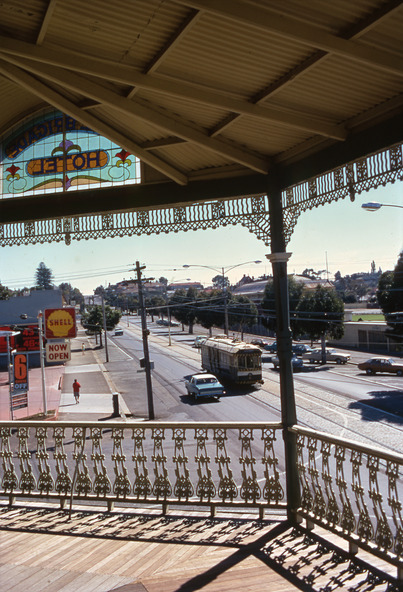
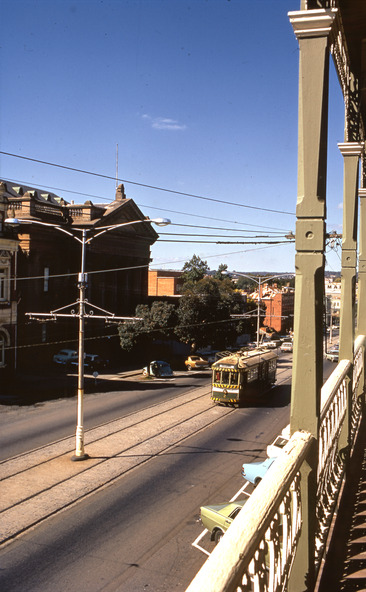
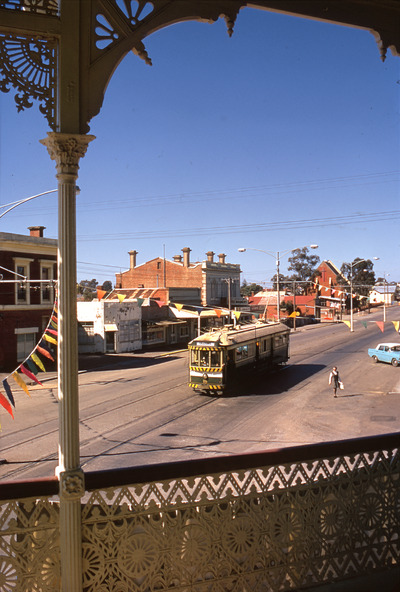
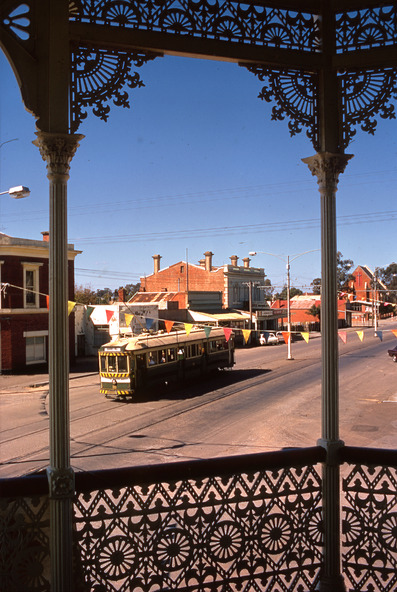
11147.10p From the Victoria Hotel Balcony, the Eaglehawk No 18 arrives
11147.10q From the Victoria Hotel Balcony, the Eaglehawk No 18 departs towards Bendigo
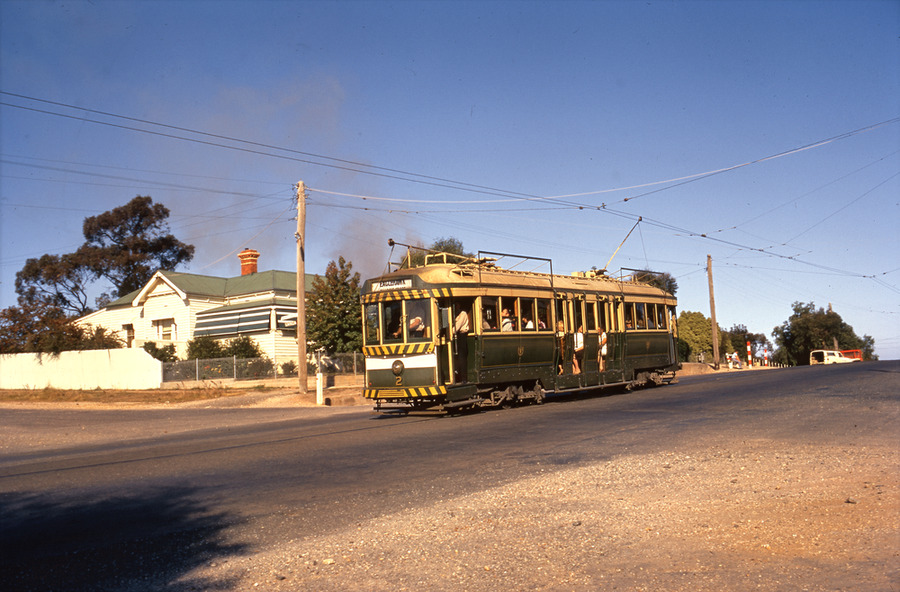
11147.10r Tram No 2 arrives into Eaglehawk
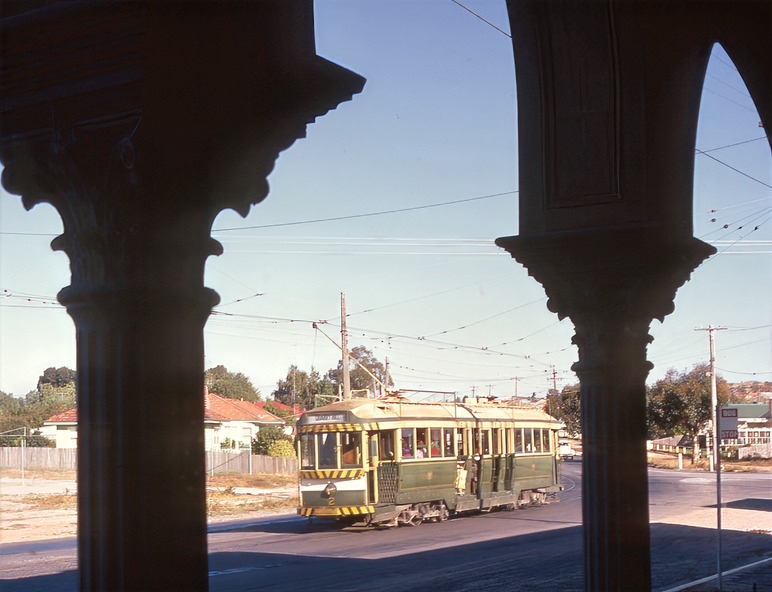
11147.10s Tram No 2 heads to Quarry Hill from California Gully (Probable)
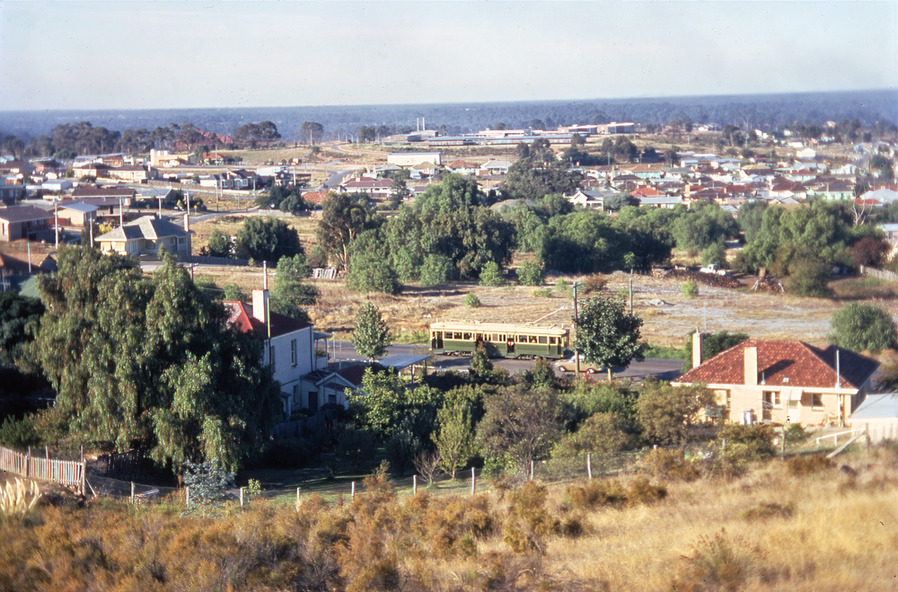
11147.1t Tram on its way out of Long Gully along Mt Korong (Eaglehawk) Road towards Eaglehawk. Houses in the foreground, on the left is 245 Eaglehawk Road and on the right 241 Eaglehawk Road.
Subjects
References
- 11147.1 Sheet 1 Black and White Negatives
- 11147.2 Sheet 2 Black and White Negatives
- 11147.3 Sheet 3 Black and White Negatives
- 11147.4 Sheet 4 Black and White Negatives
- 11147.5 Sheet 5 Black and White Negatives
- 11147.6 Sheet 6 Black and White Negatives
- 11147.7 Sheet 7 Black and White Negatives
- 11147.8 Sheet 8 Black and White Negatives
- 11147.9 Sheet A Colour Slides
- 11147.10 Sheet B Colour Slides
- 11147.11 USB Stick of all images
- 11147.12 Black and White Prints of some of the images
- 5052 The Bendigo Tramways an Illustrated History